Introduction.
Setting up a Kubernetes environment on AWS might seem daunting at first—but thanks to Amazon EKS (Elastic Kubernetes Service) and infrastructure-as-code tools like Terraform, it’s now easier, faster, and more reliable than ever. In this guide, we’ll walk you through the full process of provisioning a highly available EKS cluster and installing kubectl, the Kubernetes command-line tool, using Terraform. Whether you’re a DevOps engineer, a cloud developer, or simply someone exploring container orchestration, this tutorial will help you get a working EKS setup with minimal manual intervention.
Amazon EKS provides a managed Kubernetes service that takes care of control plane provisioning, scaling, and management, while still giving you the flexibility to configure worker nodes and networking. It is tightly integrated with other AWS services, including IAM for authentication, CloudWatch for logging, and VPC for networking. But despite its convenience, configuring EKS by hand can be time-consuming and error-prone—especially in production environments where repeatability and consistency are crucial.
This is where Terraform comes in. As an open-source infrastructure-as-code tool developed by HashiCorp, Terraform allows you to define cloud resources declaratively in configuration files. By using Terraform to manage EKS, you can version control your infrastructure, reuse code through modules, and automate cluster provisioning with confidence. You can also tear down and recreate environments quickly, making it ideal for both development and testing.
In this tutorial, we’ll start by configuring Terraform to work with AWS. We’ll create a VPC, subnets, and an EKS cluster using community-supported Terraform modules. Then we’ll install kubectl, configure it to communicate with our new cluster, and run basic commands to verify everything works. You’ll learn how to structure your Terraform files, how to manage variables and outputs, and how to avoid common pitfalls.
Even if you’re new to Kubernetes or Terraform, this guide is beginner-friendly and explains each concept along the way. We’ll also highlight best practices, such as using separate files for providers, variables, and outputs, and organizing your infrastructure into reusable modules. You’ll end up with a fully functional Kubernetes environment that’s cloud-native, scalable, and ready for deploying real-world applications.
So if you’re ready to stop clicking through the AWS console and start automating your infrastructure the DevOps way, let’s dive into creating an Amazon EKS cluster with Terraform and managing it effortlessly using kubectl.

Prerequisites
- AWS CLI installed and configured (
aws configure) - Terraform installed
- IAM user/role with permissions for EKS
kubectl(installed via Terraform if needed)- An S3 bucket and DynamoDB table for Terraform state (recommended for production)
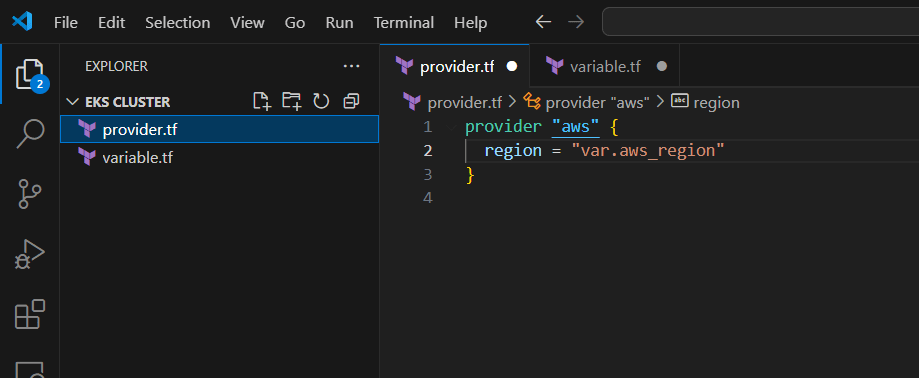
provider.tf
provider "aws" {
  region = var.aws_region
}
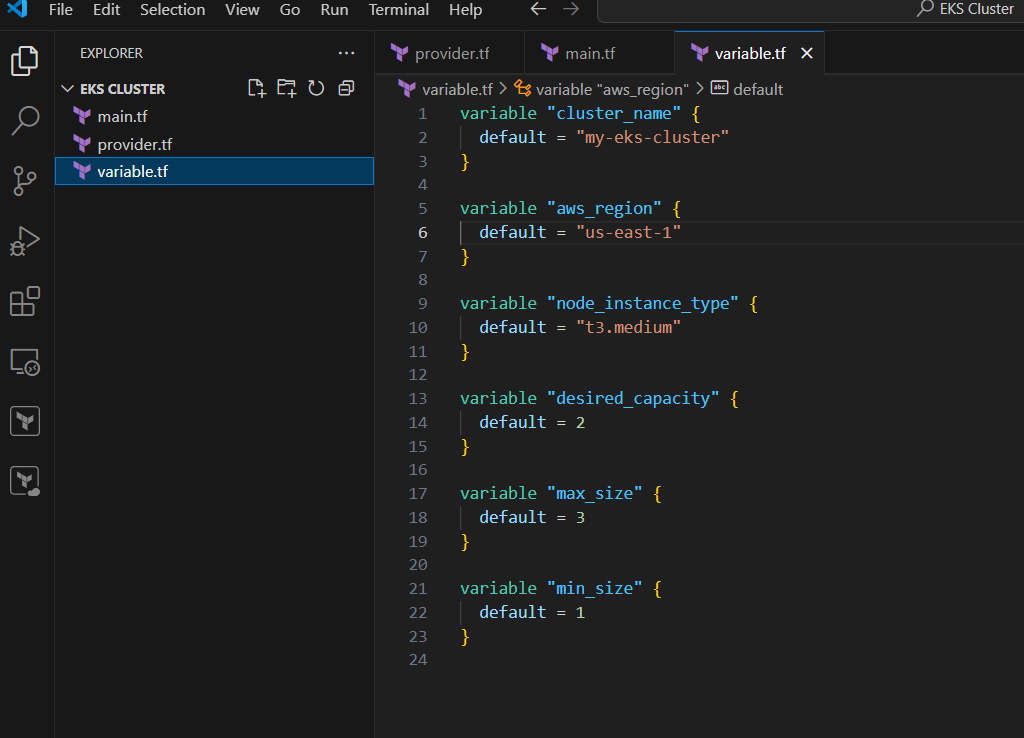
variables.tf
variable "cluster_name" {
  default = "my-eks-cluster"
}

variable "aws_region" {
  default = "us-west-2"
}

variable "node_instance_type" {
  default = "t3.medium"
}

variable "desired_capacity" {
  default = 2
}

variable "max_size" {
  default = 3
}

variable "min_size" {
  default = 1
}
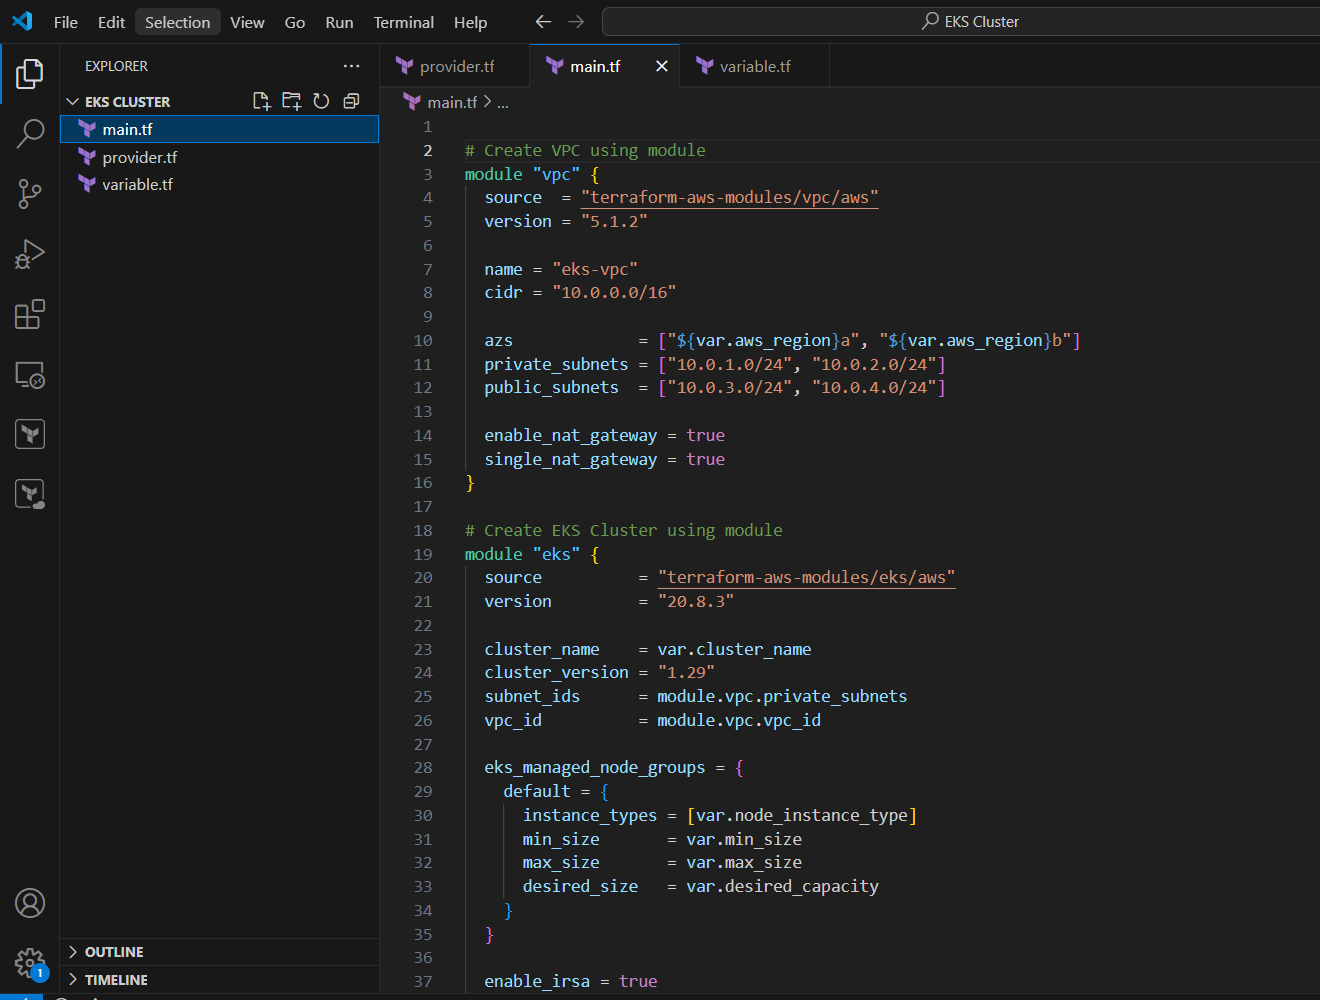
main.tf
# Create VPC using module
module "vpc" {
  source  = "terraform-aws-modules/vpc/aws"
  version = "5.1.2"

  name = "eks-vpc"
  cidr = "10.0.0.0/16"

  azs             = ["${var.aws_region}a", "${var.aws_region}b"]
  private_subnets = ["10.0.1.0/24", "10.0.2.0/24"]
  public_subnets  = ["10.0.3.0/24", "10.0.4.0/24"]

  enable_nat_gateway = true
  single_nat_gateway = true
}

# Create EKS Cluster using module
module "eks" {
  source          = "terraform-aws-modules/eks/aws"
  version         = "20.8.3"

  cluster_name    = var.cluster_name
  cluster_version = "1.29"
  subnet_ids      = module.vpc.private_subnets
  vpc_id          = module.vpc.vpc_id

  eks_managed_node_groups = {
    default = {
      instance_types = [var.node_instance_type]
      min_size       = var.min_size
      max_size       = var.max_size
      desired_size   = var.desired_capacity
    }
  }

  enable_irsa = true
}
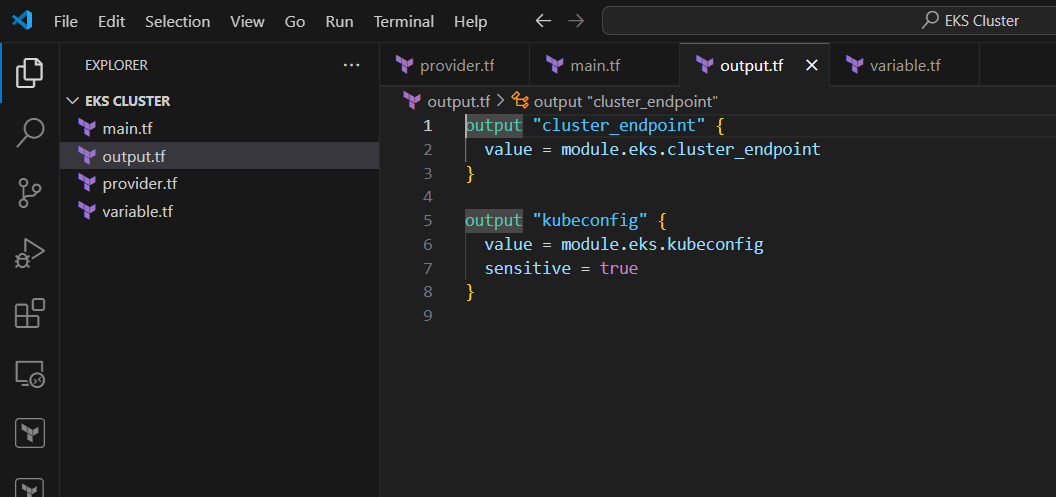
outputs.tf
output "cluster_endpoint" {
  value = module.eks.cluster_endpoint
}

output "kubeconfig" {
  value = module.eks.kubeconfig
  sensitive = true
}
Install kubectl Using Terraform (Optional)
If you want to install kubectl via Terraform, use the null_resource + local-exec provisioner:
resource "null_resource" "install_kubectl" {
  provisioner "local-exec" {
    command = <<EOT
      curl -o kubectl https://s3.us-west-2.amazonaws.com/amazon-eks/1.29.0/2024-03-27/bin/linux/amd64/kubectl
      chmod +x ./kubectl
      sudo mv ./kubectl /usr/local/bin/
    EOT
  }
}
Deploy Steps
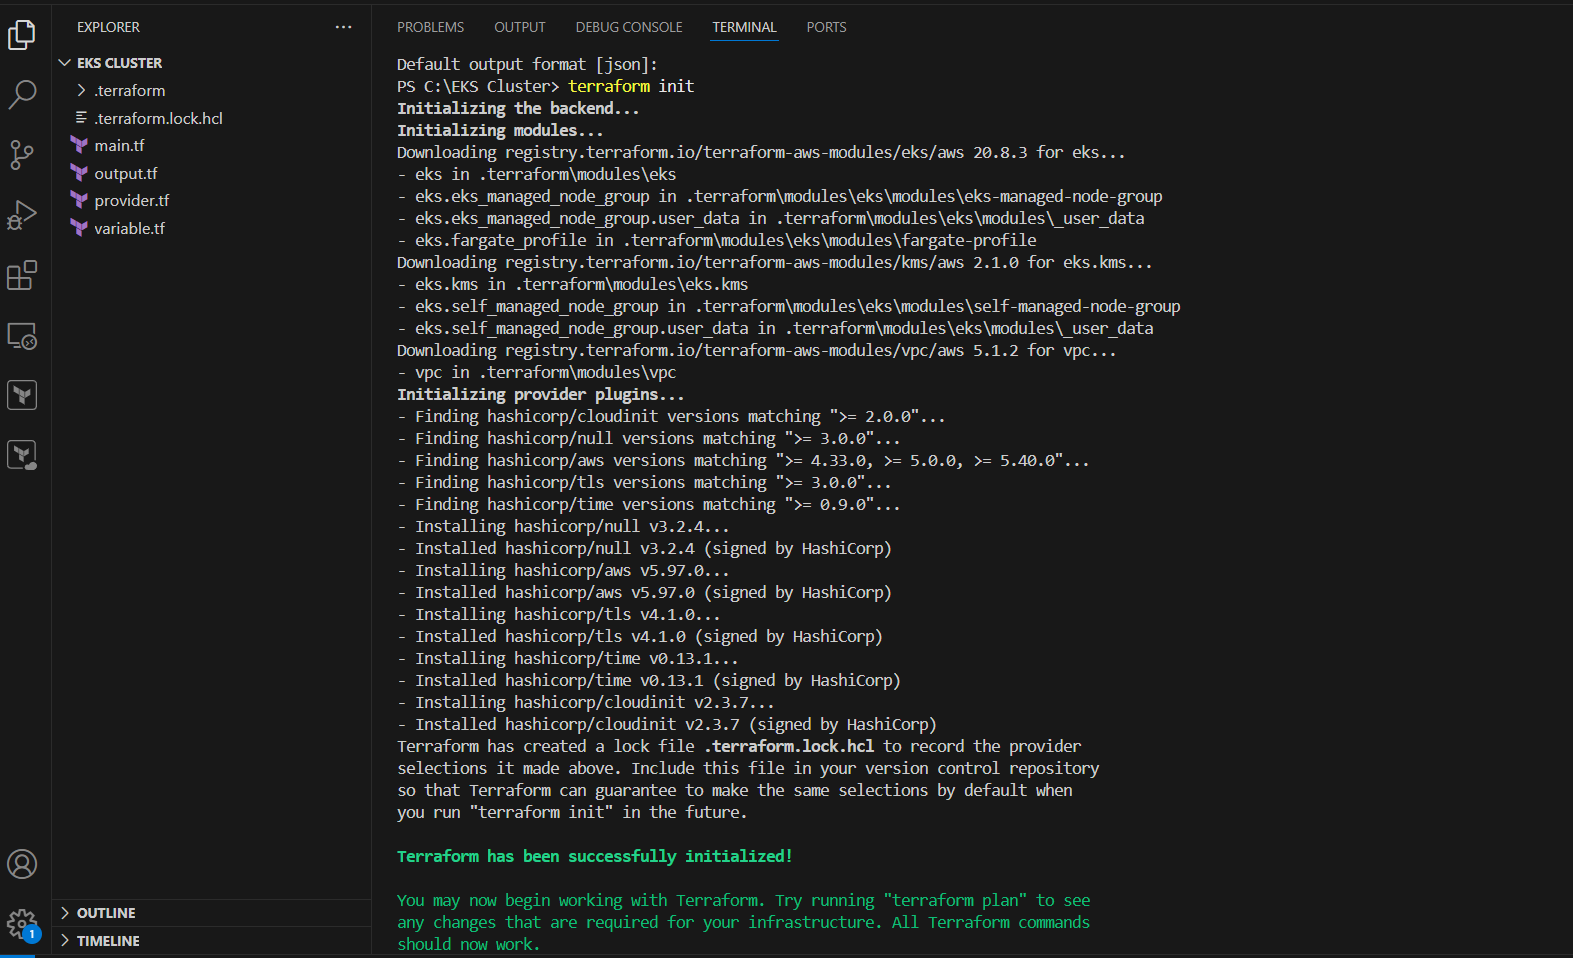
terraform init
terraform apply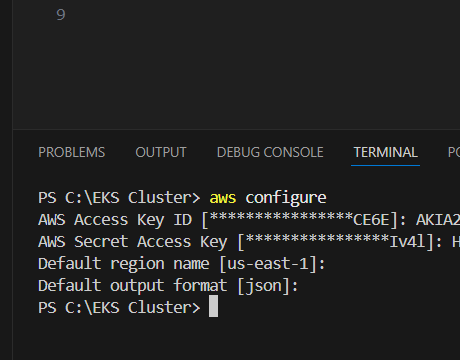


Conclusion.
In conclusion, provisioning an Amazon EKS cluster using Terraform and configuring kubectl is a powerful way to automate and simplify your Kubernetes infrastructure on AWS. With just a few well-structured configuration files, you can define, deploy, and manage a highly available Kubernetes environment that integrates seamlessly with the rest of your cloud ecosystem. This approach not only reduces manual errors but also makes your infrastructure reproducible, version-controlled, and easier to manage in the long term. Whether you’re building a development environment, staging cluster, or a full production setup, Terraform and kubectl together give you the control and flexibility needed to operate confidently at scale. As you grow more comfortable with this setup, you can extend it further—adding monitoring tools, CI/CD pipelines, and security policies—all within the same infrastructure-as-code workflow. By embracing automation and best practices early, you’re setting your Kubernetes journey on a solid and scalable foundation.

Add a Comment