Introduction.
In modern software development, speed and reliability are everything.
Delivering high-quality code quickly without sacrificing stability is the ultimate goal—and that’s where CI/CD comes in.
Continuous Integration (CI) is the practice of frequently merging code changes into a shared repository, triggering automated builds and tests.
Continuous Deployment/Delivery (CD) extends that process by automatically deploying code to production or staging environments once it passes all tests.
Together, CI/CD transforms how teams build, test, and ship software.
It reduces bugs, accelerates development, and ensures a smoother release process.
One of the most popular tools to implement CI/CD is Jenkins, an open-source automation server trusted by developers and DevOps teams worldwide.
Jenkins allows you to create powerful pipelines that automatically handle code integration, testing, and deployment—saving hours of manual work.
In this blog, we’re going to walk you through how to create a CI/CD pipeline in Jenkins from scratch.
No prior DevOps expertise required—just a basic understanding of code and version control (like Git).
You’ll learn how to:
- Install and configure Jenkins
- Connect Jenkins with your code repository (like GitHub)
- Write and use a
Jenkinsfileto define your pipeline - Run builds automatically when code changes
- Deploy your application after successful builds
By the end, you’ll have a working CI/CD pipeline that can build, test, and deploy your code with zero manual steps.

Ready to automate your development workflow and take your projects to the next level?
Let’s dive into building your first Jenkins pipeline!
Step 1: Install Jenkins
- Download and install Jenkins from jenkins.io
- Run it locally or on a cloud VM
- Access Jenkins at
http://localhost:8080 - Complete initial setup (unlock with admin password, install suggested plugins)
Step 2: Create a New Pipeline Project
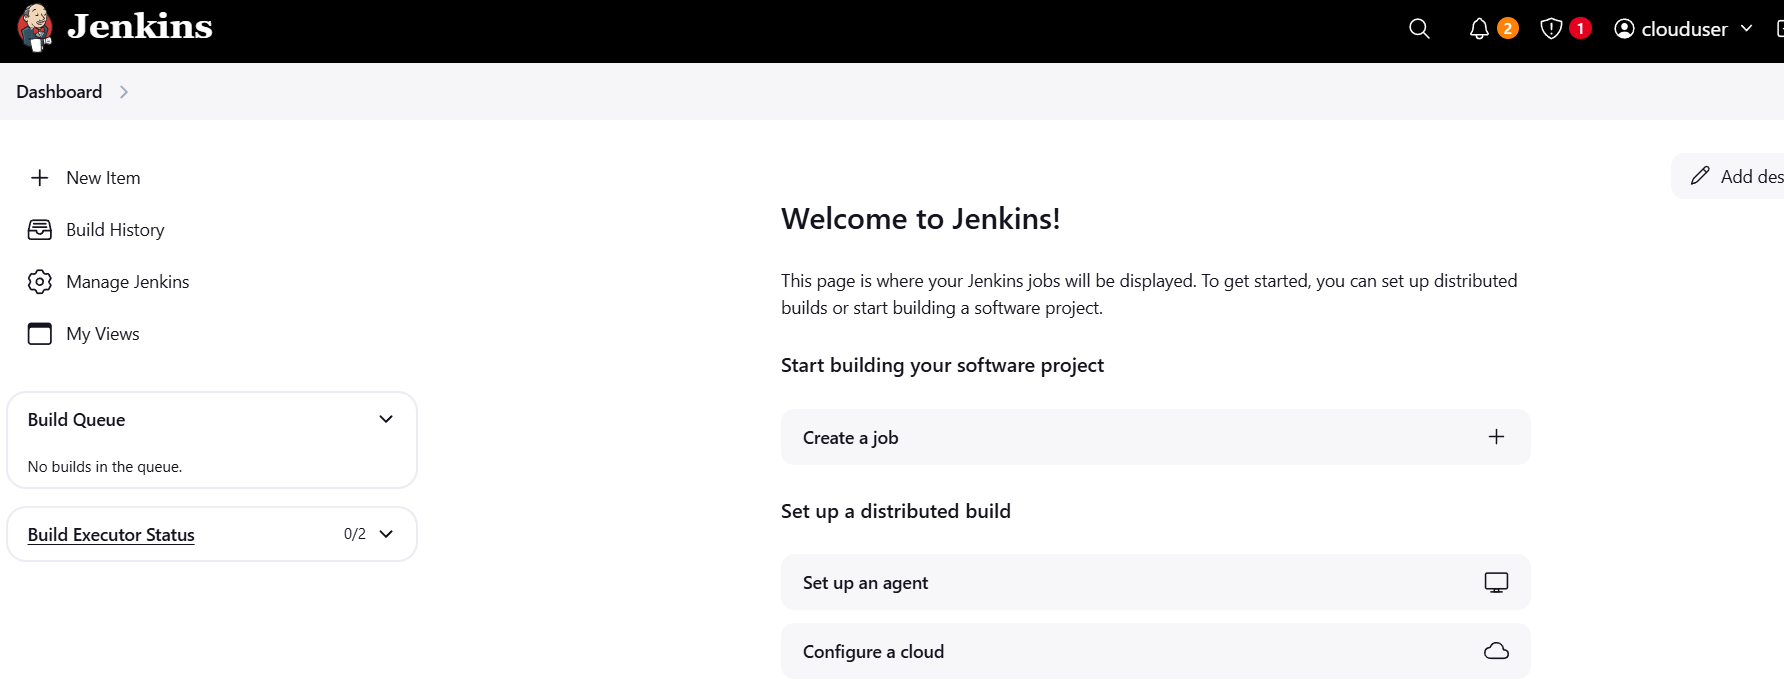
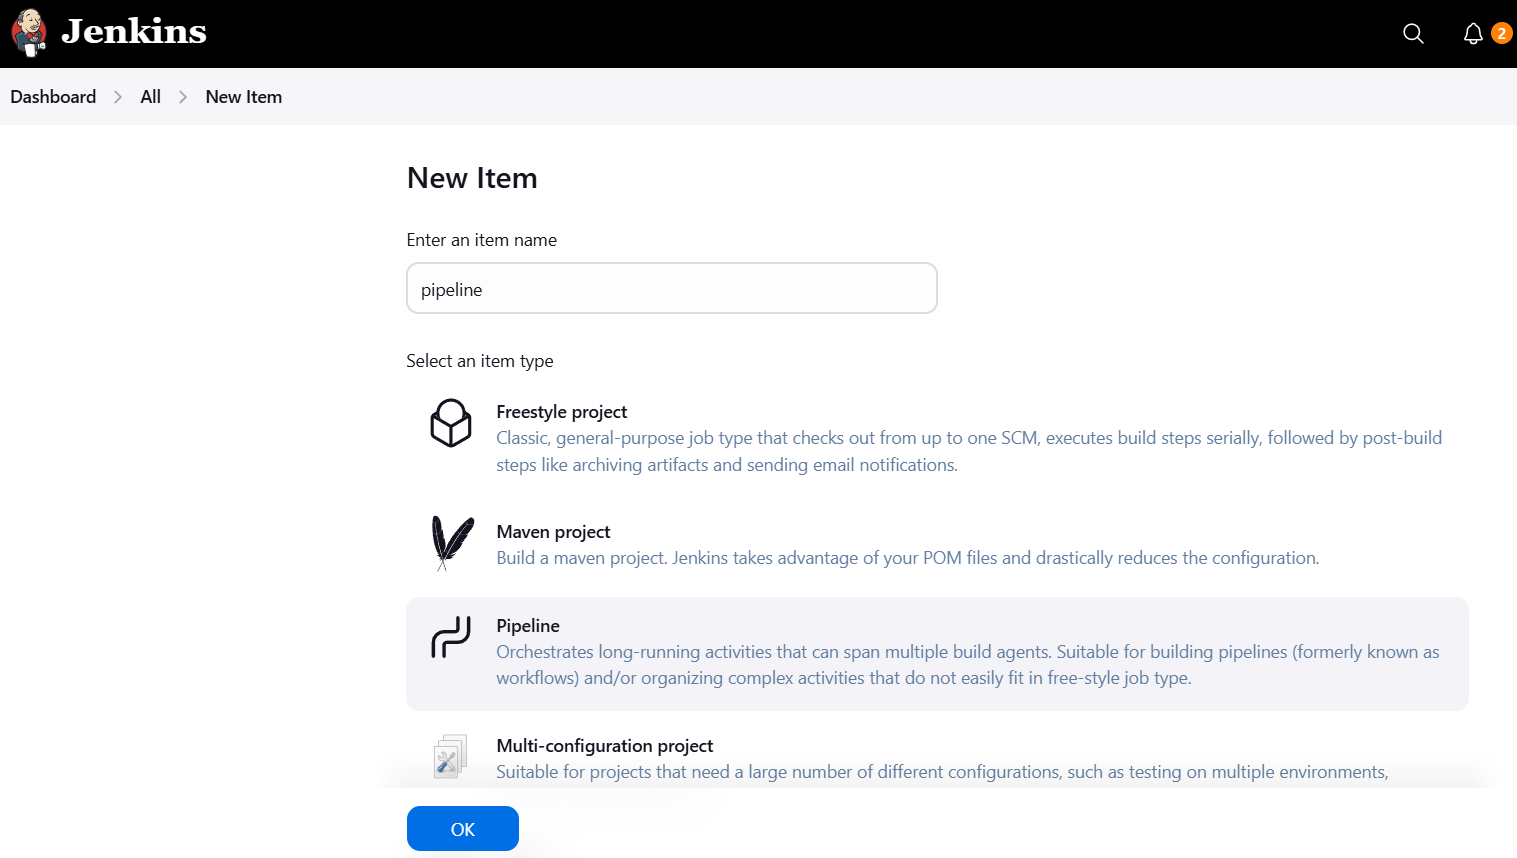
- Go to Jenkins Dashboard > New Item
- Enter project name, select Pipeline, click OK
Step 3: Connect to Your Git Repository
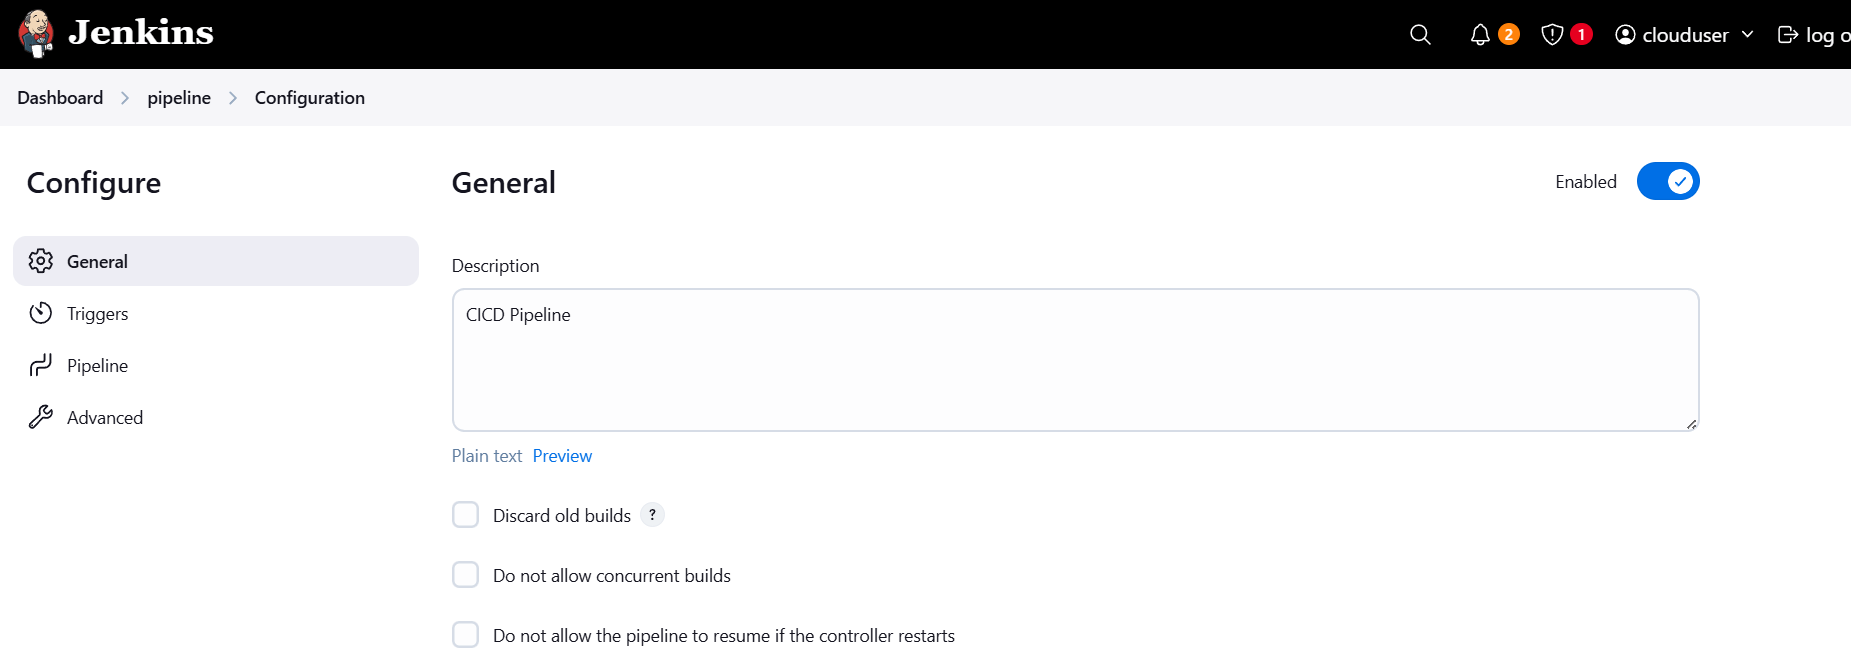
- In the project config:
- Under Pipeline > Definition, choose Pipeline script from SCM
- SCM: Git
- Add your Git repo URL
- Add credentials if it’s private
- Branch:
mainormaster
Step 4: Add a Jenkinsfile to Your Repo
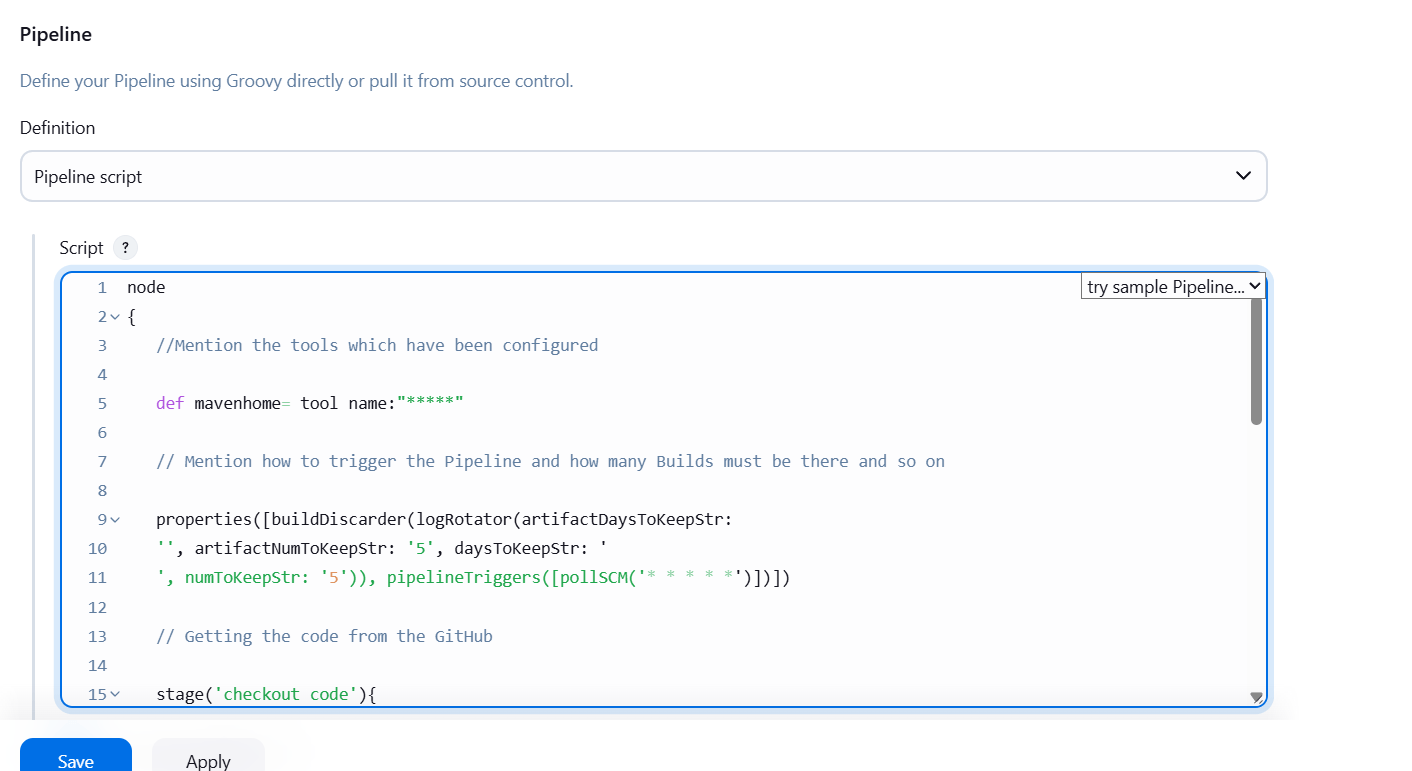
Create a file named Jenkinsfile in the root of your project with content like this:
node
{
   //Mention the tools which have been configured

   def mavenhome= tool name:"*****"

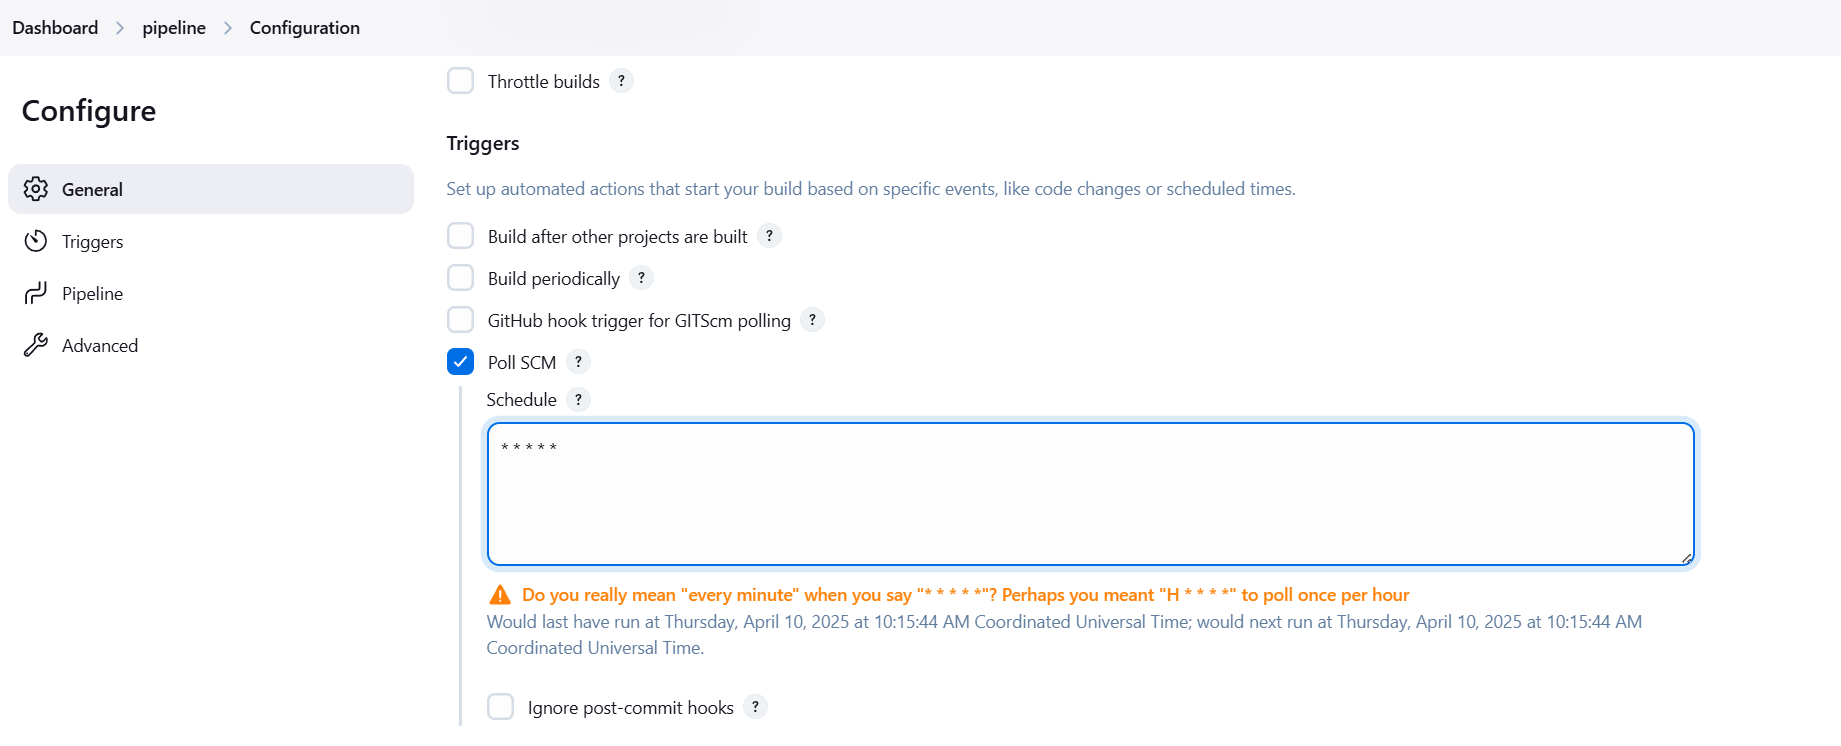
   // Mention how to trigger the Pipeline and how many Builds must be there and so on

   properties([buildDiscarder(logRotator(artifactDaysToKeepStr:
   '', artifactNumToKeepStr: '5', daysToKeepStr: '
   ', numToKeepStr: '5')), pipelineTriggers([pollSCM('* * * * *')])])

   // Getting the code from the GitHub

   stage('checkout code'){
       git branch: 'development', credentialsId: '*******', url: '********'
   }

   //Building the code in to packages by using maven

   stage('build'){
       sh "${mavenhome}/bin/mvn clean package"

   //Executing the code quality report by using SonarQube

   }
   stage('execute sonarqube package'){
        sh "${mavenhome}/bin/mvn clean sonar:sonar"

    //Uploading the package into nexus

   }
   stage('upload buildartifact'){
       sh "${mavenhome}/bin/mvn clean deploy"

    //Deploying th application into Tomcat

   }
   stage('tomcat'){
       sshagent(['**********']) {
       sh "scp -o  StrictHostKeyChecking=no target
       /maven-web-application.war ec2-user@*******:/opt/apache-tomcat-9.0.64/webapps/"
}
   }
Step 5: Save and Run the Pipeline
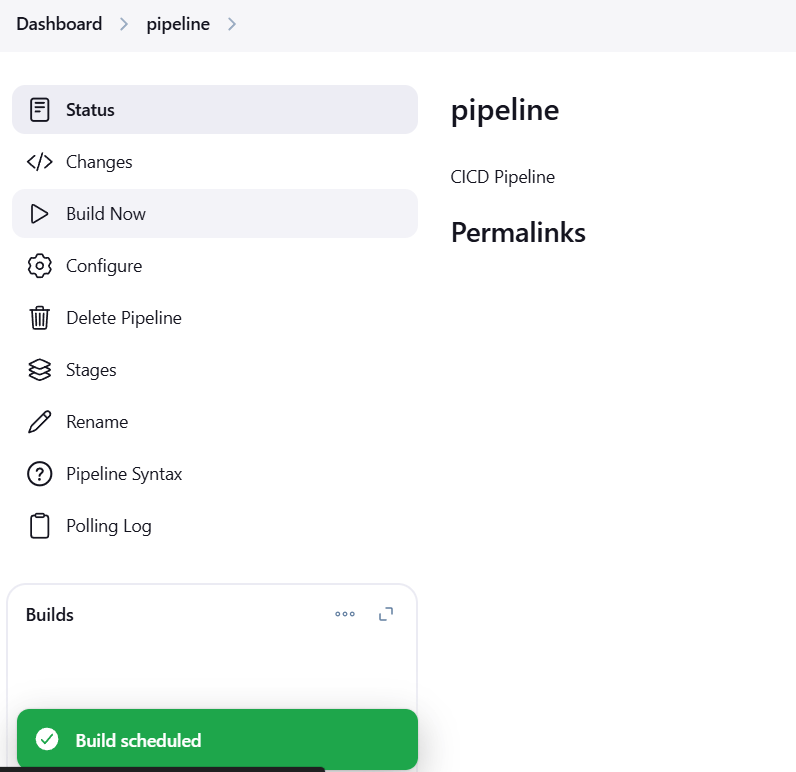
- Click Save in Jenkins

Conclusion.
Setting up a CI/CD pipeline in Jenkins might seem like a big task at first, but once it’s in place, it becomes a game-changer for your development process.
You’ve now seen how Jenkins can automatically build, test, and deploy your code—saving you time, reducing errors, and boosting productivity.
By following this guide, you’ve learned how to:
- Set up Jenkins and connect it to your code repository
- Define build and deployment steps using a Jenkinsfile
- Automate the CI/CD process with each code push
With this foundation, you can now expand your pipeline to include:
- Testing frameworks like JUnit or Selenium
- Code quality tools like SonarQube
- Notifications via Slack or email
- Deployment to Docker, Kubernetes, AWS, and more
CI/CD isn’t just about automation—it’s about delivering value faster, safer, and more consistently.
As your projects grow, your pipeline can grow with them, helping your team move faster and stay focused on writing great code.
Thanks for reading! Now go ahead and push that code—Jenkins has your back. 💻🚀

Add a Comment