Introduction.
In today’s digital age, creating and managing a website has never been easier, thanks to cloud services like Amazon Lightsail. Amazon Lightsail is a simplified cloud computing platform that allows developers and businesses to quickly deploy websites and applications with minimal configuration. Among the many applications you can run on Lightsail, WordPress stands out as one of the most popular content management systems (CMS). With its ease of use, customizable themes, and robust plugin ecosystem, WordPress powers millions of websites worldwide.
One of the biggest challenges for those looking to launch a WordPress website is the complexity of setting up a server, configuring the environment, and ensuring scalability. This is where Amazon Lightsail comes in. With Lightsail, you can deploy a WordPress instance in just a few clicks, without having to worry about managing the underlying infrastructure. It simplifies the entire process, giving you more time to focus on building and managing your content.
Lightsail provides a low-cost, user-friendly environment for WordPress hosting, with a predictable pricing structure. This makes it an ideal solution for small to medium-sized businesses, personal blogs, portfolios, or anyone who wants to get a WordPress website up and running quickly. Lightsail comes with pre-configured stacks for popular applications like WordPress, meaning you don’t have to worry about manually installing or configuring PHP, MySQL, or Apache.
In this guide, we will walk you through the process of launching a WordPress instance using Amazon Lightsail. You’ll learn how to create an account, choose the right configuration for your needs, and easily deploy WordPress on Lightsail. Whether you’re a beginner or an experienced web developer, this tutorial will help you get your WordPress site online with minimal hassle.

By the end of this guide, you’ll be able to set up a WordPress instance on Lightsail, manage your website, and start creating content with ease. Let’s dive into the world of WordPress on Amazon Lightsail and get your site up and running in no time!
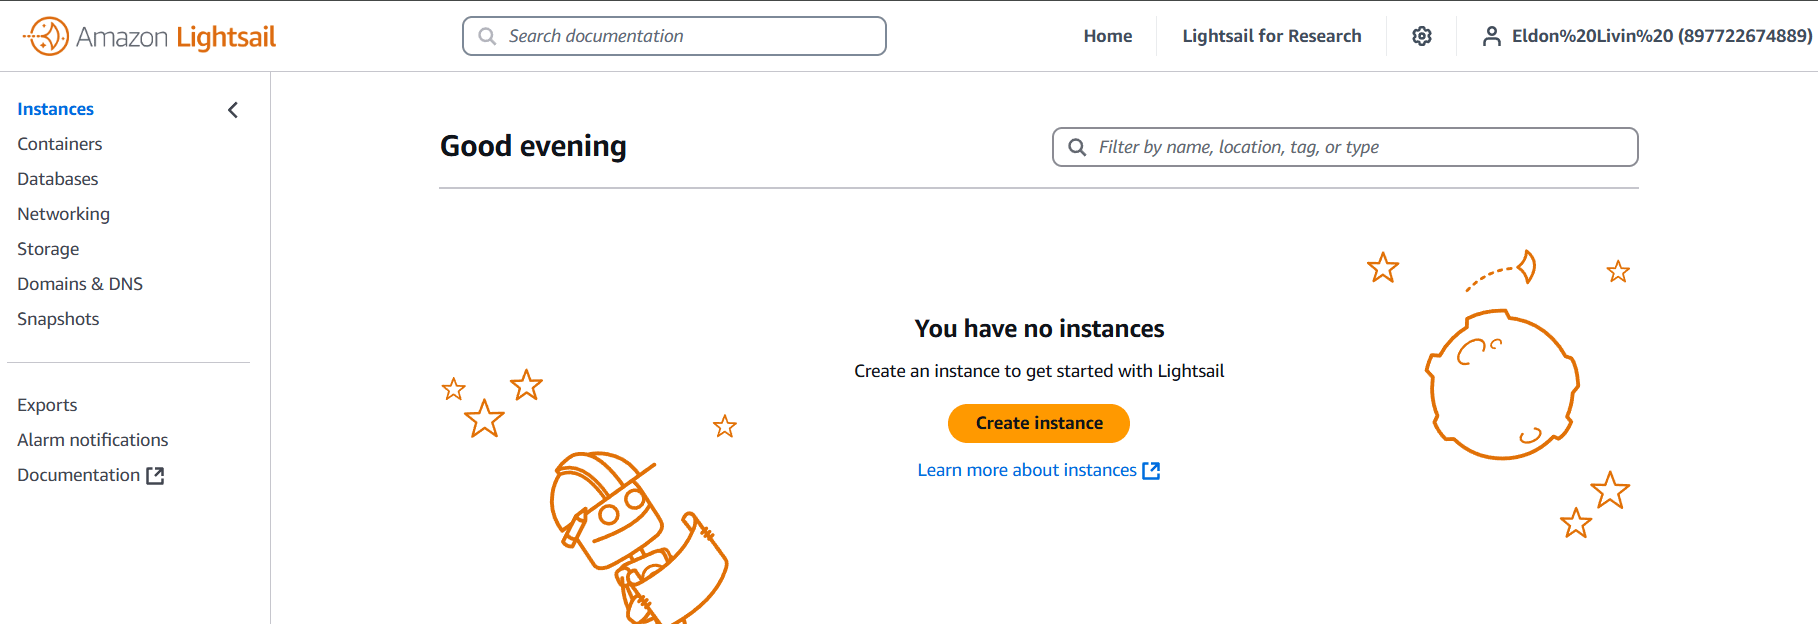
STEP 1: Navigate the lightsail and click on create instance.
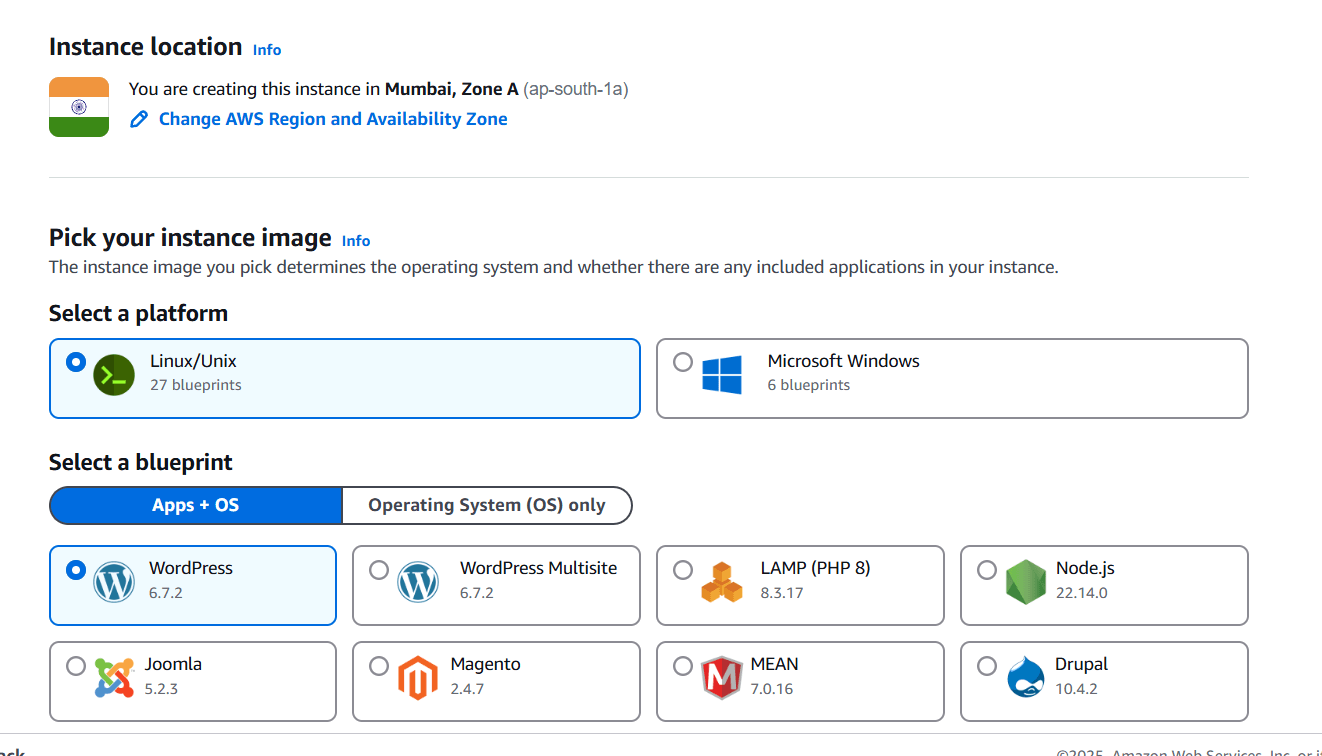
STEP 2: Select the wordpress.
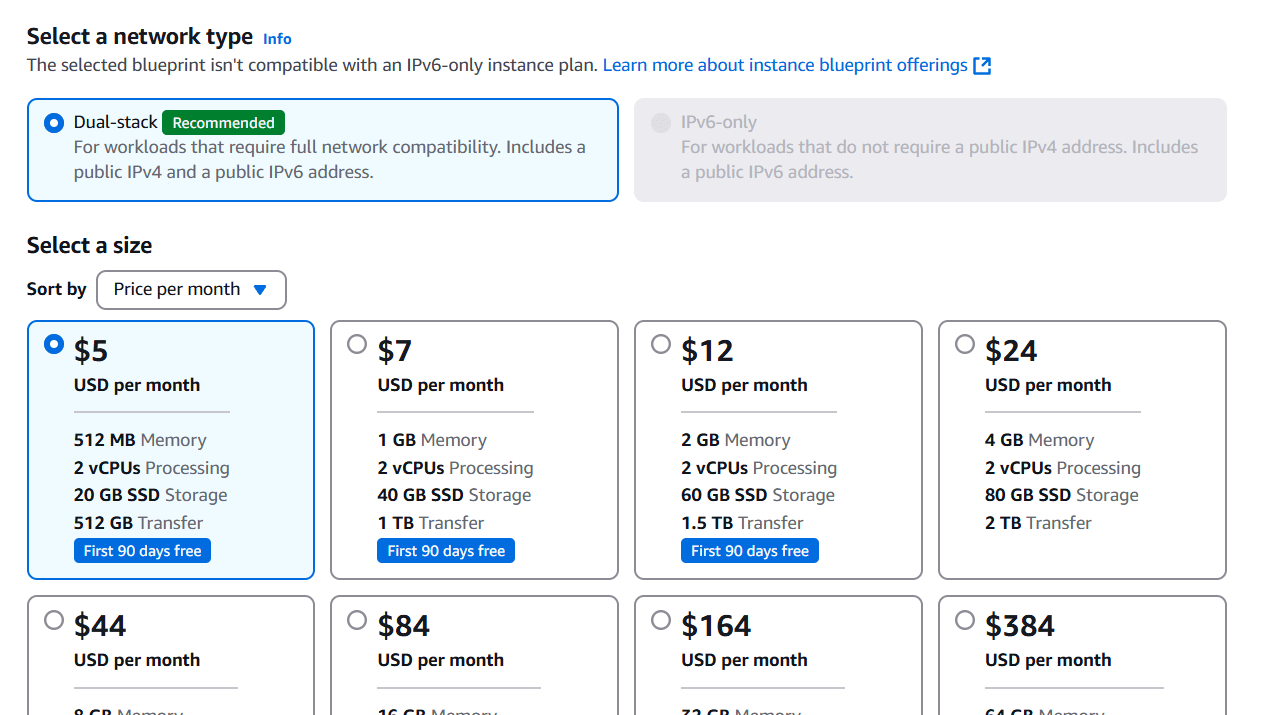
STEP 3: Select the size.
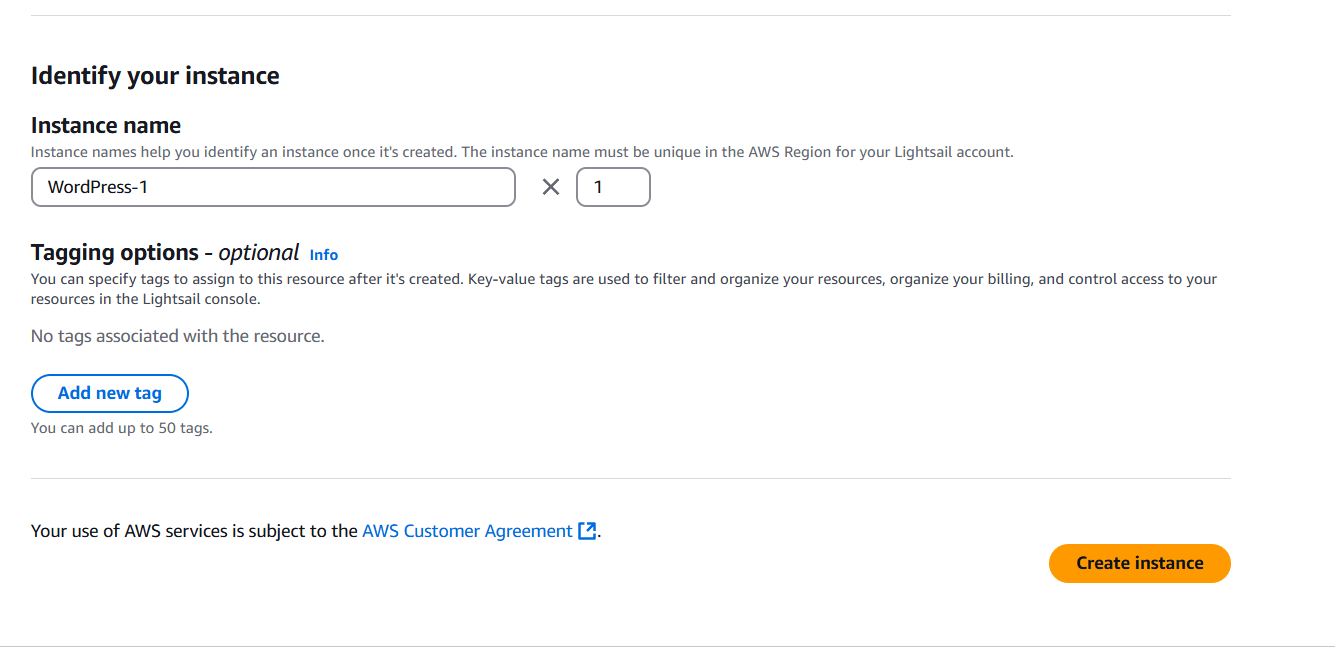
STEP 4: Click on create instance.
STEP 5: Click on command line.
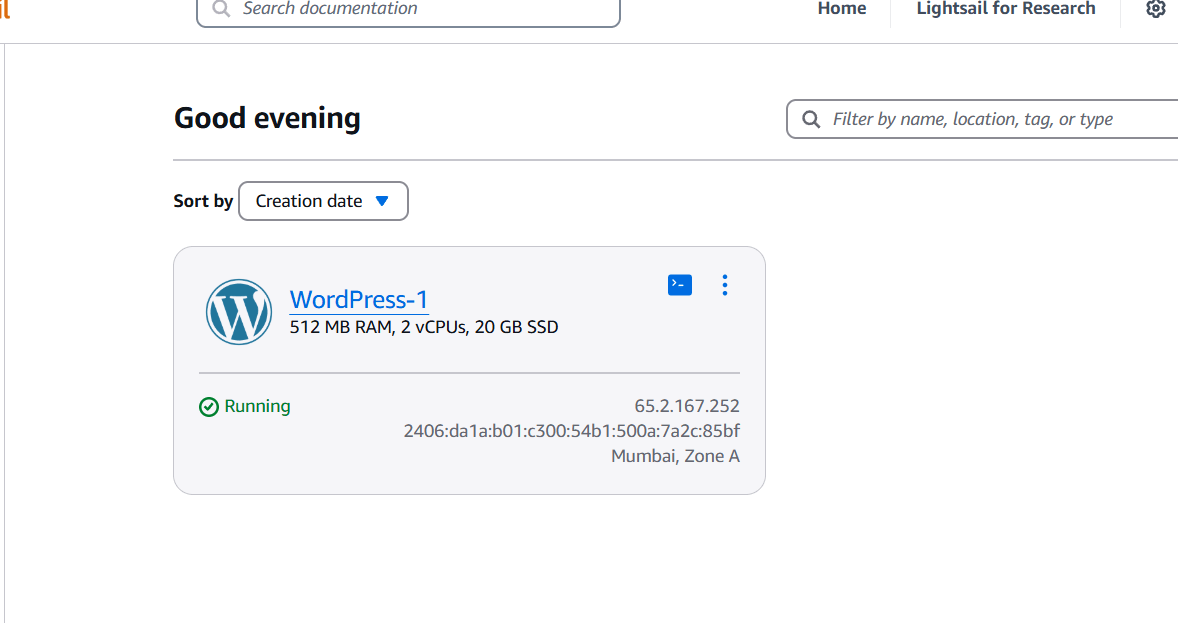
STEP 6: Enter the following command.
cat $HOME/bitnami_application_password 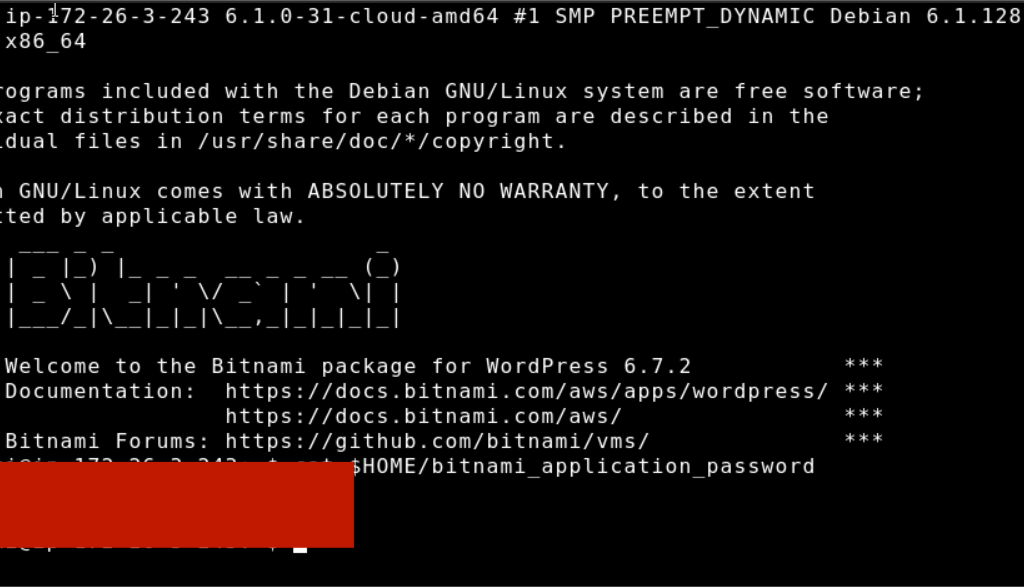
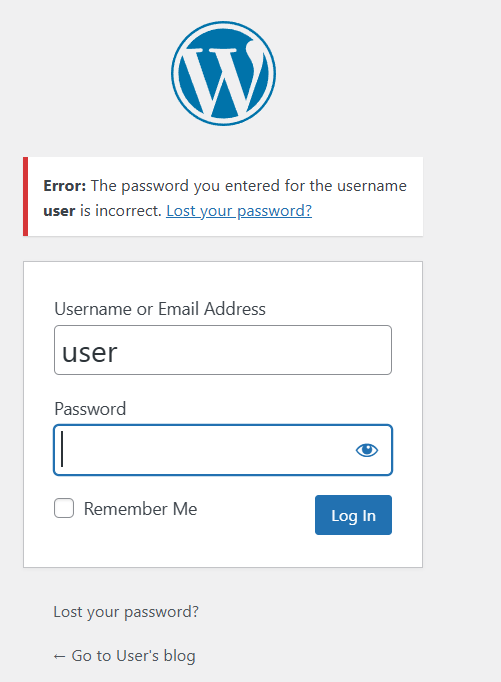
STEP 7: Now enter the browser http://PublicIpAddress/wp-login.php
- Enter the user name and password.

Conclusion.
In conclusion, Amazon Lightsail offers an incredibly simple and efficient way to launch a WordPress website without the need for complex server management or configurations. With its user-friendly interface, affordable pricing, and pre-configured WordPress stacks, Lightsail is an excellent choice for anyone looking to get a website up and running quickly. Whether you’re a blogger, small business owner, or developer, Lightsail provides the tools and flexibility to build and grow your online presence with ease.
By following the steps in this guide, you’ve successfully deployed your WordPress instance on Lightsail and can now focus on customizing your site, adding content, and scaling as your needs evolve. Lightsail takes care of the heavy lifting, so you can concentrate on the creative and strategic aspects of your WordPress site.
As your site grows, Amazon Lightsail makes it easy to manage, upgrade, and even scale your resources without a significant increase in complexity. You can always expand your infrastructure by adding more storage, increasing bandwidth, or configuring additional services through the AWS ecosystem.
With Amazon Lightsail, launching and managing a WordPress site has never been more straightforward. Now that your WordPress instance is live, you’re ready to start engaging with your audience and growing your online presence. Best of luck with your website, and enjoy the seamless experience that Lightsail offers!

Add a Comment