Introduction.
In today’s fast-paced cloud computing world, Amazon Web Services (AWS) offers a vast array of tools and services that help businesses and developers streamline their infrastructure and deploy applications at scale. One of the essential tools in AWS’s cloud arsenal is the Amazon Machine Image (AMI). An AMI is a snapshot of an EC2 instance, including the operating system, application server, applications, and other configurations. Essentially, it’s a blueprint that can be used to create and launch EC2 instances quickly and consistently.
Creating and managing AMIs is an essential skill for anyone working with AWS. By leveraging AMIs, you can automate the process of provisioning new instances, maintain consistent environments across various stages of your development pipeline, and even create backups of your instances for disaster recovery.
But what makes AMIs even more powerful is their flexibility. You can customize an AMI to suit your exact needs—whether it’s a simple application server or a complex multi-tier architecture. Once created, an AMI can be shared with other AWS accounts, enabling collaboration and efficient resource management.
In this guide, we will take you step-by-step through the process of creating your own AMI within AWS. From launching an EC2 instance to customizing it with software packages and configurations, and finally creating the AMI, you will learn how to optimize your workflow and ensure that your environments are easily replicable. Whether you’re new to cloud infrastructure or already familiar with AWS, understanding how to create AMIs will open up new possibilities for managing your instances more efficiently.

By the end of this guide, you will have the knowledge to create and maintain AMIs tailored to your specific use cases, improving consistency and reducing setup time across your AWS instances. Let’s begin exploring the world of Amazon Machine Images and how they can help elevate your AWS experience.
STEP 1: Create instance Enter the name and select OS.
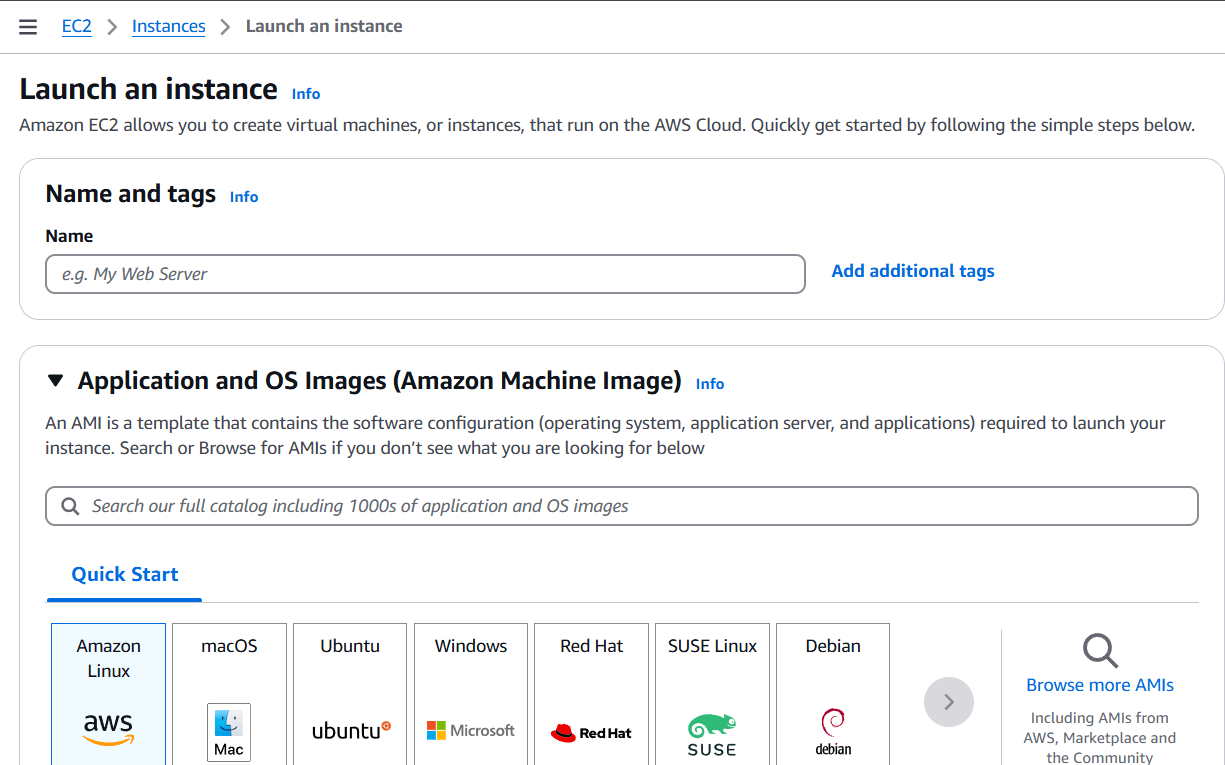
STEP 2: Select the Instance Type.

STEP 3: Create a keypair.
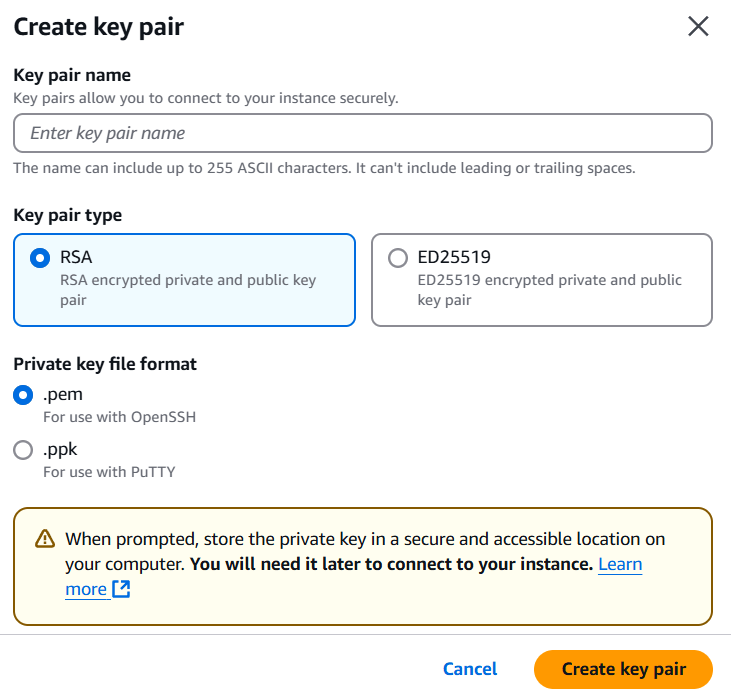
STEP 4: Click on launcj instance.
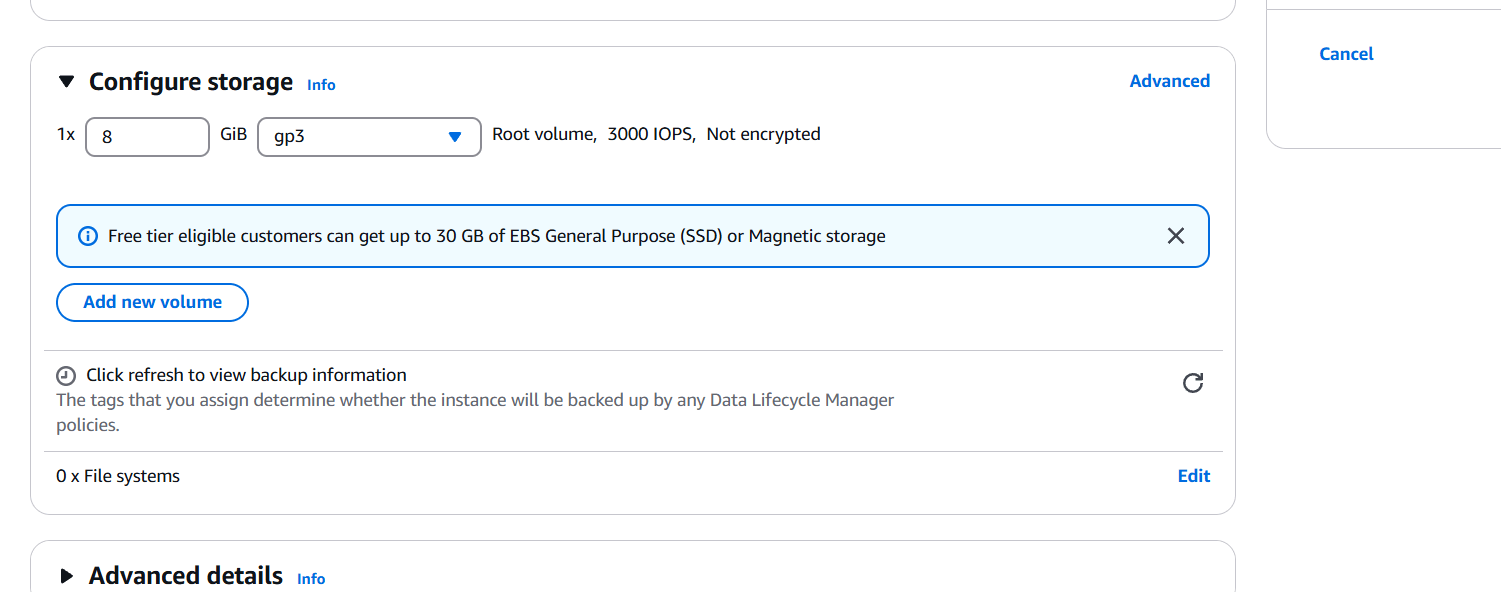
STEP 5: Select the instance click on action.
- Select image and templates.
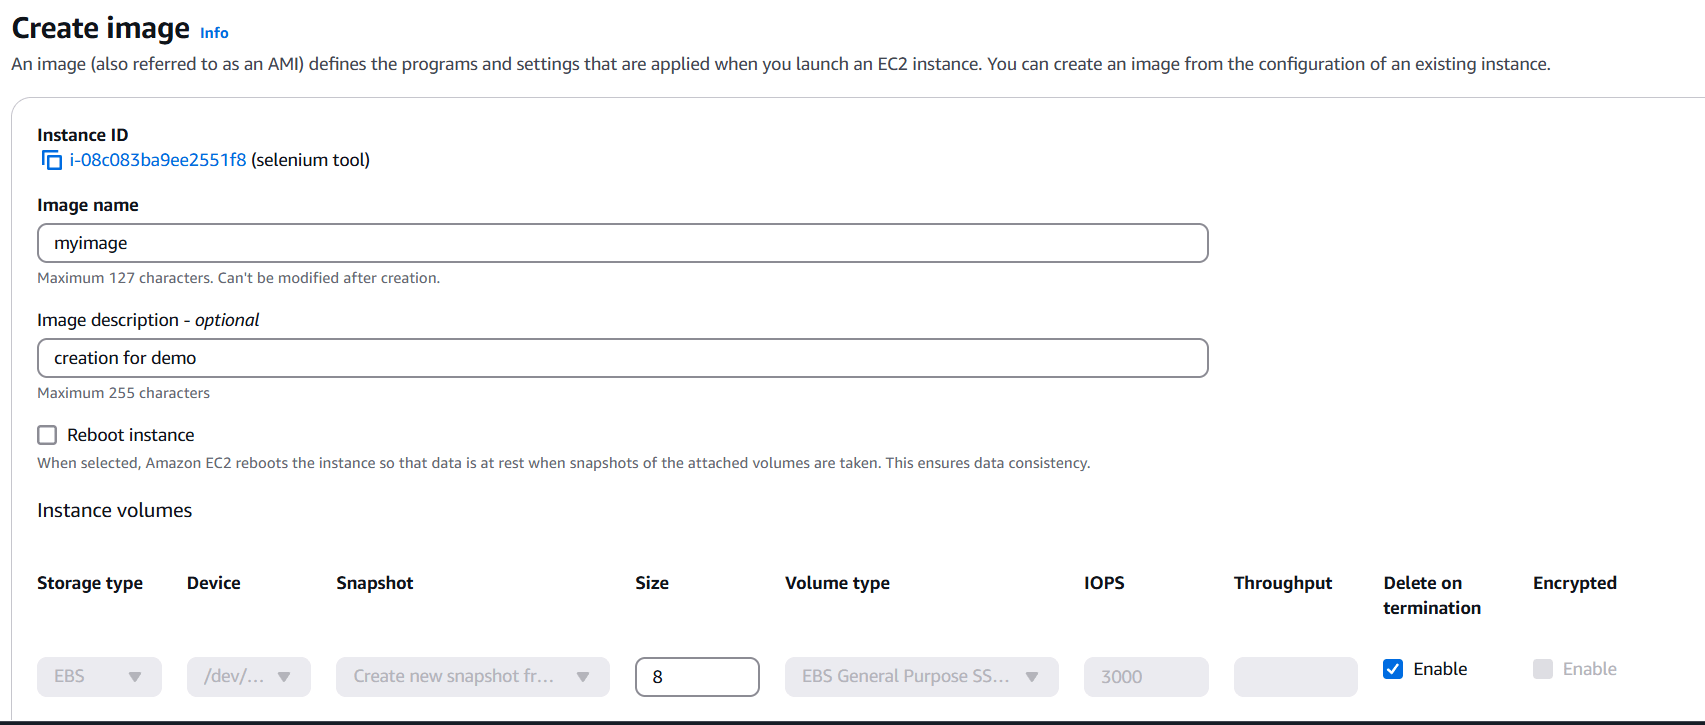
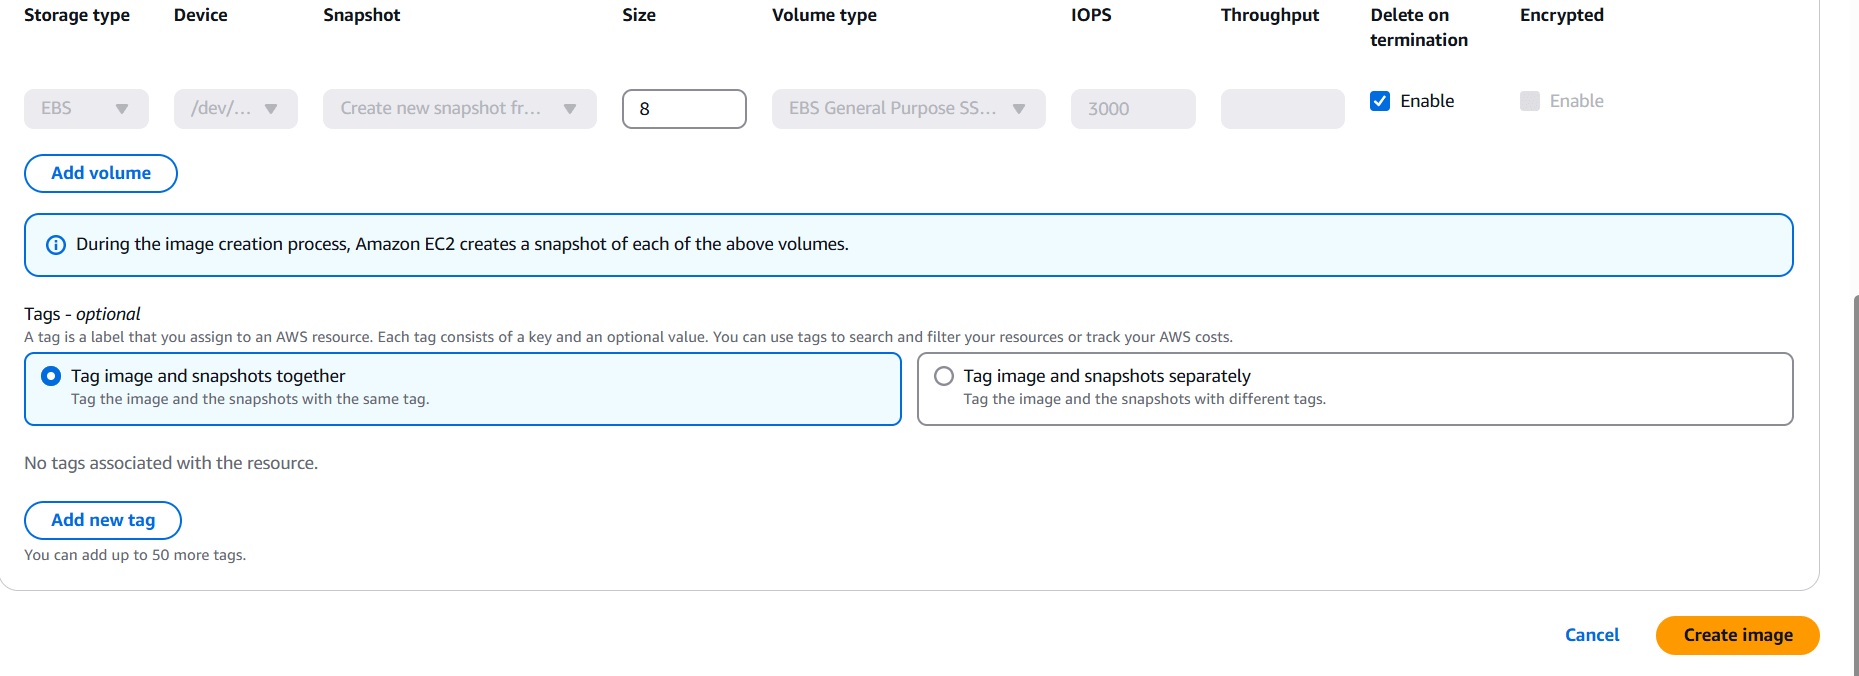
- Click on create image.

STEP 6: Enter the name and description and Click on create.


Conclusion.
Creating Amazon Machine Images (AMIs) is a powerful and efficient way to manage and scale your infrastructure on AWS. Whether you’re aiming to automate instance creation, ensure consistency across environments, or back up your configurations for disaster recovery, AMIs provide the flexibility and ease needed to streamline your cloud operations.
By following the steps outlined in this guide, you can confidently create and customize AMIs to suit your specific needs. With the ability to replicate your instances quickly and share your configurations across different AWS accounts, you can significantly reduce the time and effort required for setting up new environments or recovering from failures.
As you continue working with AWS, mastering AMIs will become a valuable skill in optimizing your workflow, improving scalability, and maintaining the integrity of your cloud infrastructure. Whether you are a beginner or an experienced AWS user, understanding AMIs opens up a wide range of possibilities for efficient, consistent, and cost-effective cloud management.
With the knowledge gained from this guide, you are now ready to leverage the full potential of Amazon Machine Images and take your AWS experience to the next level. Happy cloud computing!

Add a Comment