Introduction.
Selenium is one of the most popular open-source tools for automating web browsers. It is widely used for automating web applications for testing purposes, but can also be used for scraping data or performing repetitive tasks in a web environment. For those working on a Linux system, installing and setting up Selenium can be a crucial step toward achieving efficient web automation.
In this guide, we’ll walk you through the process of installing Selenium tools on a Linux machine, which will enable you to begin automating your web browsing tasks. Whether you’re a developer, quality assurance engineer, or data analyst, setting up Selenium on Linux can help you streamline repetitive tasks and improve the accuracy and efficiency of your workflow.
We will cover everything you need to know, from installing the necessary dependencies to configuring Selenium WebDriver for your preferred browser. Additionally, we’ll guide you through setting up Python bindings for Selenium, as Python is one of the most commonly used programming languages for automating tasks with Selenium.
By the end of this guide, you’ll be able to use Selenium on your Linux machine to automate web applications, perform testing, and work with various browsers and drivers, such as Chrome, Firefox, and Edge. With the right setup, you’ll have the power of Selenium at your fingertips to handle web automation tasks seamlessly.

Let’s dive in and get started with the installation process!
STEP 1: Create the EC2 server on Ubuntu server.

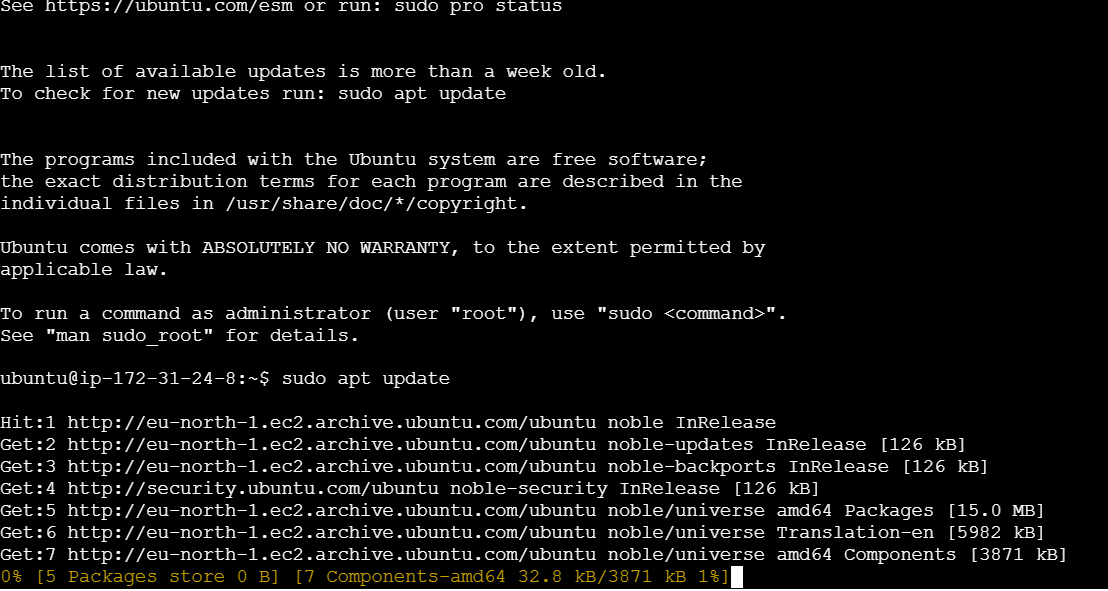
STEP 2: Update your server and Install java.
sudo apt update
sudo apt install openjdk-11-jdk -y

STEP 3: Install the most recent Google Chrome package on your PC.
wget -N https://dl.google.com/linux/direct/google-chrome-stable_current_amd64.deb -O /tmp/google-chrome-stable_current_amd64.deb


 sudo apt install -y /tmp/google-chrome-stable_current_amd64.deb

STEP 4: Enter the following command.
wget -N https://chromedriver.storage.googleapis.com/${version}/chromedriver_linux64.zip -O /tmp/chromedriver_linux64.zip
STEP 5: Configure Chrome Driver on your system.
unzip /tmp/chromedriver_linux64.zip -d /tmp/chromedriver/


 sudo cp /tmp/chromedriver/chromedriver /usr/local/bin/chromedriver

STEP 6: Enter the following commands.
chromedriver -v
wget https://github.com/SeleniumHQ/selenium/releases/download/selenium-4.11.0/selenium-server-4.11.0.jar -O selenium-server.jar

xvfb-run java -Dwebdriver.chrome.driver=/usr/bin/chromedriver -jar selenium-server.jar

 sudo apt install xvfb -y


Conclusion.
In this guide, we’ve walked through the process of installing Selenium tools on a Linux system, from setting up the necessary dependencies to configuring the Selenium WebDriver for automated web tasks. Whether you’re automating browser interactions for testing or other tasks, Selenium provides a powerful and flexible solution.
By following the steps outlined, you should now have Selenium installed on your Linux machine, ready to handle automated tasks with ease. Whether you are using Python, Java, or other programming languages, integrating Selenium into your development workflow will enhance productivity and reduce manual effort.
With Selenium, you can now automate browser actions across various platforms and browsers, making web interactions more efficient and reliable. With this powerful toolset at your disposal, you can tackle a wide range of web automation challenges, improve testing workflows, and create more scalable solutions.
Now that you have the knowledge to get started, experiment with different Selenium features, explore advanced functionalities, and use automation to streamline your web-based processes. Happy automating!

Add a Comment