Introduction.
Amazon EC2 Auto Scaling is a service that automatically adjusts the number of EC2 instances running in your environment to meet the demands of your application. This ensures that your application can scale up to handle increased load and scale down during periods of low demand, optimizing both performance and cost-efficiency.
An Auto Scaling Group (ASG) is a key component in this process. It defines the minimum, maximum, and desired number of EC2 instances, as well as scaling policies that determine when to add or remove instances based on metrics like CPU utilization or request count.
By configuring an ASG, you can ensure high availability and resilience for your applications, as the system can automatically recover from instance failures. This approach helps you maintain consistent application performance while reducing manual intervention.

Setting up an Auto Scaling Group in EC2 requires careful planning of instance types, desired capacity, scaling policies, and other configurations to meet the specific needs of your application.
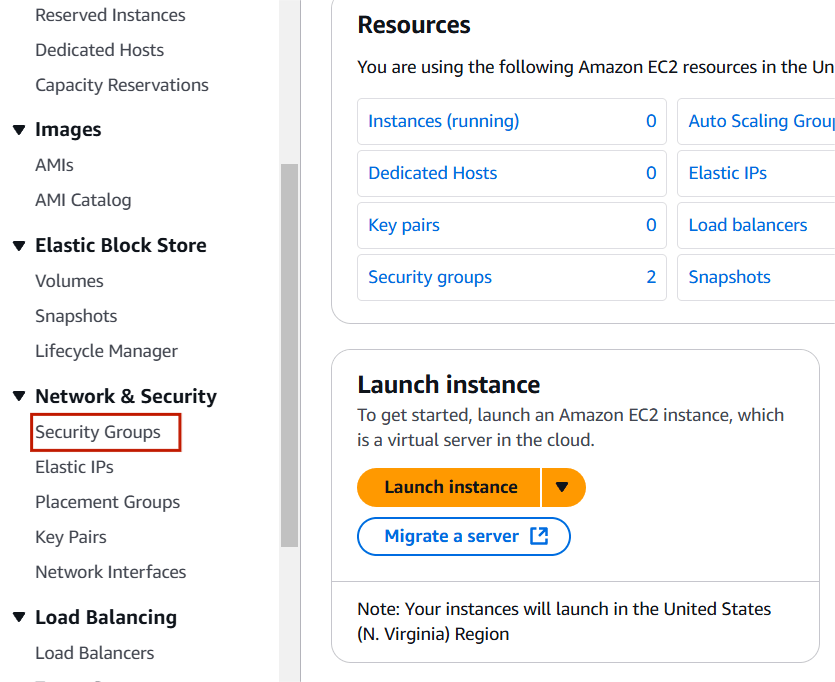
STEP 1: Navigate EC2 and select security group.
- Click on create security group.

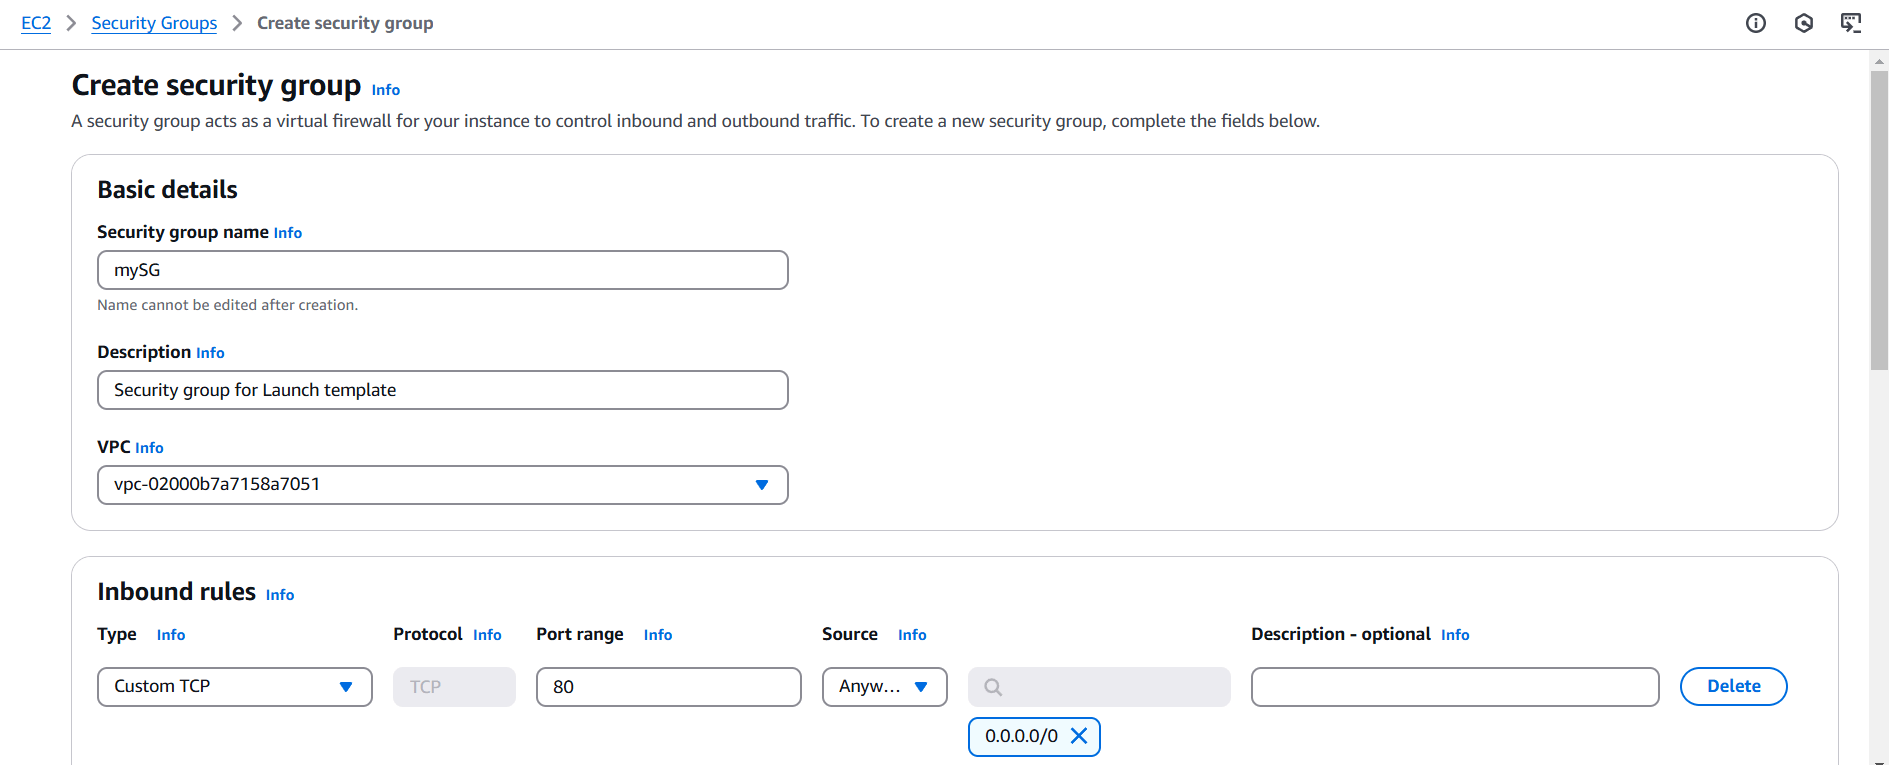
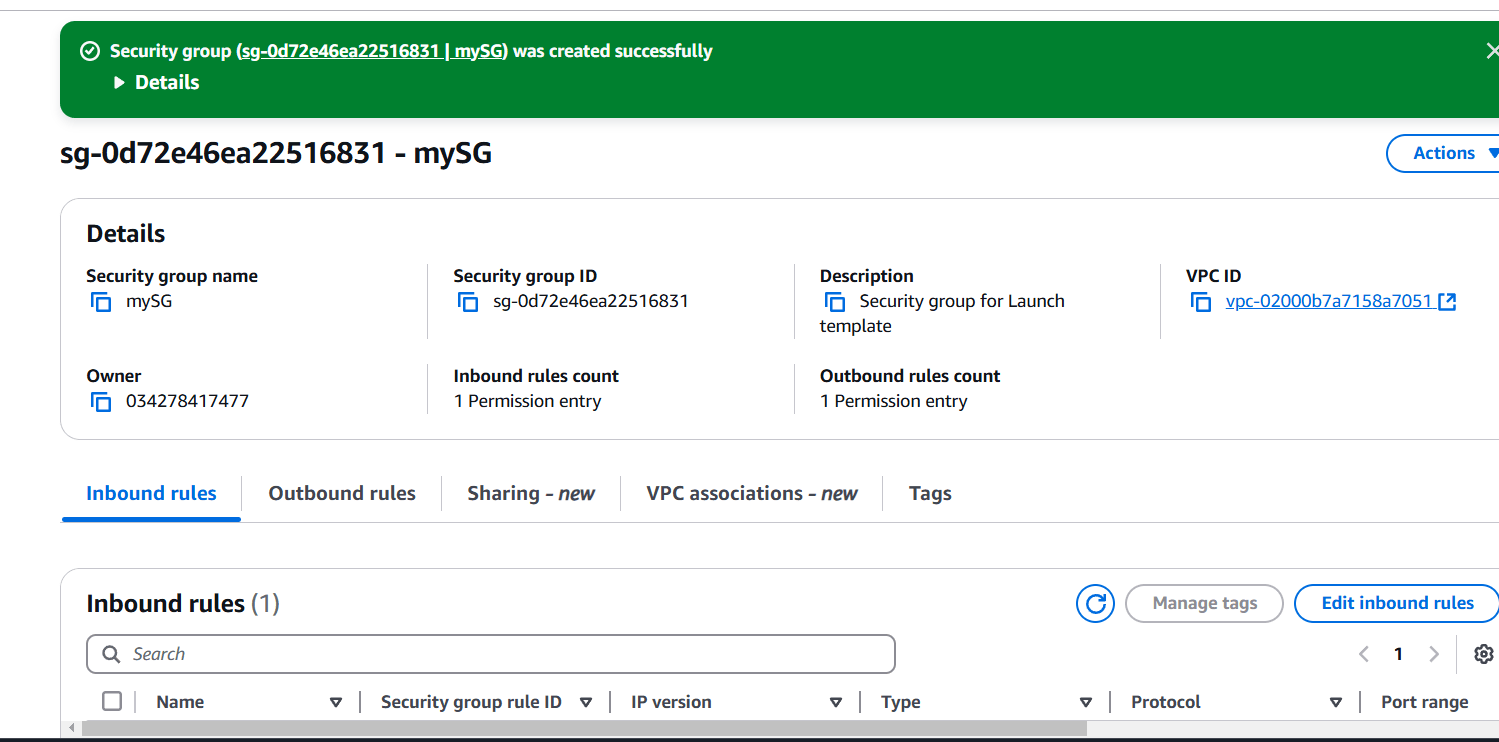
STEP 2: Enter security group name and discription.
- Select default VPC.
- Add port number 80.
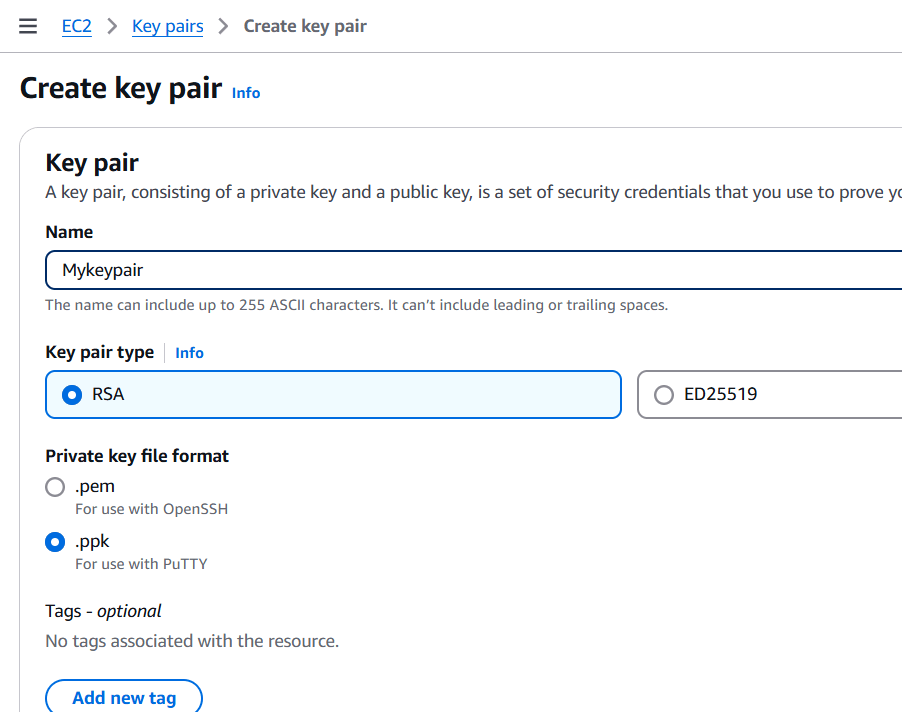
STEP 3: Next click on keypair and create a keypair.
- Enter the name and select ppk or .pem.
- Click on create.

STEP 4: Select launch templates.
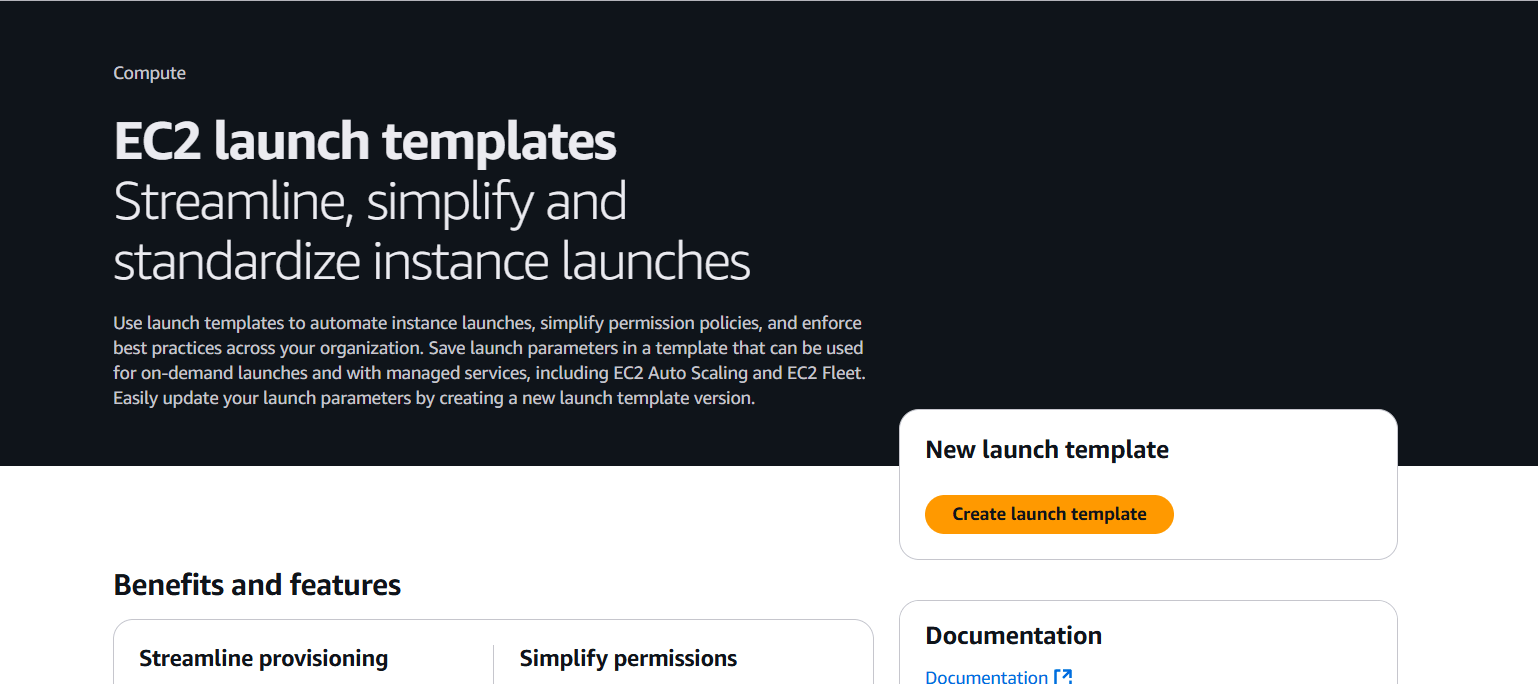
- Click on create launch templates.
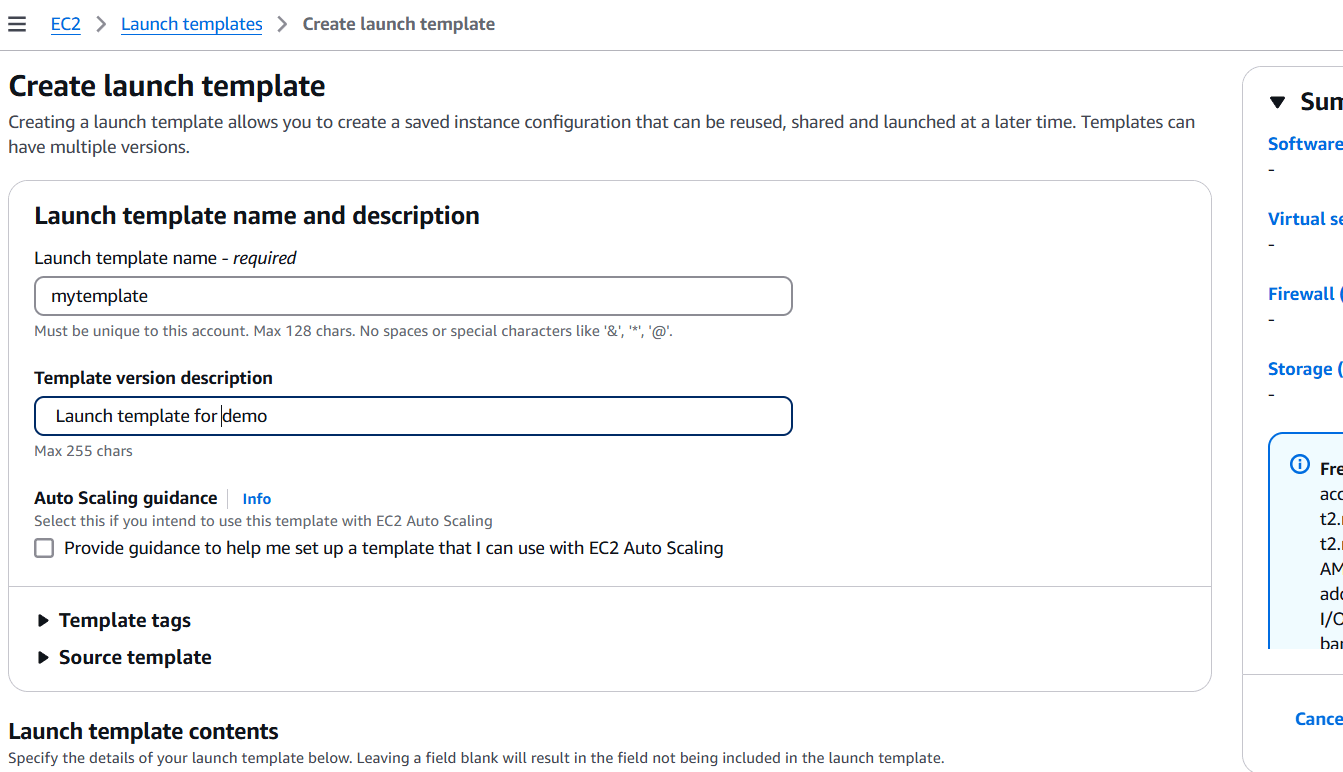
- Enter the name and discription.
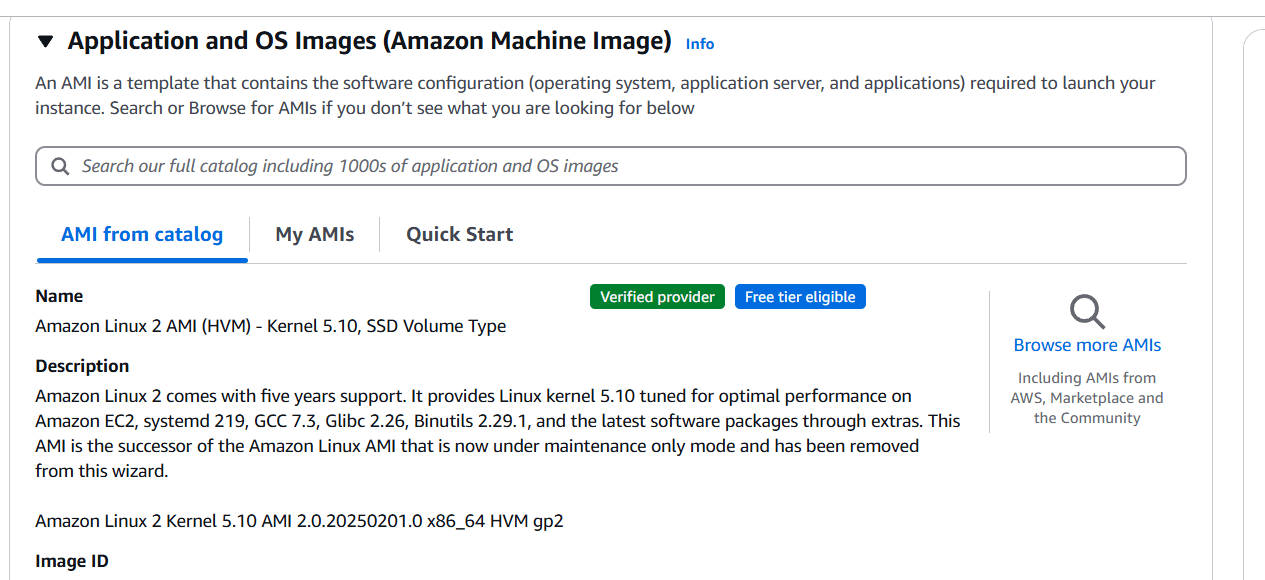
- Select instance type and AMI, keypair, security group.
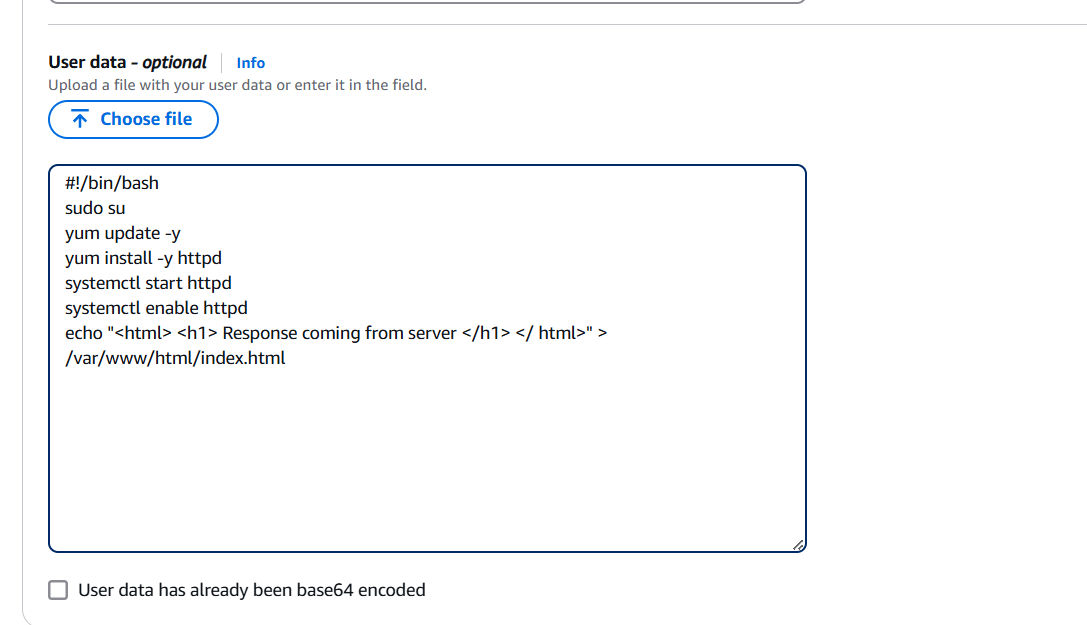
- Enter the following command in user data.
#!/bin/bash
sudo su
yum update -y
yum install -y httpd
systemctl start httpd
systemctl enable httpd
echo "<html> <h1> Response coming from server </h1> </ html>" > /var/www/html/index.html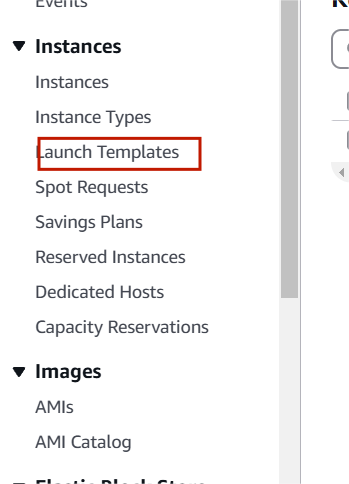
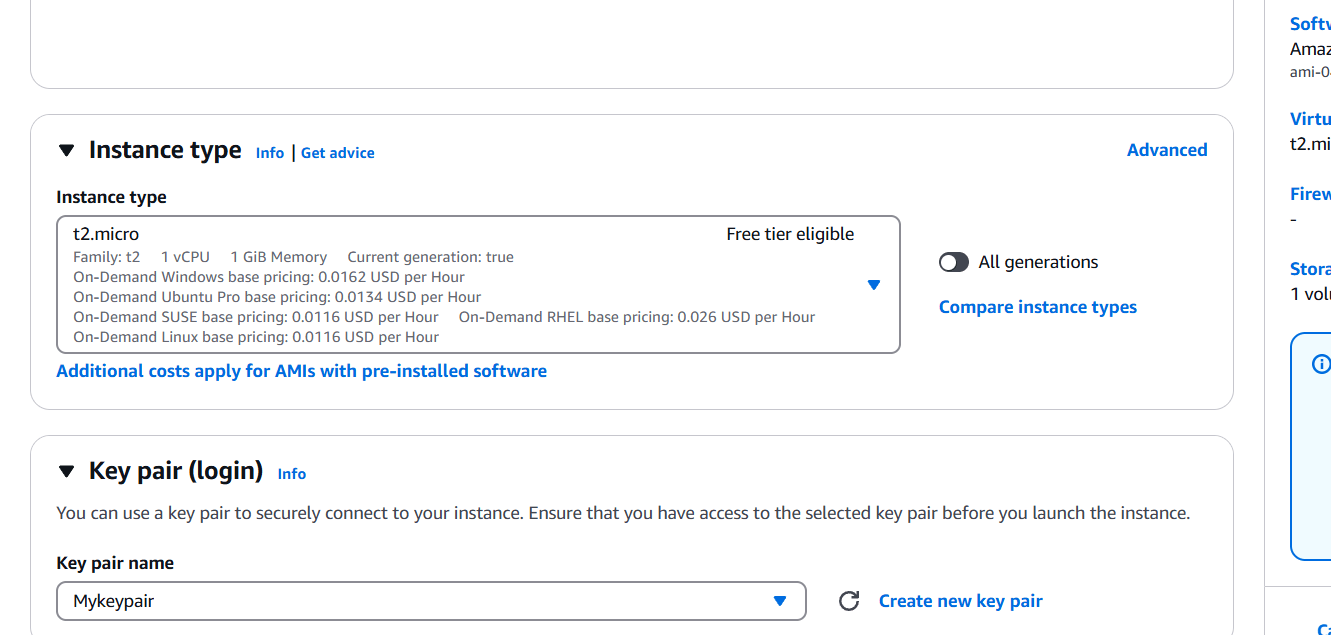
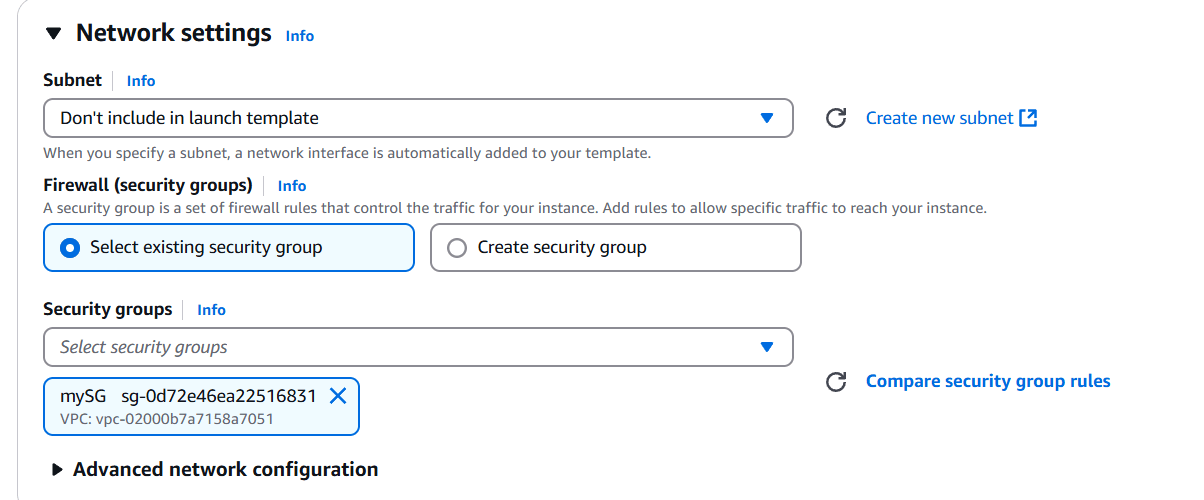
STEP 5: Now, Create a auto scaling group.
- Enter a name and Select your template.
- Select VPC and Subnet.
- Select addition capacity setting.
- Add tags.
- And click on next.
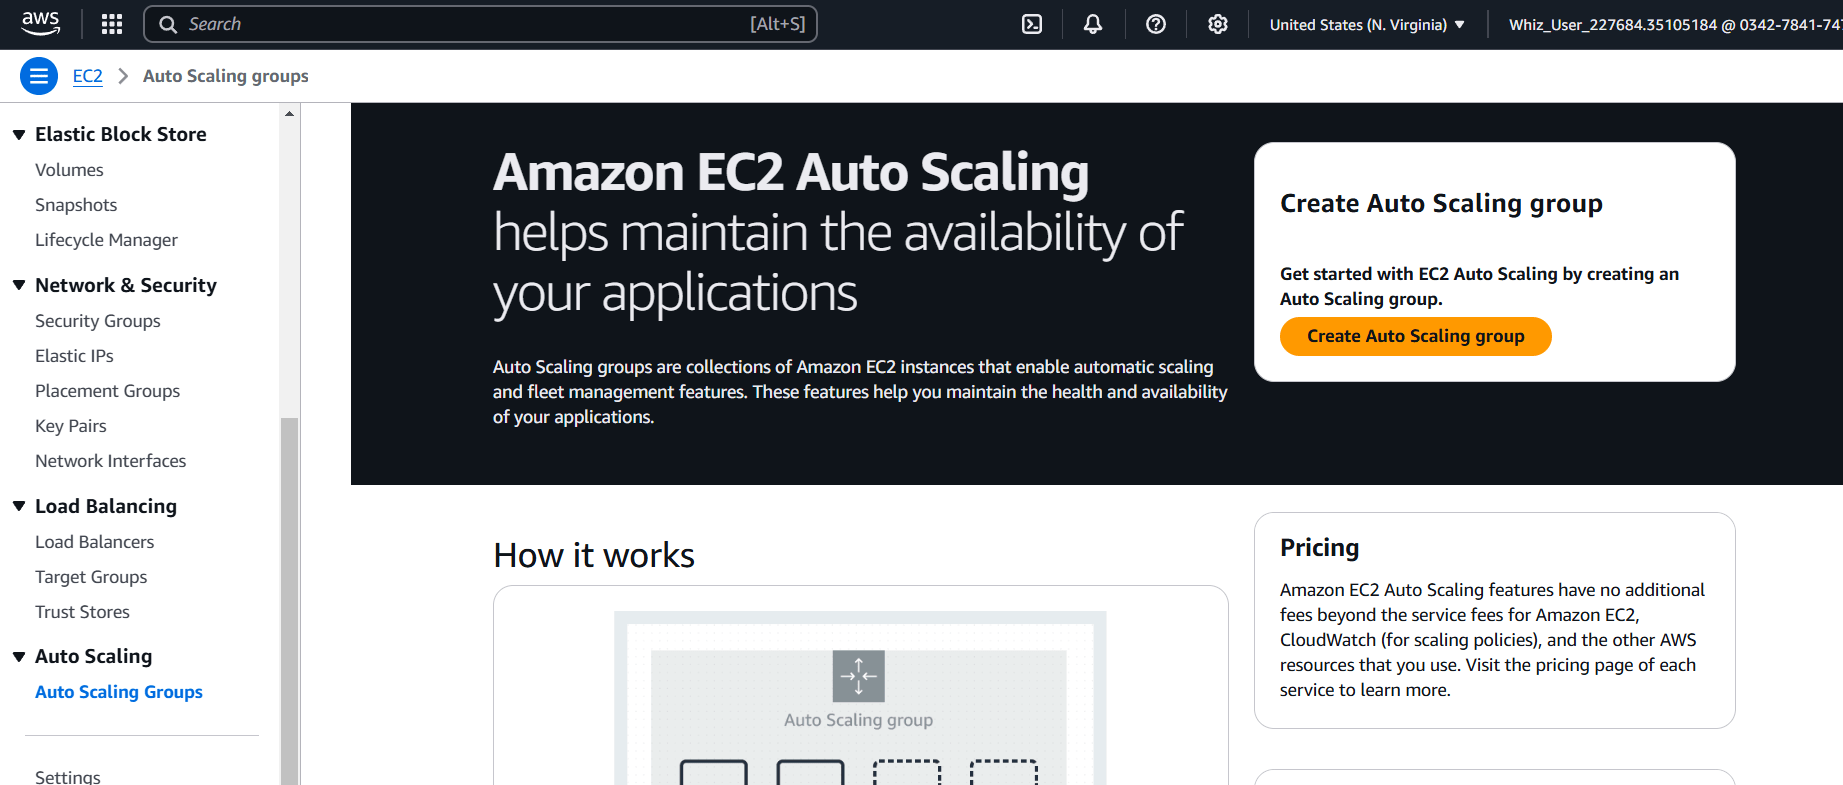
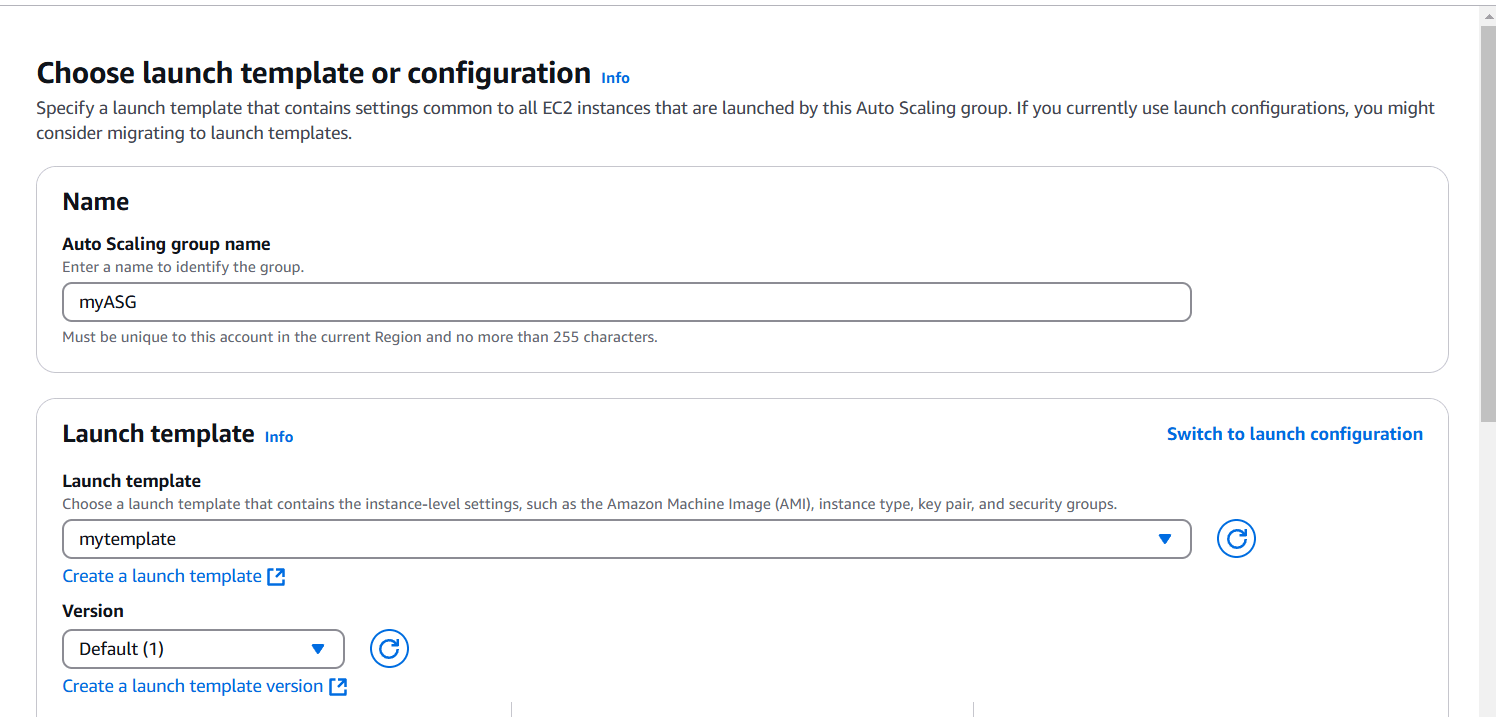
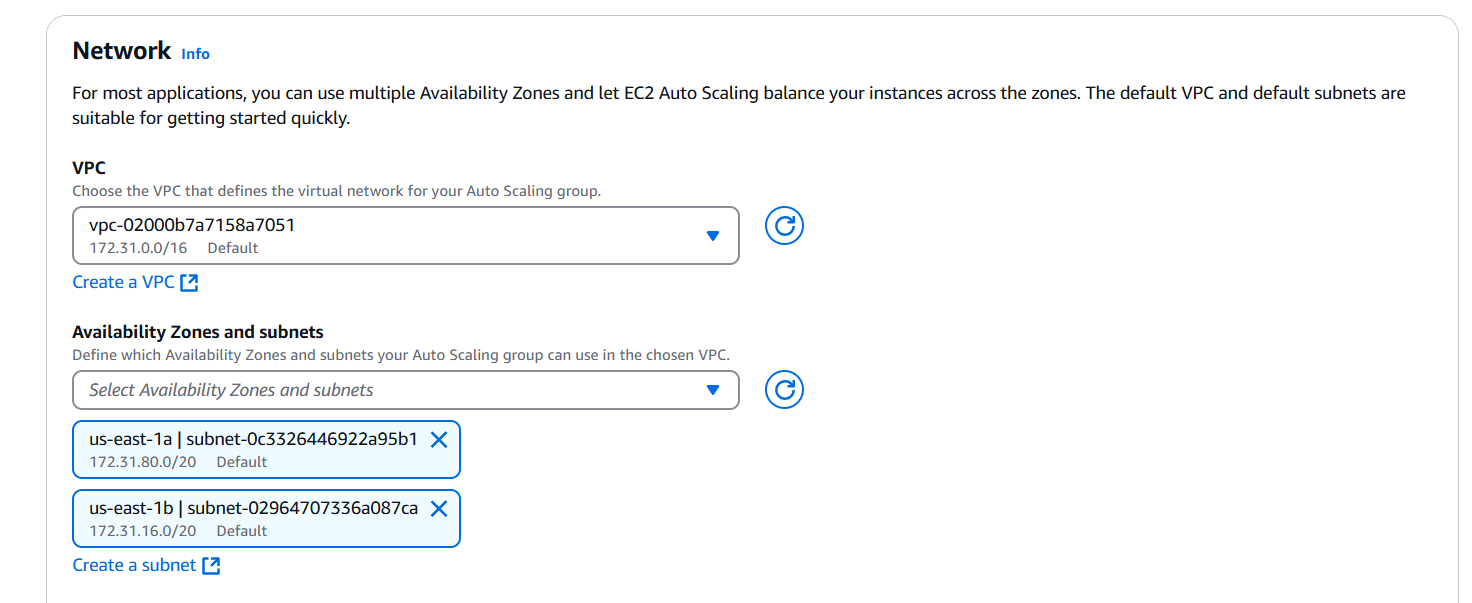
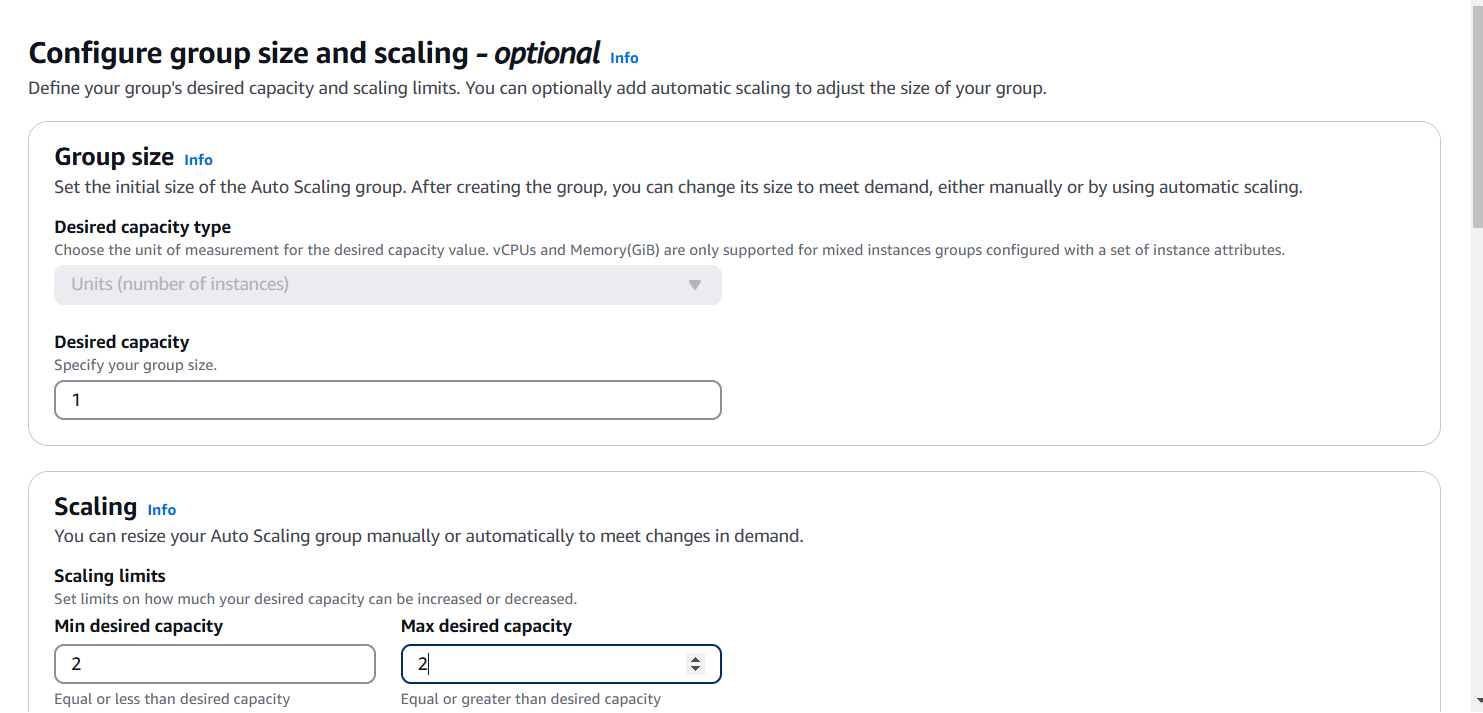
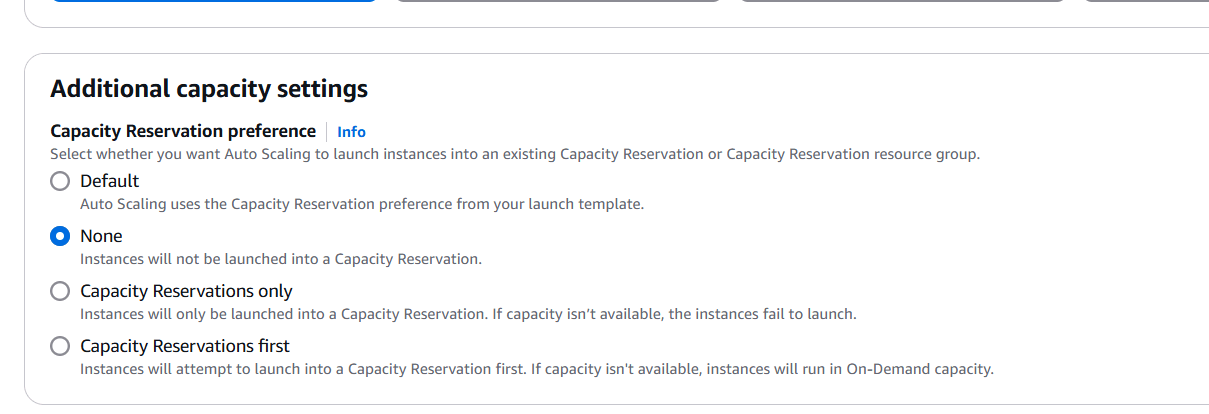
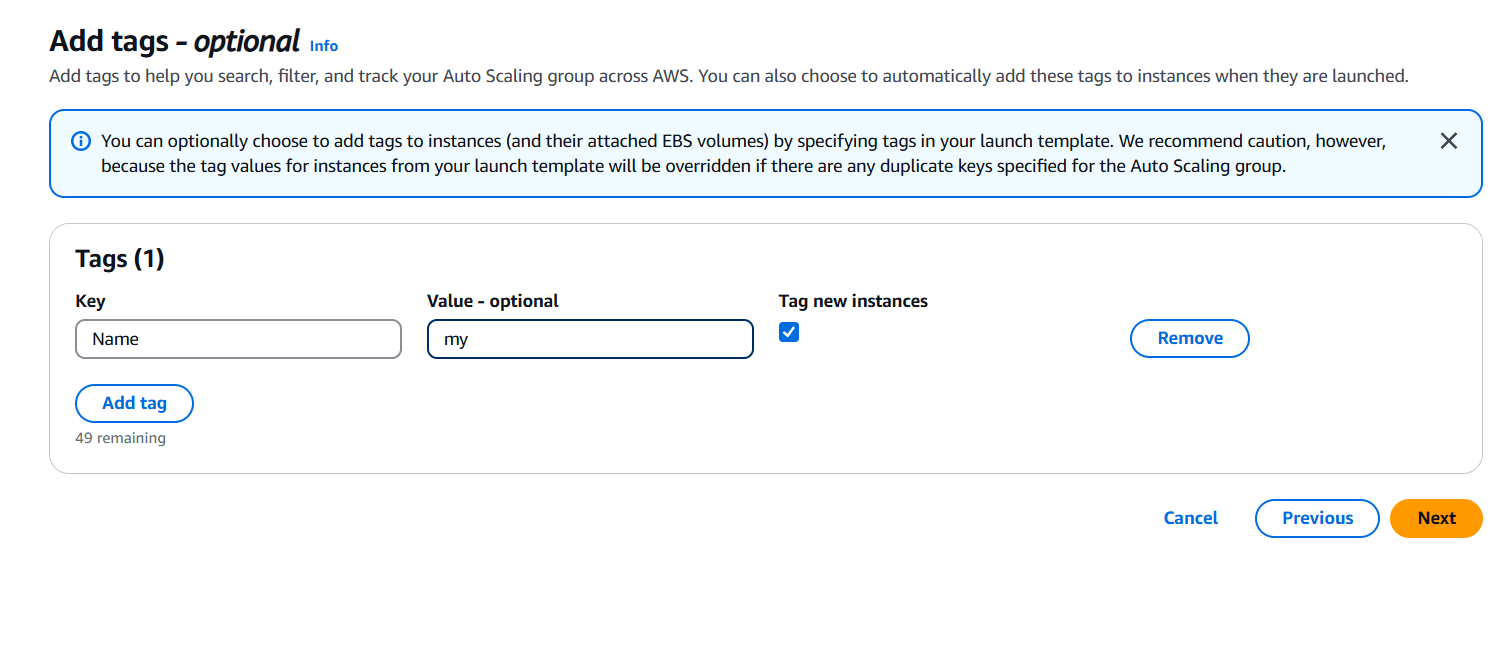

STEP 6: Go to instance and verify the Create the instance.

STEP 7: Next, Checking the ASG.
STEP 8: Click on instance and terminate the instance.


STEP 9: Set up automation to create instances in under 5 minutes.


Conclusion.
In conclusion, EC2 Auto Scaling provides a powerful solution for managing the scalability and availability of your applications in the cloud. By creating and configuring an Auto Scaling Group, you can automate the scaling of your infrastructure, ensuring that it meets varying demand efficiently.
This service reduces the need for manual intervention, allowing for quicker responses to traffic changes and minimizing costs by only running the necessary instances. It enhances reliability by ensuring that the required number of instances is always running, even in the event of failures.
Proper configuration of Auto Scaling policies, instance types, and capacity settings is essential to ensure the system operates smoothly. Ultimately, EC2 Auto Scaling ensures that your application remains performant, cost-effective, and resilient, contributing to a better user experience and more efficient cloud resource management.

Add a Comment