Introduction.
Maven is a popular build automation and project management tool primarily used in Java-based software development. It simplifies the process of building, compiling, and managing dependencies in a project.
Here’s a breakdown of what Maven does:
- Build Automation: Maven automates the process of compiling code, running tests, packaging applications, and deploying them. This helps developers save time and avoid errors associated with manual processes.
- Dependency Management: One of Maven’s key features is its ability to handle dependencies. If your project depends on external libraries (like JAR files), Maven can automatically download and manage them from a central repository. It also keeps track of versioning and ensures compatibility.
- Project Structure: Maven promotes standardization by encouraging a consistent project directory structure. This makes it easier for developers to collaborate and maintain projects over time.
- Centralized Repositories: Maven uses a central repository (usually Maven Central) where commonly used libraries and tools are stored. Developers can access these repositories directly without manually downloading and configuring dependencies.
- Plugins: Maven supports numerous plugins that help extend its functionality, such as for code analysis, documentation generation, deployment, and more.
- Lifecycle Management: Maven follows a defined lifecycle with phases like “clean,” “validate,” “compile,” “test,” and “install.” Each phase has a specific task and ensures that the build process runs smoothly and consistently.

In short, Maven helps Java developers efficiently manage projects, dependencies, and build processes, making the development process more organized and scalable.
Method 1: Install Maven on Ubuntu with APT.
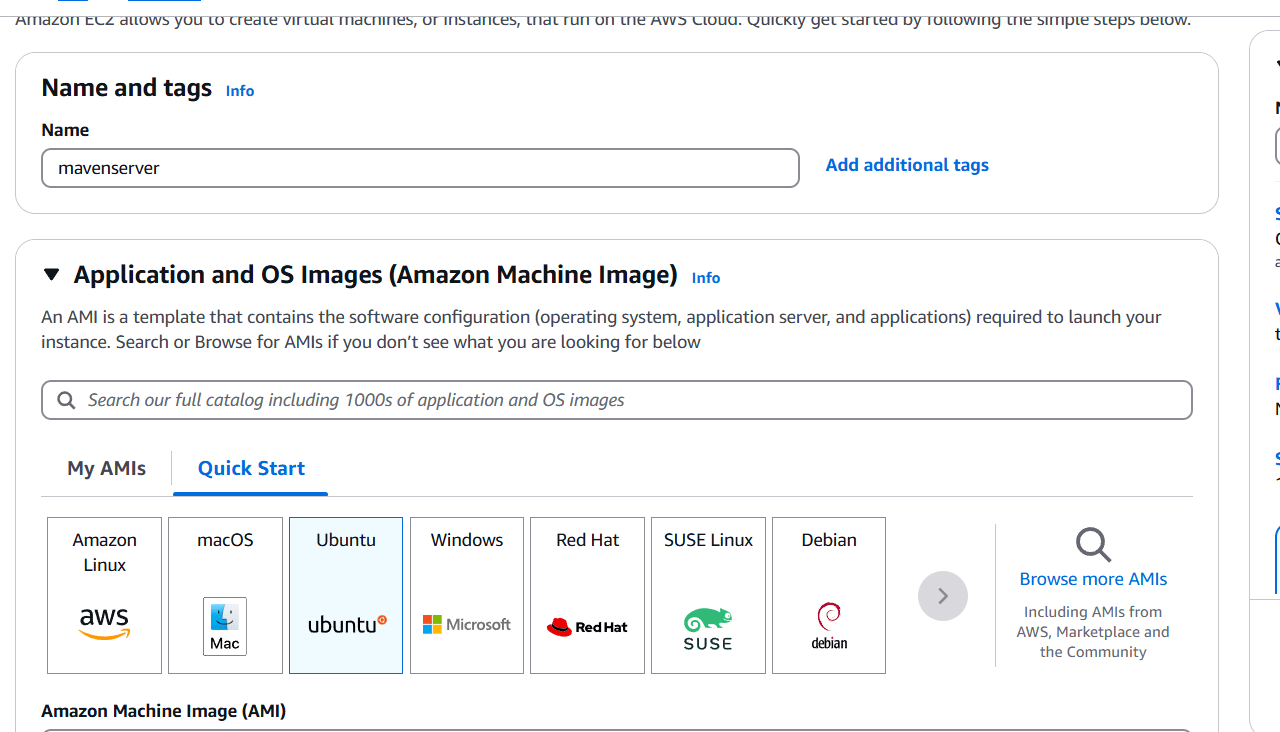
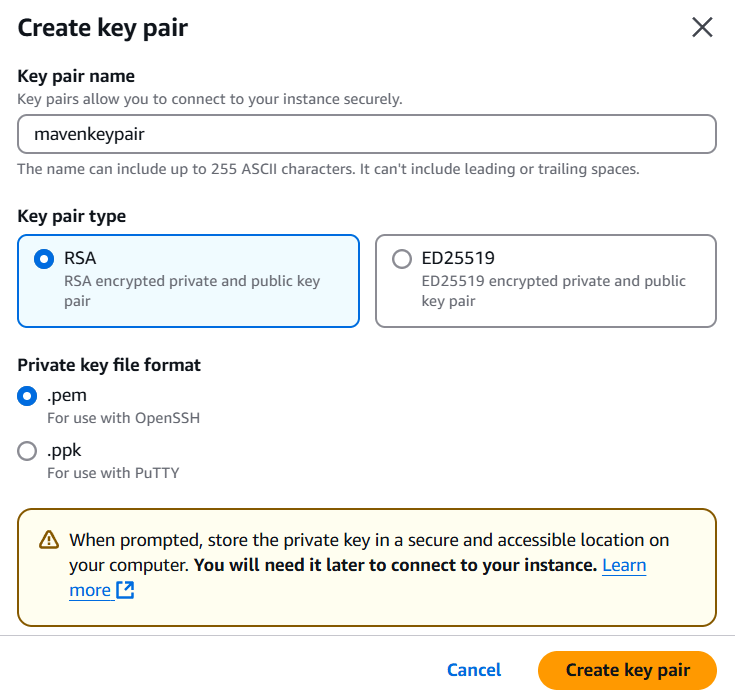
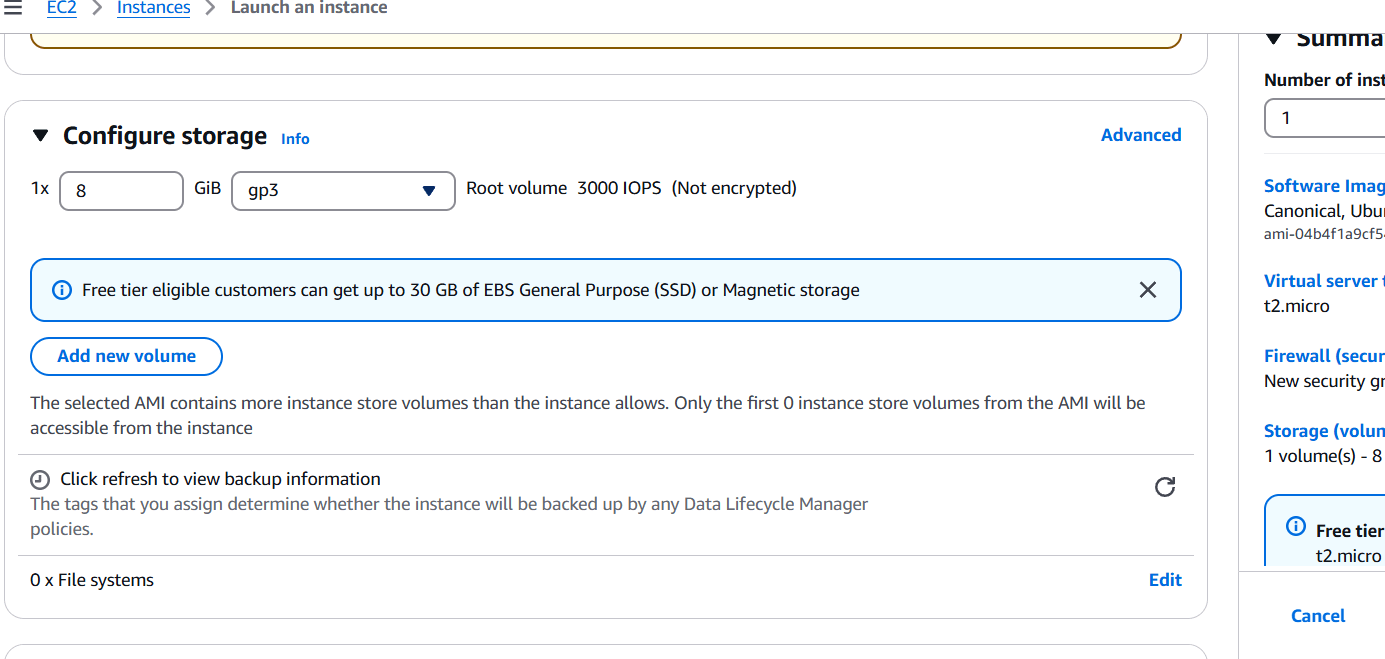
STEP 1: Create a EC2 instance.
- Enter the name.
- Select AMI.
- Create keypair.
- Click on create instance.


STEP 2: Accessing SSH Connection.
- Follow these steps to install Maven with APT.
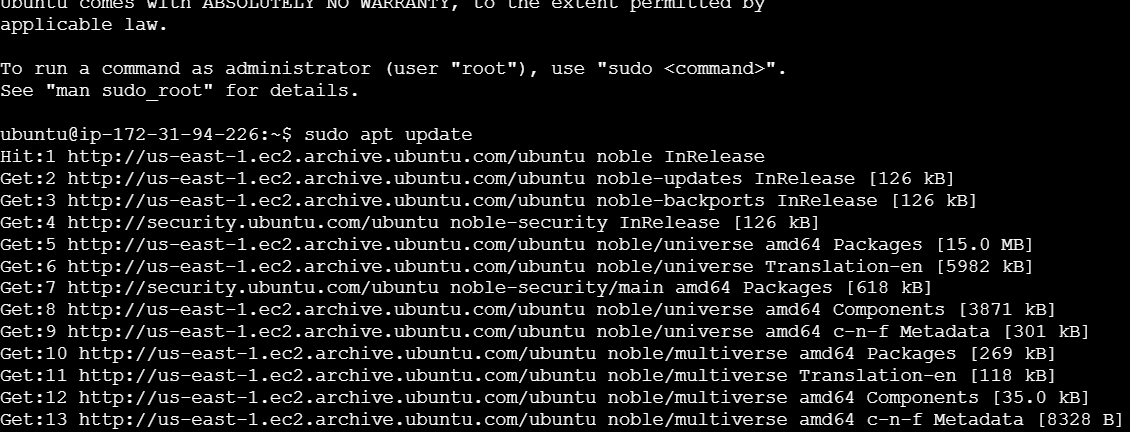
sudo apt update
sudo apt install maven -y
mvn -version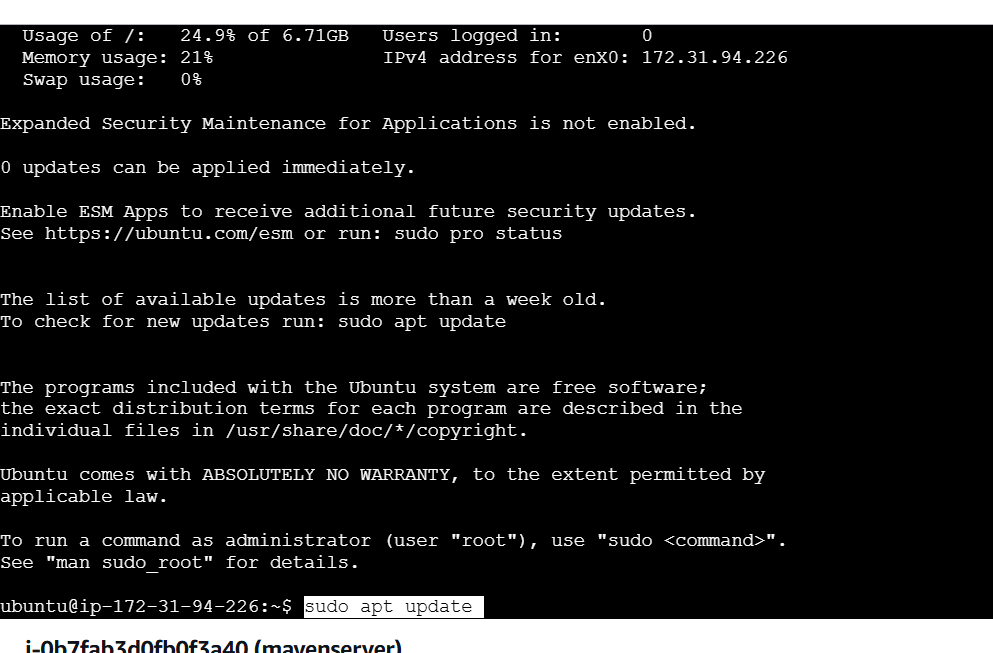


Method 2: Download and Install Maven’s Recent Version on Ubuntu.
STEP 1: Install OpenJDK.
sudo apt update
sudo apt install default-jdk -y
java -version

STEP 2: Download and Install Maven.
- Install maven.
- Copy the 1st link.
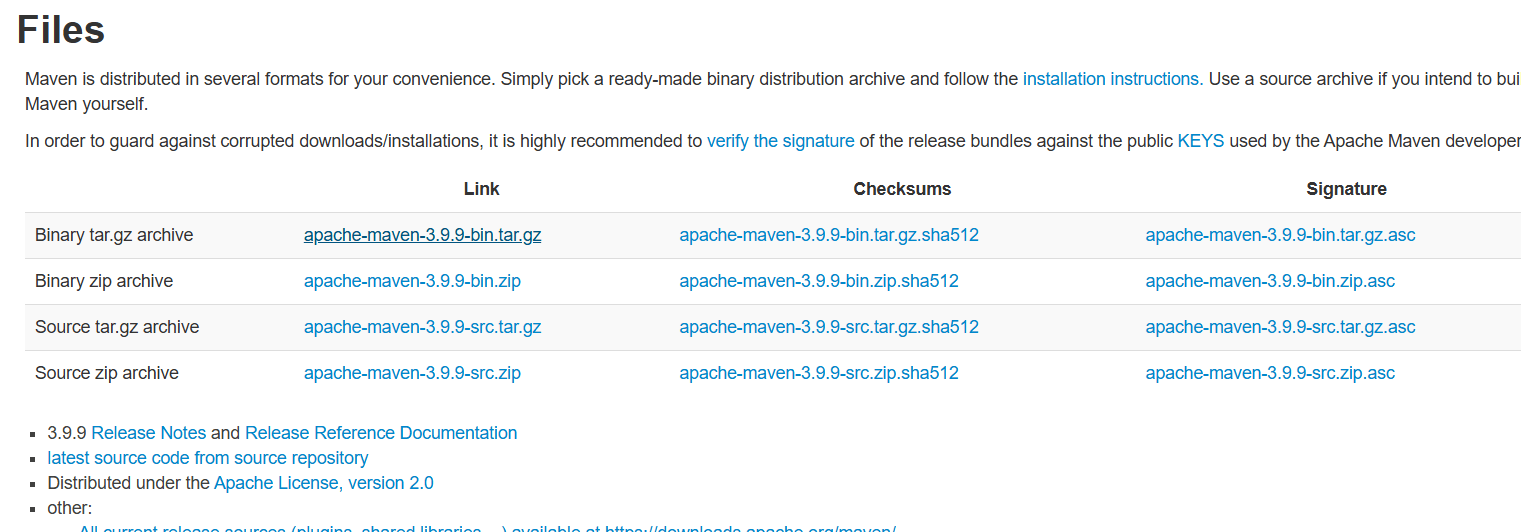
- Paste the link in following method.
wget [link] -P /tmp
sudo tar xf /tmp/apache-maven-*.tar.gz -C /opt
sudo ln -s /opt/apache-maven-3.9.6 /opt/maven

STEP 3: Set Up Environment Variables.
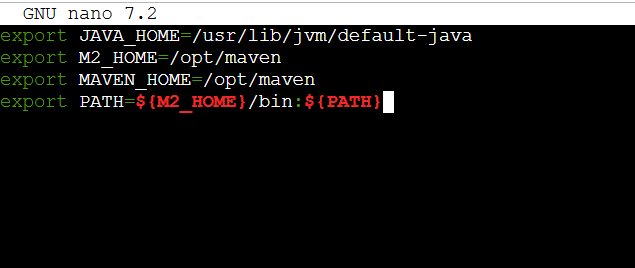
sudo nano /etc/profile.d/maven.sh- Enter the following command.
export JAVA_HOME=/usr/lib/jvm/default-java
export M2_HOME=/opt/maven
export MAVEN_HOME=/opt/maven
export PATH=${M2_HOME}/bin:${PATH}- Save the file.
STEP 4: Verify Maven Installation.
sudo chmod +x /etc/profile.d/maven.sh
source /etc/profile.d/maven.sh
mvn -version

Conclusion.
In conclusion, Maven is an essential tool for Java developers, offering powerful features that streamline the build, dependency management, and project organization processes. By automating tedious tasks, ensuring consistent project structures, and facilitating smooth collaboration, Maven helps developers focus more on coding and less on manual configuration. Whether you’re working on a small project or a large enterprise application, Maven’s simplicity and flexibility make it an invaluable tool for managing the complexities of modern software development.

Add a Comment