Introduction.
An AWS AMI (Amazon Machine Image) is a pre-configured template used to create virtual machines (or instances) in Amazon Web Services (AWS). It contains the operating system, software, and configuration settings required to launch and run a specific environment on AWS.
About AWS AMI:
- Customizable: You can use a public AMI provided by AWS, a marketplace AMI (from third-party vendors), or create your own custom AMI.
- Reusable: Once you create an AMI, you can launch multiple instances from it, making it easy to replicate environments and ensure consistency across deployments.
- Operating System and Software: An AMI typically includes the OS (Linux, Windows, etc.) and additional software or configurations you need (like web servers, databases, etc.).
- Snapshot-based: AMIs are created from snapshots of existing EC2 instances, which capture the instance’s state (disk, configurations, etc.) at the time the AMI is made.
Benefits:
- Fast Deployment: AMIs allow you to quickly deploy fully configured environments, saving time when provisioning new EC2 instances.
- Consistency: You can ensure the same software configuration for multiple instances, reducing configuration drift.
- Scalability: Using AMIs, you can scale out your infrastructure with ease by launching multiple instances from the same image.
Types of AMIs:
- Public AMIs: Provided by AWS or third-party vendors. These are free or available for purchase.
- Private AMIs: Created by users to include their own custom configurations or applications.
STEP 1: Go vscode Select your folder and create variables.tf file.
variable "access_key" {
  description = "Access key to AWS console"
}

variable "secret_key" {
  description = "Secret key to AWS console"
}

variable "region" {
  description = "Region of AWS VPC"
}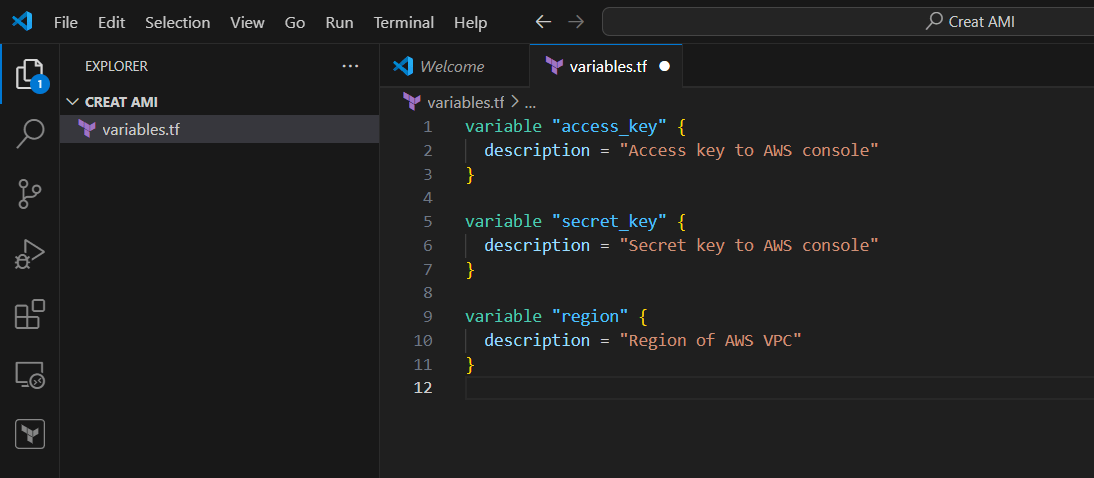
STEP 2: Enter the file and save it.
STEP 3: Create the file terraform.tfvars
region      = "us-east-1"
access_key  = "<YOUR AWS CONSOLE ACCESS ID>"
secret_key  = "<YOUR AWS CONSOLE SECRET KEY>"
STEP 4: Enter the terraform script and save the file.
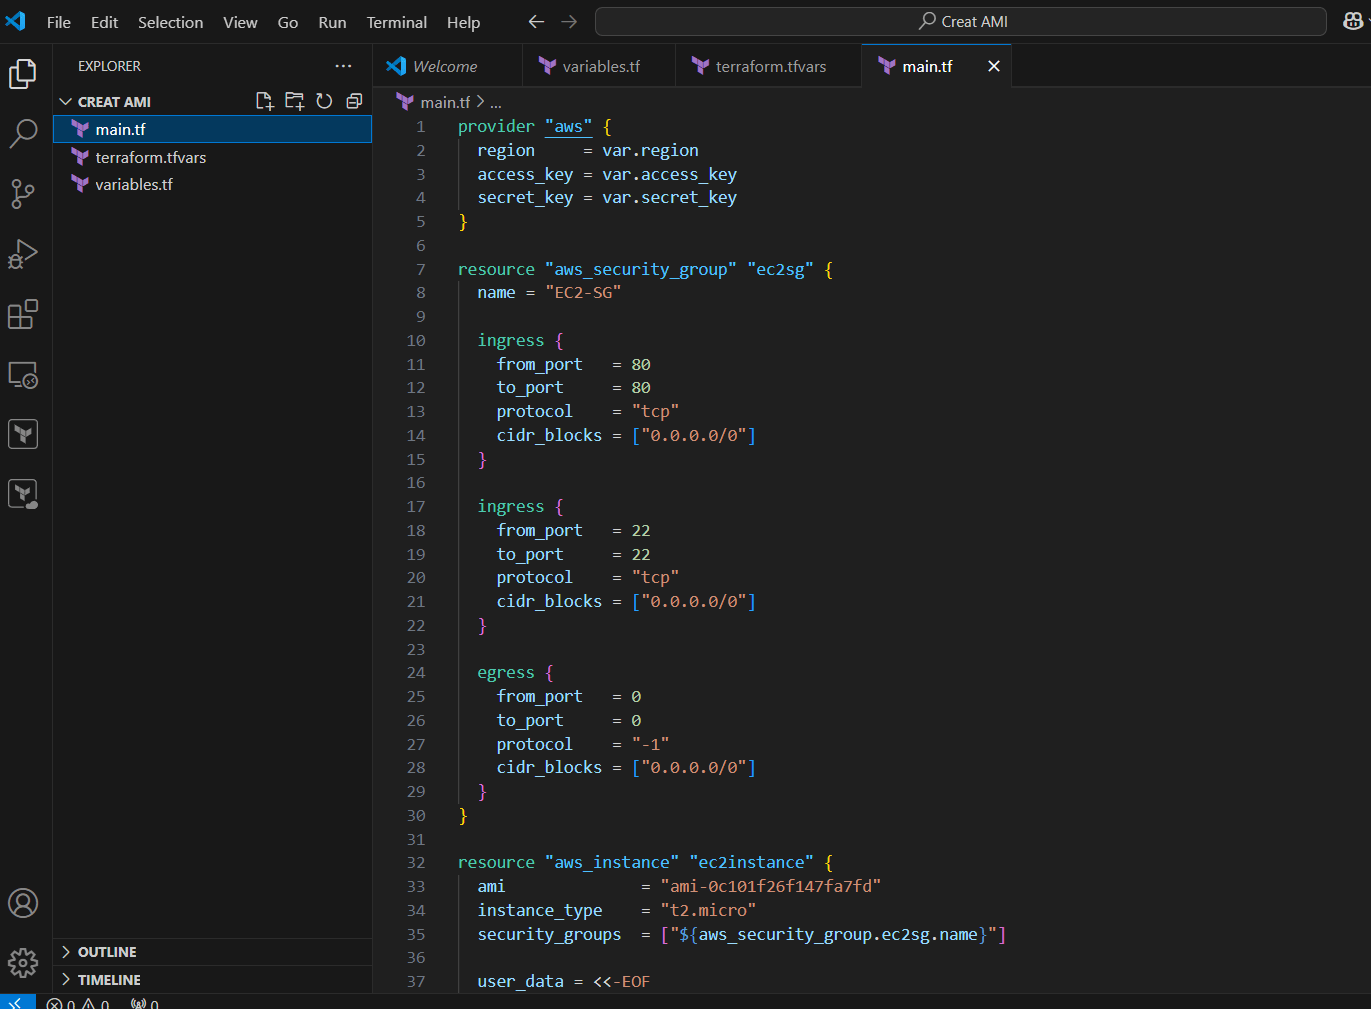
STEP 5: Create main.tf file and enter the following command save the file.
provider "aws" {
  region     = var.region
  access_key = var.access_key
  secret_key = var.secret_key
}

resource "aws_security_group" "ec2sg" {
  name = "EC2-SG"

  ingress {
    from_port   = 80
    to_port     = 80
    protocol    = "tcp"
    cidr_blocks = ["0.0.0.0/0"]
  }

  ingress {
    from_port   = 22
    to_port     = 22
    protocol    = "tcp"
    cidr_blocks = ["0.0.0.0/0"]
  }

  egress {
    from_port   = 0
    to_port     = 0
    protocol    = "-1"
    cidr_blocks = ["0.0.0.0/0"]
  }
}

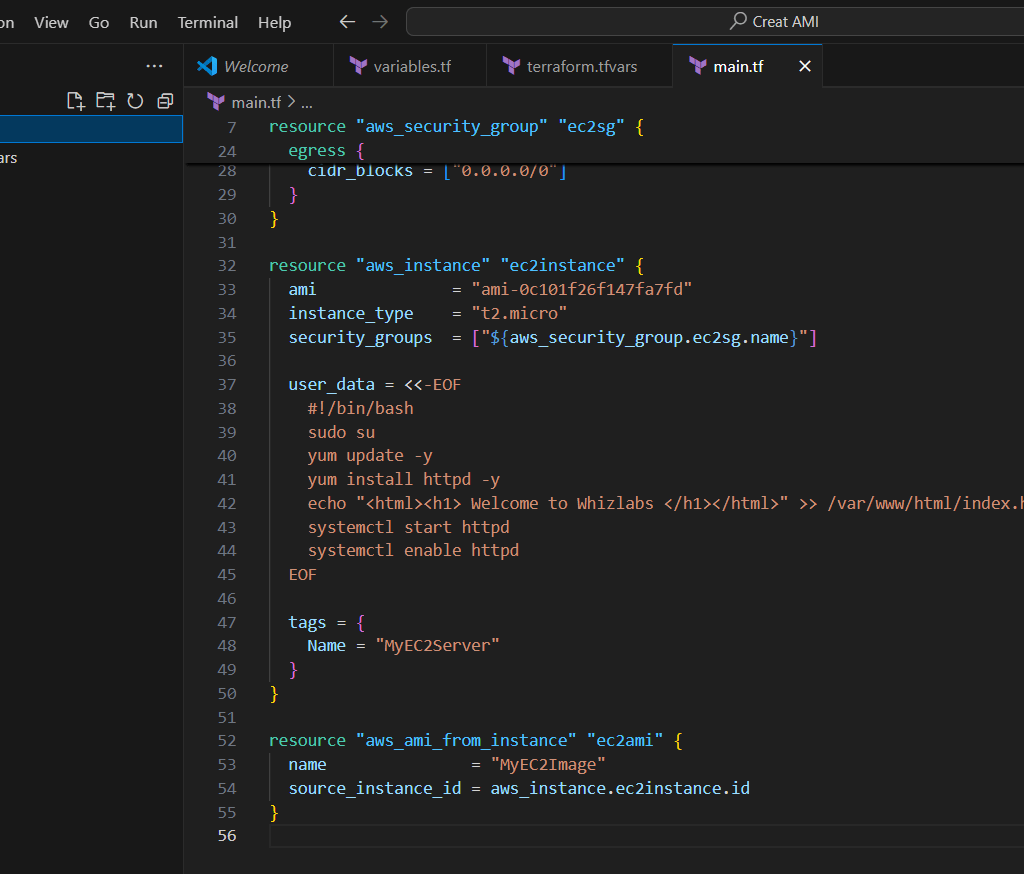
resource "aws_instance" "ec2instance" {
  ami              = "ami-0c101f26f147fa7fd"
  instance_type    = "t2.micro"
  security_groups  = ["${aws_security_group.ec2sg.name}"]

  user_data = <<-EOF
    #!/bin/bash
    sudo su
    yum update -y
    yum install httpd -y
    echo "<html><h1> Welcome to Whizlabs </h1></html>" >> /var/www/html/index.html
    systemctl start httpd
    systemctl enable httpd
  EOF

  tags = {
    Name = "MyEC2Server"
  }
}

resource "aws_ami_from_instance" "ec2ami" {
  name               = "MyEC2Image"
  source_instance_id = aws_instance.ec2instance.id
}
STEP 6: Create output.tf file.
output "ami_id" {
  value = aws_ami_from_instance.ec2ami.id
}
STEP 7: Go to the terminal enter the command terraform init.
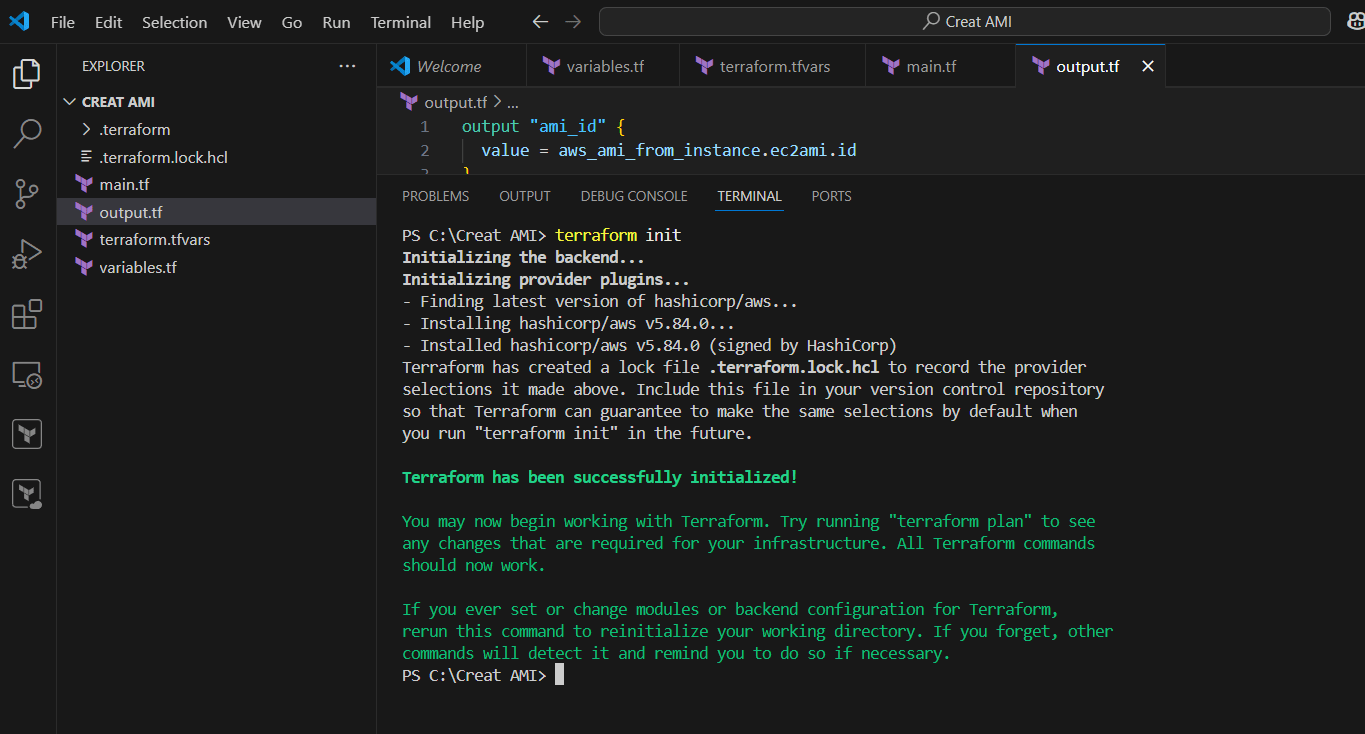
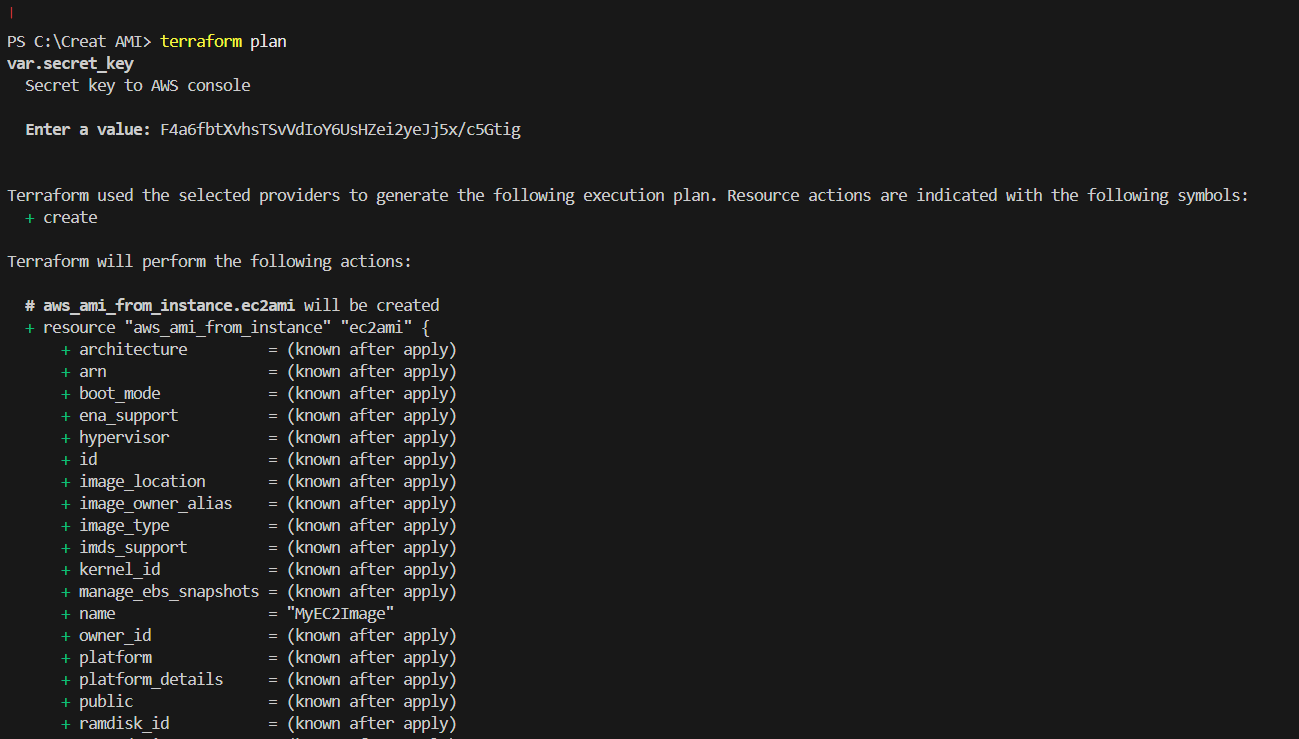
STEP 8: Enter the command terraform plan.
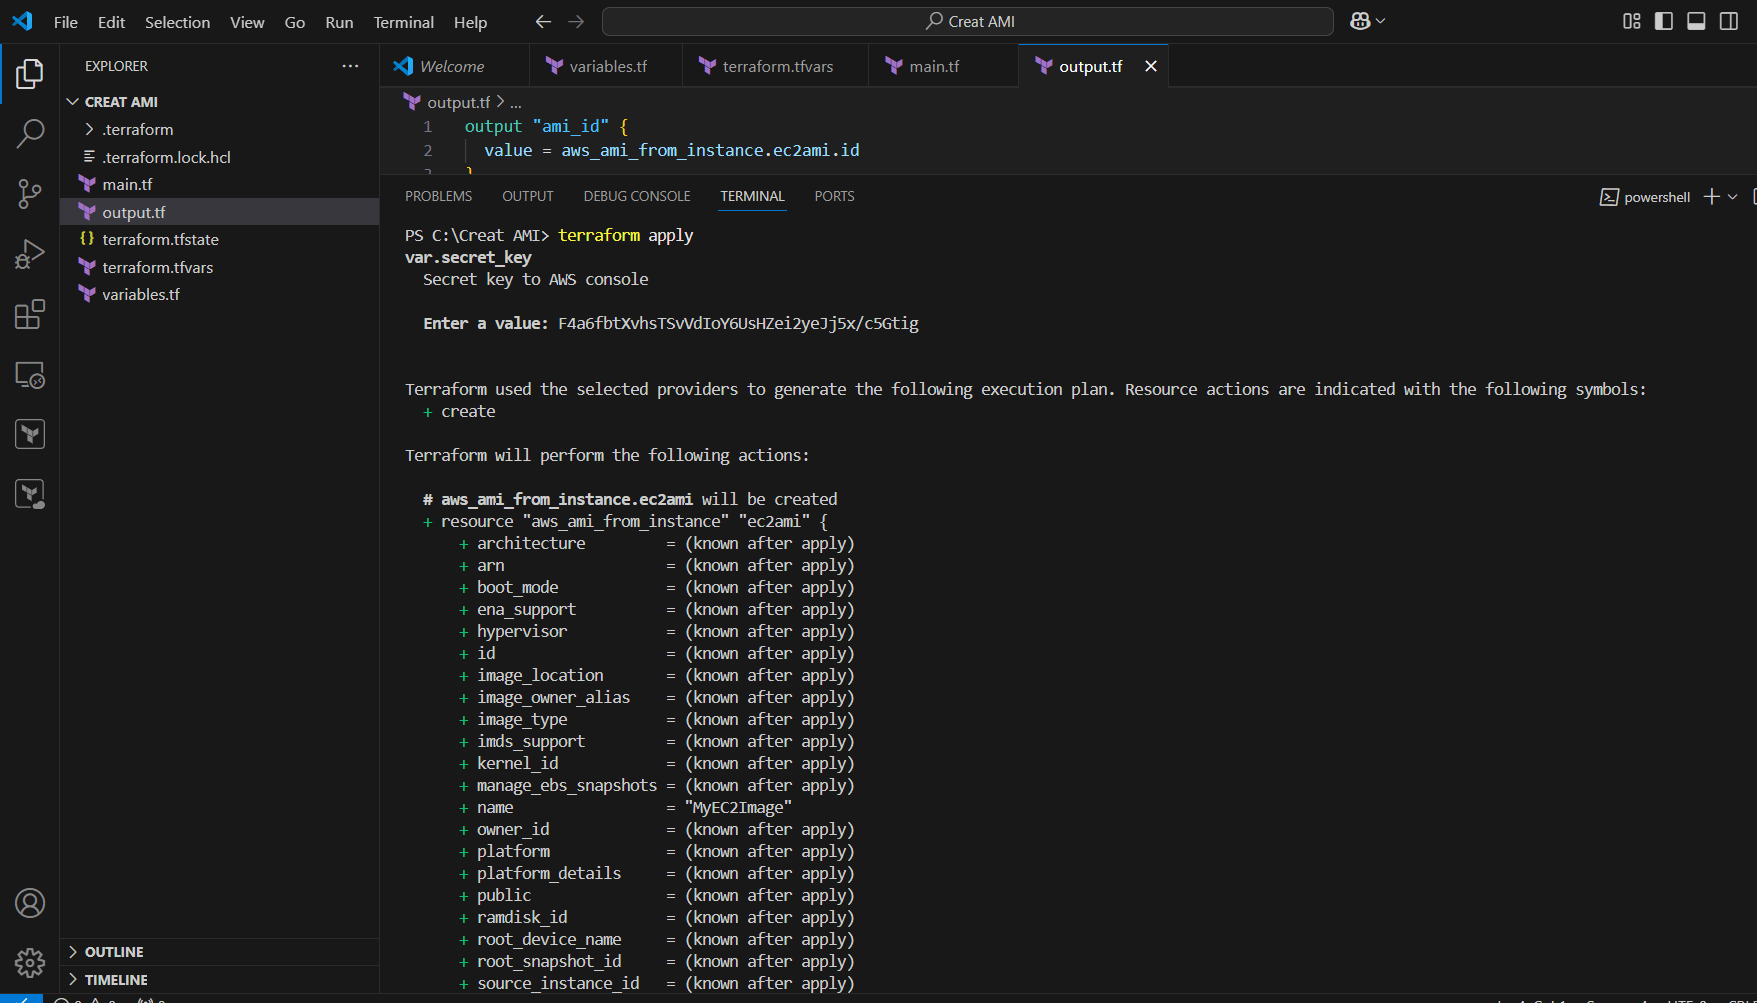
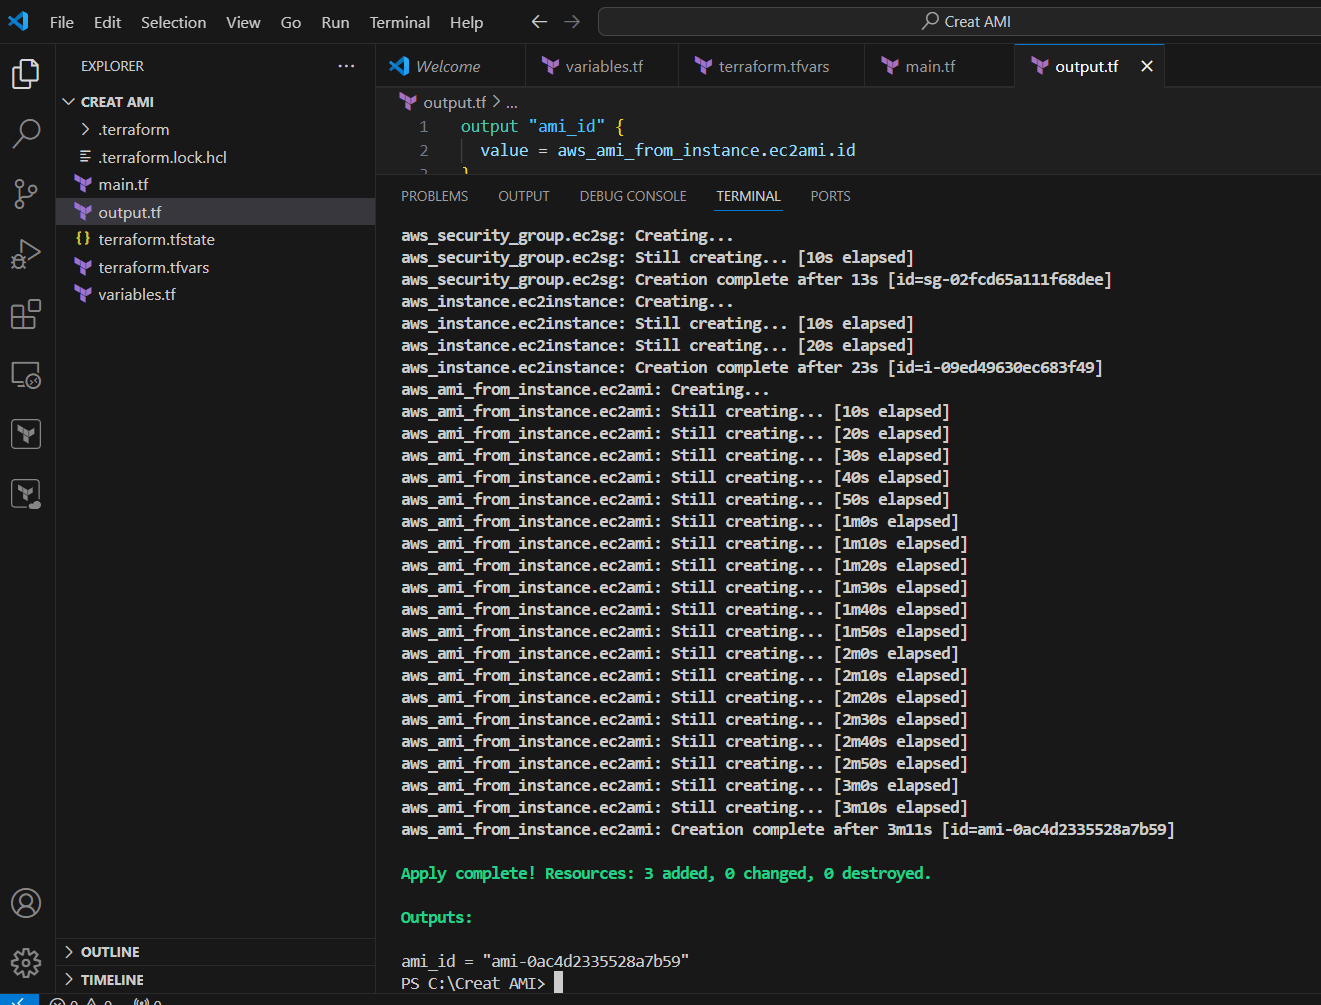
STEP 9: Enter terraform apply command.
STEP 10: Go Security group and verify the Created security group.

STEP 11: Next, Verify the created Instance.

STEP 12: Now, Go to verify the AMI.

Conclusion.
In conclusion, an AWS AMI (Amazon Machine Image) is a powerful tool in Amazon Web Services that allows you to create and launch virtual machine instances quickly and consistently. It includes the operating system, software, and configurations necessary to set up an environment on AWS. AMIs are highly customizable and reusable, making them a key part of scalable, automated cloud infrastructure. They enable rapid deployment, ensure consistency across instances, and help in scaling your applications efficiently. If you’re working with AWS, understanding and utilizing AMIs can significantly streamline the management of your cloud infrastructure.

Add a Comment