AWS Two-Tire.
An AWS Two-Tier Architecture is a common cloud computing design pattern that separates the application into two layers, typically a web tier and a database tier. This architecture is commonly used for applications that need to scale easily while maintaining clear separation between the user-facing elements and the backend data storage.
- Web Tier (also called the presentation layer):
- This is the front-end of the application, typically consisting of web servers or load balancers that handle incoming user traffic. In AWS, this layer is usually composed of services like Amazon EC2 instances, Elastic Load Balancer (ELB), or Amazon Lightsail.
- This tier is responsible for processing user requests, managing user interactions, and routing requests to the appropriate backend services.
- Database Tier (also called the data layer):
- This tier is responsible for data storage and management. In AWS, it often uses managed database services like Amazon RDS (for relational databases) or Amazon DynamoDB (for NoSQL databases).
- The database tier is typically isolated from the web tier to ensure better security, reliability, and scalability.

Benefits of a Two-Tier Architecture in AWS:
- Scalability: Each tier can be scaled independently based on demand. You can scale the web tier up or down to handle more traffic, while scaling the database tier as needed for storage and performance.
- Security: The database tier is often placed behind a Virtual Private Cloud (VPC) and security groups, ensuring that only the web tier can access it, providing better control over access and reducing security risks.
- Cost-Effective: With AWS’s flexible services, you only pay for what you use, allowing you to optimize costs as you scale each tier.
- High Availability: AWS services offer built-in availability options like Multi-AZ for databases, ensuring uptime and fault tolerance.
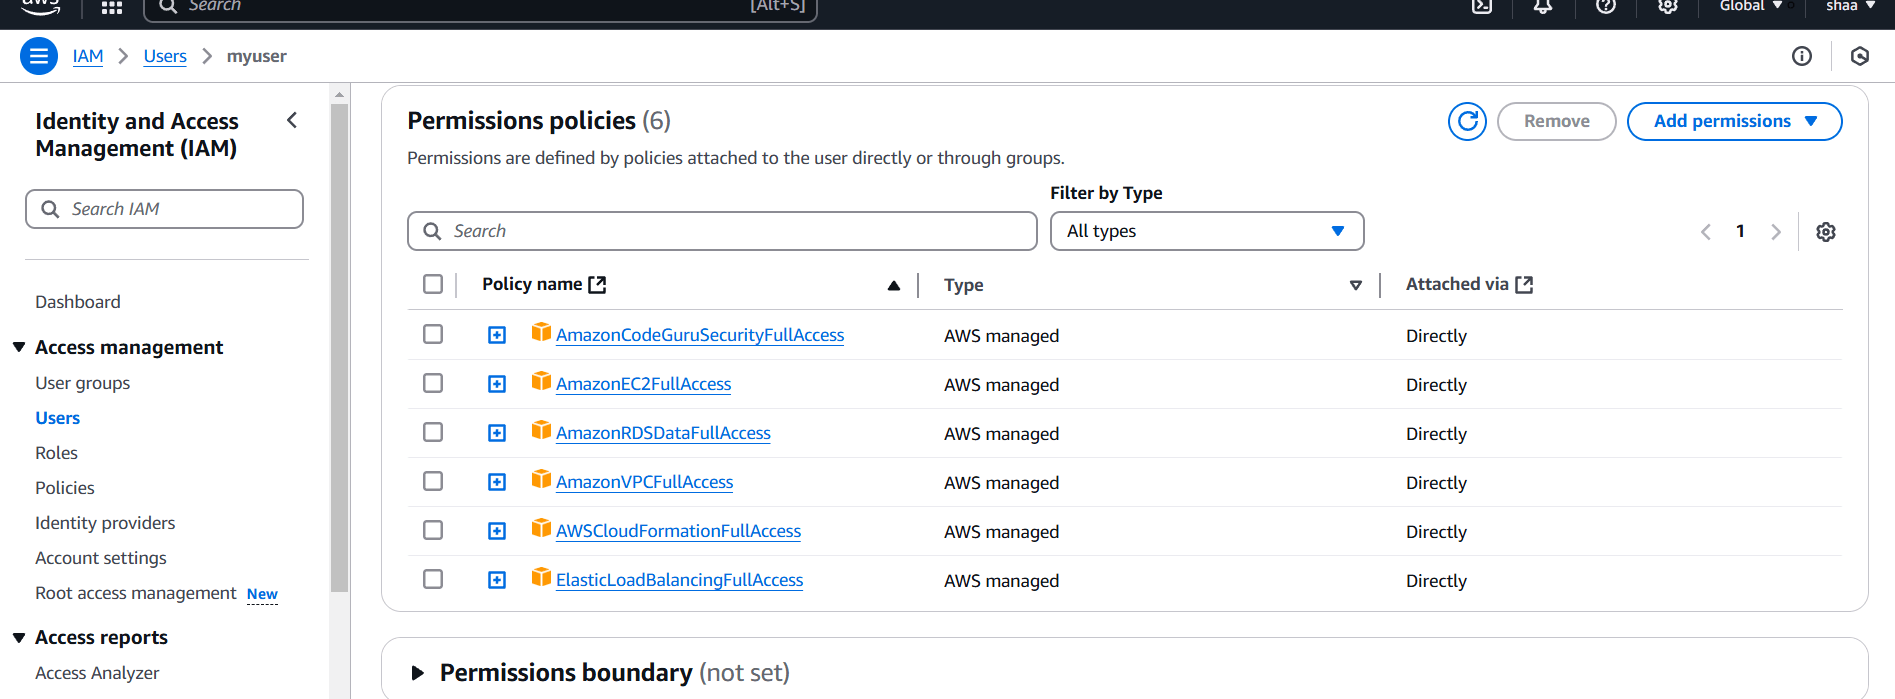
STEP 1: Go to AWS IAM console.
- Create a user.
- Must add the following permissions.
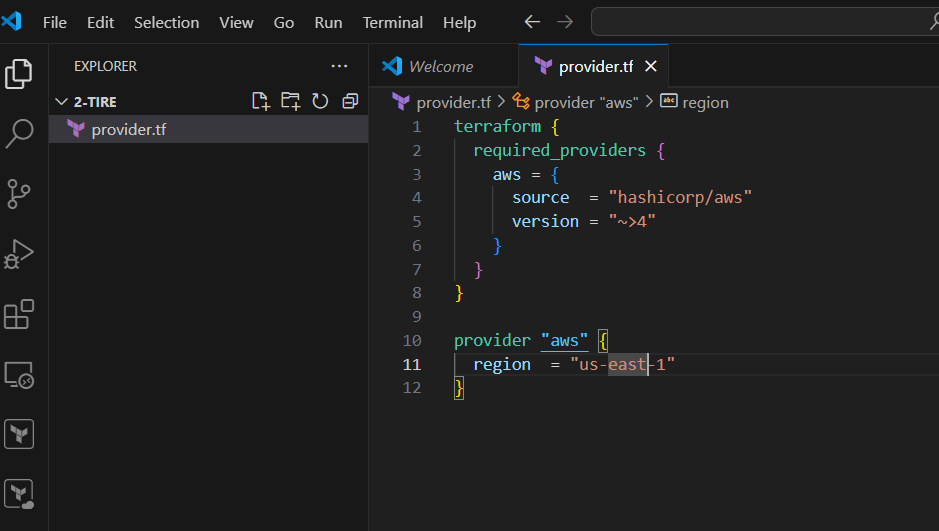
STEP 2: Create provider.tf file.
- Enter the following lines and save the file.
terraform {
  required_providers {
    aws = {
      source  = "hashicorp/aws"
      version = "~>4"
    }
  }
}

provider "aws" {
  region  = "us-east-1"
}
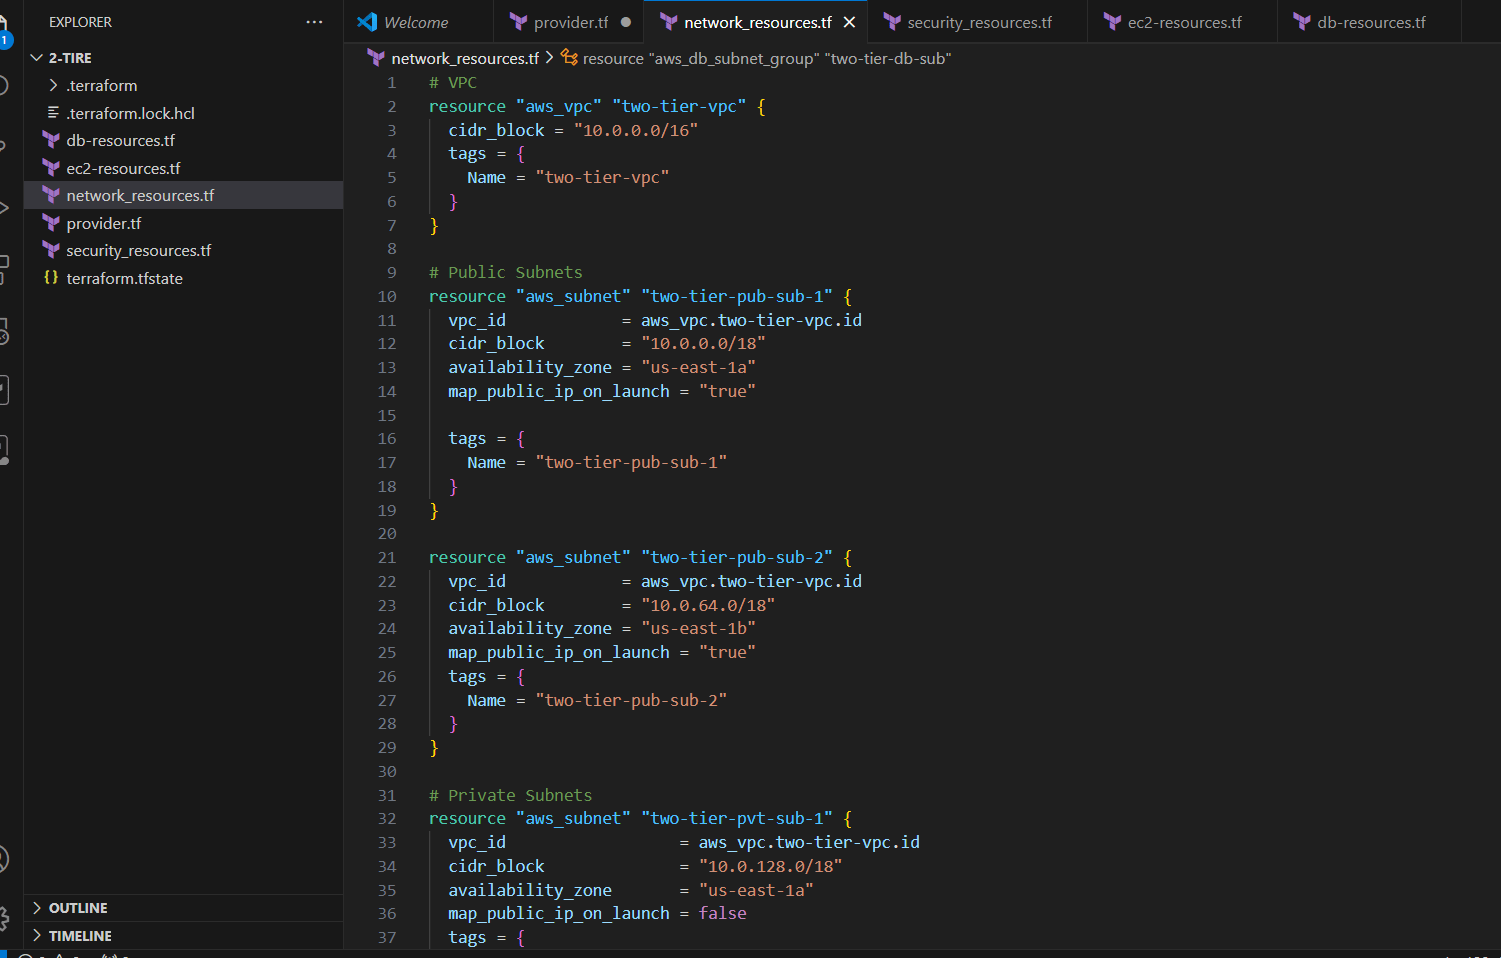
STEP 3: Create network_resources.tf file.
# VPC
resource "aws_vpc" "two-tier-vpc" {
  cidr_block = "10.0.0.0/16"
  tags = {
    Name = "two-tier-vpc"
  }
}

# Public Subnets
resource "aws_subnet" "two-tier-pub-sub-1" {
  vpc_id            = aws_vpc.two-tier-vpc.id
  cidr_block        = "10.0.0.0/18"
  availability_zone = "us-east-1a"
  map_public_ip_on_launch = "true"

  tags = {
    Name = "two-tier-pub-sub-1"
  }
}

resource "aws_subnet" "two-tier-pub-sub-2" {
  vpc_id            = aws_vpc.two-tier-vpc.id
  cidr_block        = "10.0.64.0/18"
  availability_zone = "us-east-1b"
  map_public_ip_on_launch = "true"
  tags = {
    Name = "two-tier-pub-sub-2"
  }
}

# Private Subnets
resource "aws_subnet" "two-tier-pvt-sub-1" {
  vpc_id                  = aws_vpc.two-tier-vpc.id
  cidr_block              = "10.0.128.0/18"
  availability_zone       = "us-east-1a"
  map_public_ip_on_launch = false
  tags = {
    Name = "two-tier-pvt-sub-1"
  }
}
resource "aws_subnet" "two-tier-pvt-sub-2" {
  vpc_id                  = aws_vpc.two-tier-vpc.id
  cidr_block              = "10.0.192.0/18"
  availability_zone       = "us-east-1b"
  map_public_ip_on_launch = false
  tags = {
    Name = "two-tier-pvt-sub-2"
  }
}

# Internet Gateway
resource "aws_internet_gateway" "two-tier-igw" {
  tags = {
    Name = "two-tier-igw"
  }
  vpc_id = aws_vpc.two-tier-vpc.id
}

# Route Table
resource "aws_route_table" "two-tier-rt" {
  tags = {
    Name = "two-tier-rt"
  }
  vpc_id = aws_vpc.two-tier-vpc.id
  route {
    cidr_block = "0.0.0.0/0"
    gateway_id = aws_internet_gateway.two-tier-igw.id
  }
}

# Route Table Association
resource "aws_route_table_association" "two-tier-rt-as-1" {
  subnet_id      = aws_subnet.two-tier-pub-sub-1.id
  route_table_id = aws_route_table.two-tier-rt.id
}

resource "aws_route_table_association" "two-tier-rt-as-2" {
  subnet_id      = aws_subnet.two-tier-pub-sub-2.id
  route_table_id = aws_route_table.two-tier-rt.id
}


# Create Load balancer
resource "aws_lb" "two-tier-lb" {
  name               = "two-tier-lb"
  internal           = false
  load_balancer_type = "application"
  security_groups    = [aws_security_group.two-tier-alb-sg.id]
  subnets            = [aws_subnet.two-tier-pub-sub-1.id, aws_subnet.two-tier-pub-sub-2.id]

  tags = {
    Environment = "two-tier-lb"
  }
}

resource "aws_lb_target_group" "two-tier-lb-tg" {
  name     = "two-tier-lb-tg"
  port     = 80
  protocol = "HTTP"
  vpc_id   = aws_vpc.two-tier-vpc.id
}

# Create Load Balancer listener
resource "aws_lb_listener" "two-tier-lb-listner" {
  load_balancer_arn = aws_lb.two-tier-lb.arn
  port              = "80"
  protocol          = "HTTP"
  default_action {
    type             = "forward"
    target_group_arn = aws_lb_target_group.two-tier-lb-tg.arn
  }
}

# Create Target group
resource "aws_lb_target_group" "two-tier-loadb_target" {
  name       = "target"
  depends_on = [aws_vpc.two-tier-vpc]
  port       = "80"
  protocol   = "HTTP"
  vpc_id     = aws_vpc.two-tier-vpc.id

}

resource "aws_lb_target_group_attachment" "two-tier-tg-attch-1" {
  target_group_arn = aws_lb_target_group.two-tier-loadb_target.arn
  target_id        = aws_instance.two-tier-web-server-1.id
  port             = 80
}
resource "aws_lb_target_group_attachment" "two-tier-tg-attch-2" {
  target_group_arn = aws_lb_target_group.two-tier-loadb_target.arn
  target_id        = aws_instance.two-tier-web-server-2.id
  port             = 80
}

# Subnet group database
resource "aws_db_subnet_group" "two-tier-db-sub" {
  name       = "two-tier-db-sub"
  subnet_ids = [aws_subnet.two-tier-pvt-sub-1.id, aws_subnet.two-tier-pvt-sub-2.id]
}
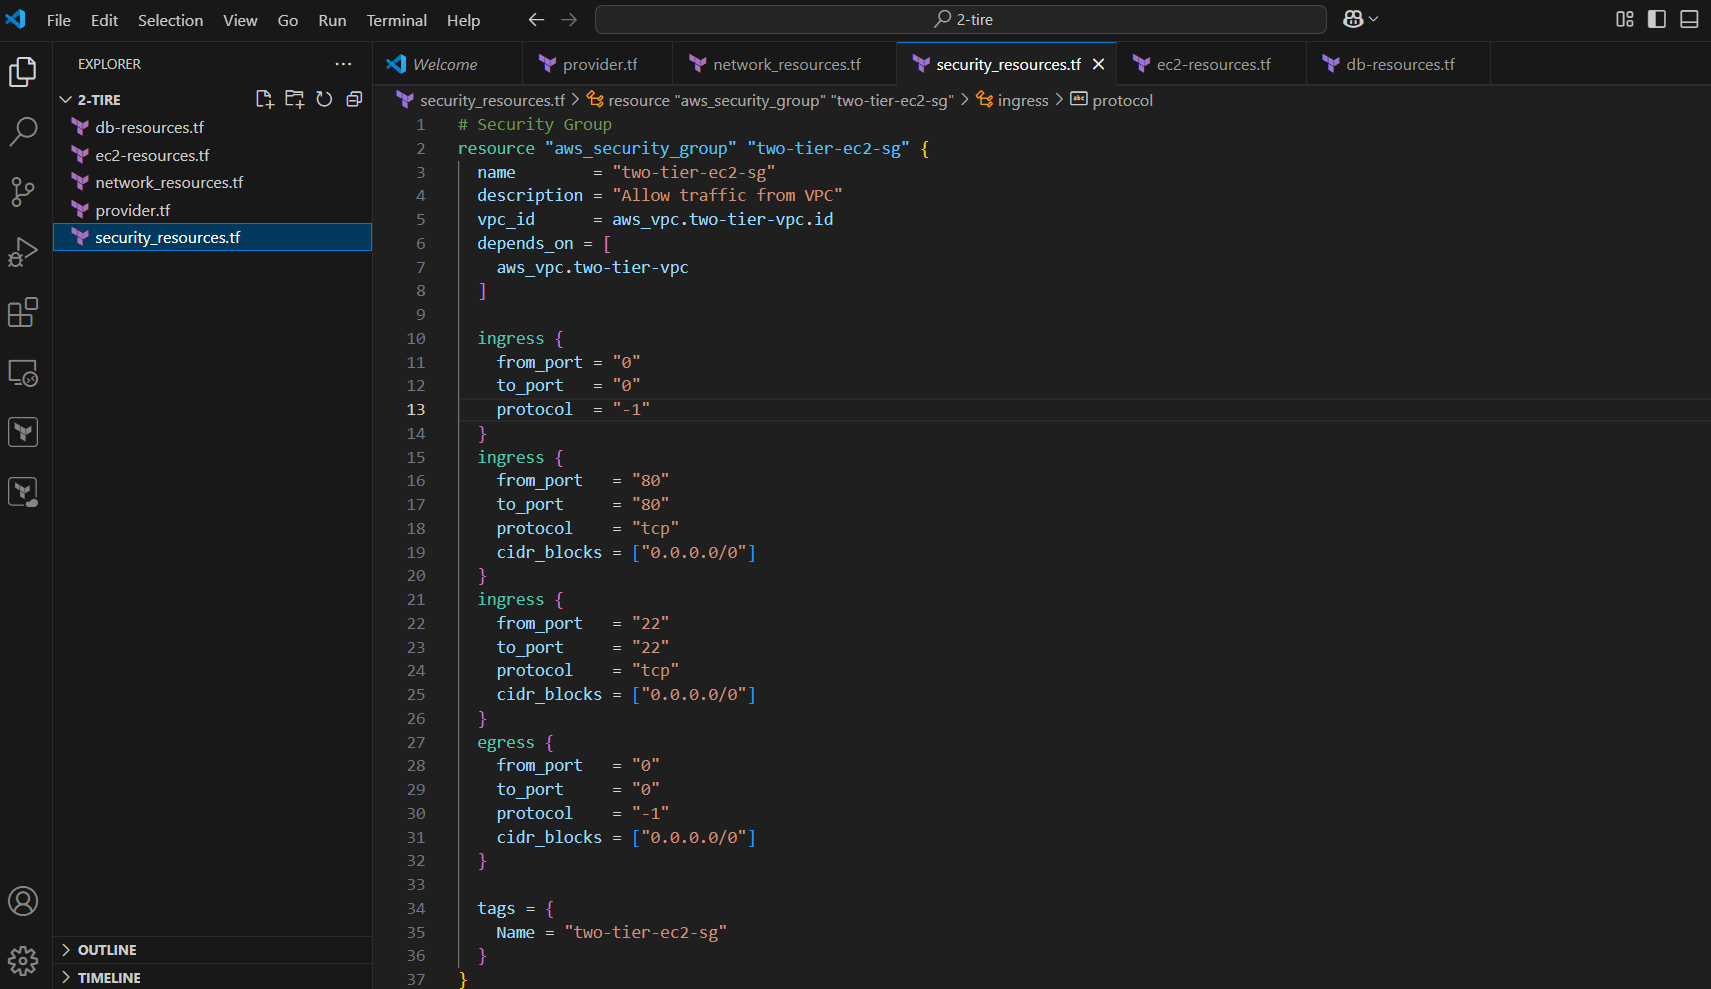
STEP 4: Create security_resources.tf file.
# Security Group
resource "aws_security_group" "two-tier-ec2-sg" {
  name        = "two-tier-ec2-sg"
  description = "Allow traffic from VPC"
  vpc_id      = aws_vpc.two-tier-vpc.id
  depends_on = [
    aws_vpc.two-tier-vpc
  ]

  ingress {
    from_port = "0"
    to_port   = "0"
    protocol  = "-1"
  }
  ingress {
    from_port   = "80"
    to_port     = "80"
    protocol    = "tcp"
    cidr_blocks = ["0.0.0.0/0"]
  }
  ingress {
    from_port   = "22"
    to_port     = "22"
    protocol    = "tcp"
    cidr_blocks = ["0.0.0.0/0"]
  }
  egress {
    from_port   = "0"
    to_port     = "0"
    protocol    = "-1"
    cidr_blocks = ["0.0.0.0/0"]
  }

  tags = {
    Name = "two-tier-ec2-sg"
  }
}

# Load balancer security group
resource "aws_security_group" "two-tier-alb-sg" {
  name        = "two-tier-alb-sg"
  description = "load balancer security group"
  vpc_id      = aws_vpc.two-tier-vpc.id
  depends_on = [
    aws_vpc.two-tier-vpc
  ]


  ingress {
    from_port   = "0"
    to_port     = "0"
    protocol    = "-1"
    cidr_blocks = ["0.0.0.0/0"]
  }
  egress {
    from_port   = "0"
    to_port     = "0"
    protocol    = "-1"
    cidr_blocks = ["0.0.0.0/0"]
  }


  tags = {
    Name = "two-tier-alb-sg"
  }
}

# Database tier Security gruop
resource "aws_security_group" "two-tier-db-sg" {
  name        = "two-tier-db-sg"
  description = "allow traffic from internet"
  vpc_id      = aws_vpc.two-tier-vpc.id

  ingress {
    from_port       = 3306
    to_port         = 3306
    protocol        = "tcp"
    security_groups = [aws_security_group.two-tier-ec2-sg.id]
    cidr_blocks     = ["0.0.0.0/0"]
  }

  ingress {
    from_port       = 22
    to_port         = 22
    protocol        = "tcp"
    security_groups = [aws_security_group.two-tier-ec2-sg.id]
    cidr_blocks     = ["10.0.0.0/16"]
  }

  egress {
    from_port   = 0
    to_port     = 0
    protocol    = "-1"
    cidr_blocks = ["0.0.0.0/0"]
  }
}
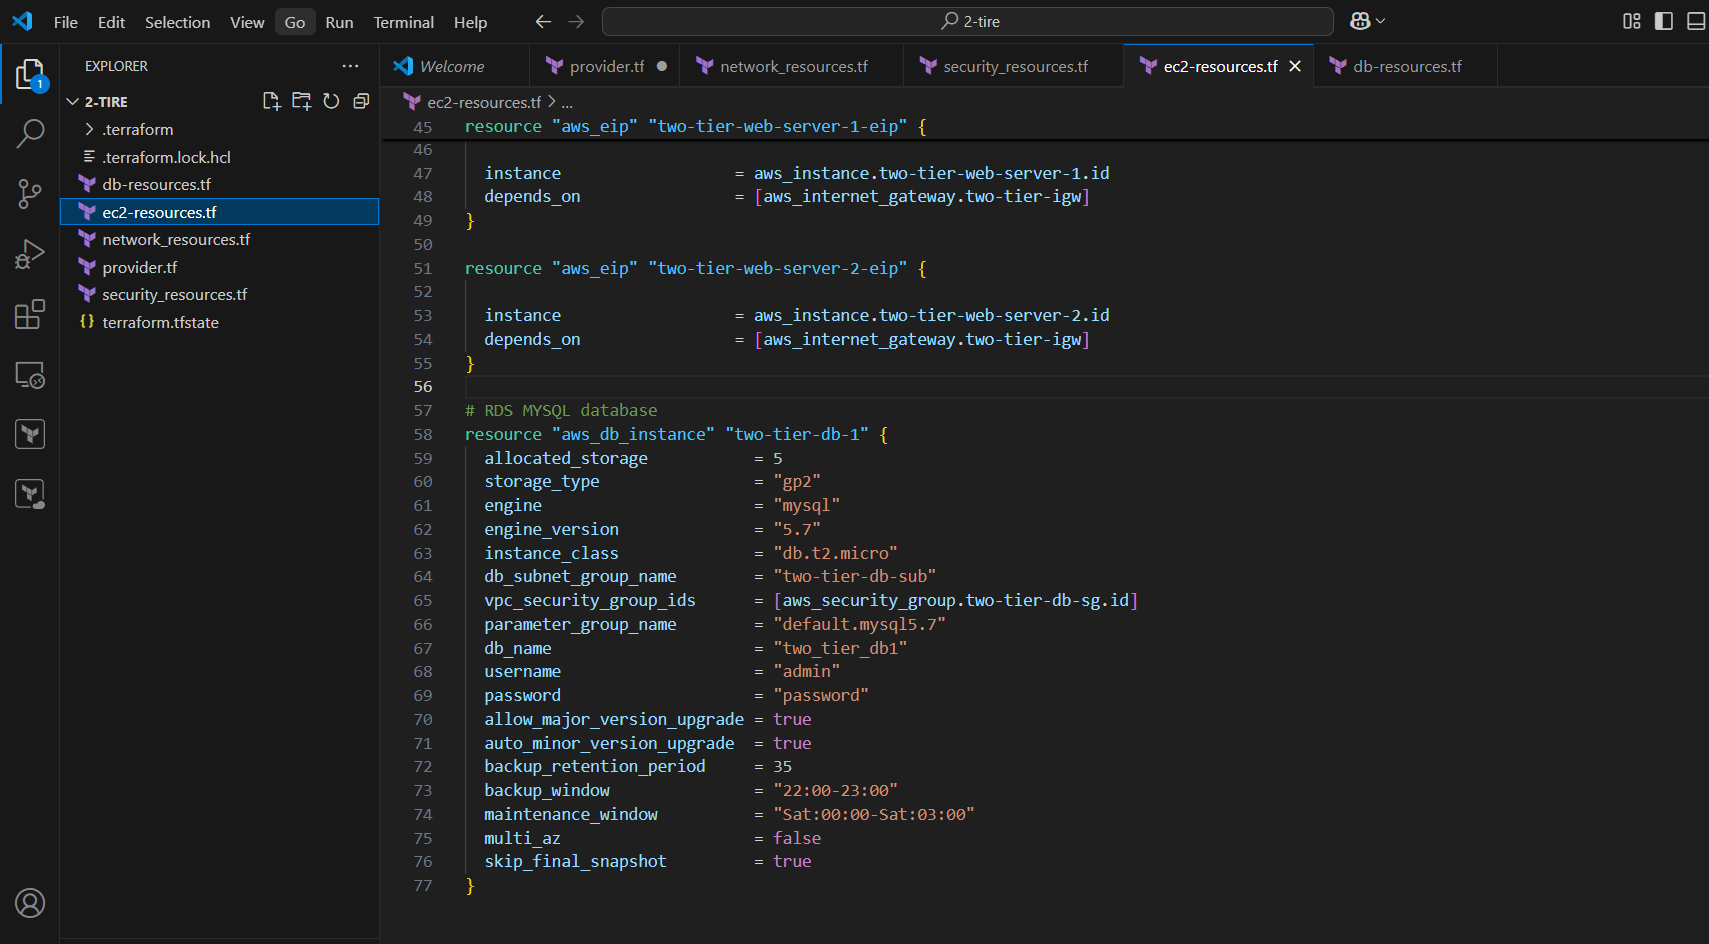
STEP 5: Create ec2-resources.tf file.
# Public subnet EC2 instance 1
resource "aws_instance" "two-tier-web-server-1" {
  ami             = "ami-0ca9fb66e076a6e32"
  instance_type   = "t2.micro"
  security_groups = [aws_security_group.two-tier-ec2-sg.id]
  subnet_id       = aws_subnet.two-tier-pub-sub-1.id
  key_name   = "two-tier-key"

  tags = {
    Name = "two-tier-web-server-1"
  }

  user_data = <<-EOF
#!/bin/bash
sudo yum update -y
sudo amazon-linux-extras install nginx1 -y
sudo systemctl enable nginx
sudo systemctl start nginx
EOF
}

# Public subnet  EC2 instance 2
resource "aws_instance" "two-tier-web-server-2" {
  ami             = "ami-0ca9fb66e076a6e32"
  instance_type   = "t2.micro"
  security_groups = [aws_security_group.two-tier-ec2-sg.id]
  subnet_id       = aws_subnet.two-tier-pub-sub-2.id
  key_name   = "two-tier-key"

  tags = {
    Name = "two-tier-web-server-2"
  }

  user_data = <<-EOF
#!/bin/bash
sudo yum update -y
sudo amazon-linux-extras install nginx1 -y
sudo systemctl enable nginx
sudo systemctl start nginx
EOF
}

#EIP

resource "aws_eip" "two-tier-web-server-1-eip" {

  instance                  = aws_instance.two-tier-web-server-1.id
  depends_on                = [aws_internet_gateway.two-tier-igw]
}

resource "aws_eip" "two-tier-web-server-2-eip" {

  instance                  = aws_instance.two-tier-web-server-2.id
  depends_on                = [aws_internet_gateway.two-tier-igw]
}
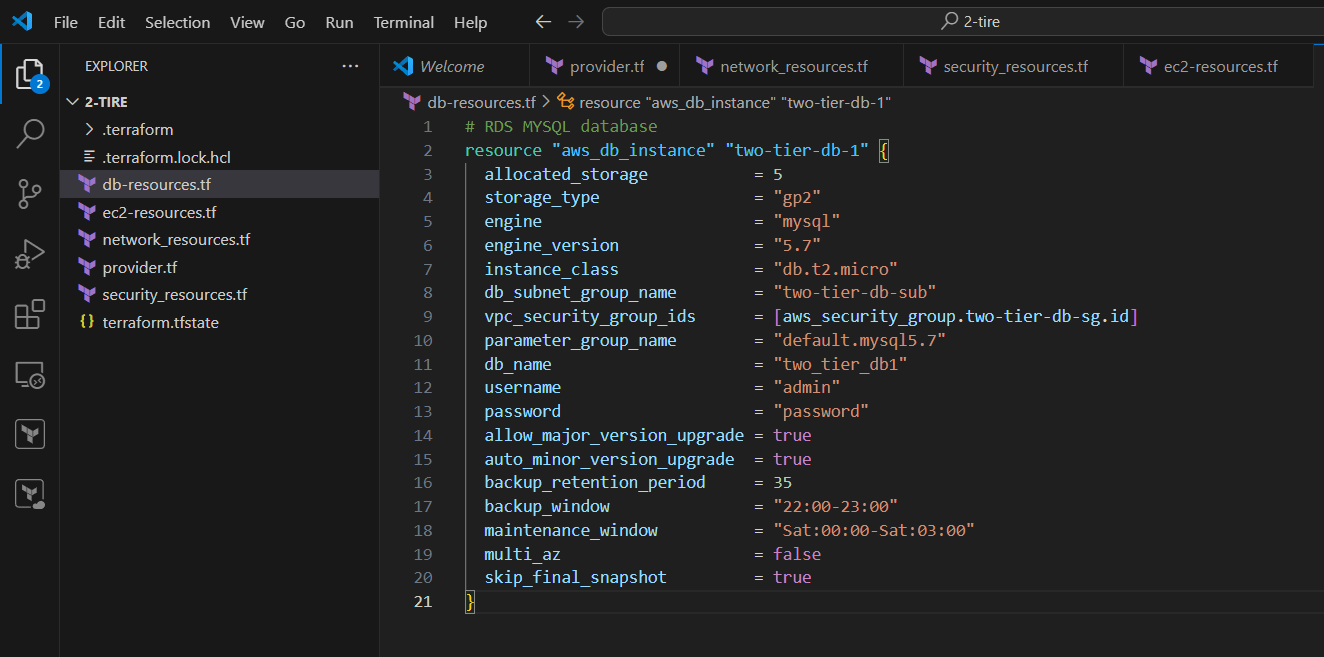
STEP 6: Create db-resources.tf file.
# RDS MYSQL database
resource "aws_db_instance" "two-tier-db-1" {
  allocated_storage           = 5
  storage_type                = "gp2"
  engine                      = "mysql"
  engine_version              = "5.7"
  instance_class              = "db.t2.micro"
  db_subnet_group_name        = "two-tier-db-sub"
  vpc_security_group_ids      = [aws_security_group.two-tier-db-sg.id]
  parameter_group_name        = "default.mysql5.7"
  db_name                     = "two_tier_db1"
  username                    = "admin"
  password                    = "password"
  allow_major_version_upgrade = true
  auto_minor_version_upgrade  = true
  backup_retention_period     = 35
  backup_window               = "22:00-23:00"
  maintenance_window          = "Sat:00:00-Sat:03:00"
  multi_az                    = false
  skip_final_snapshot         = true
}
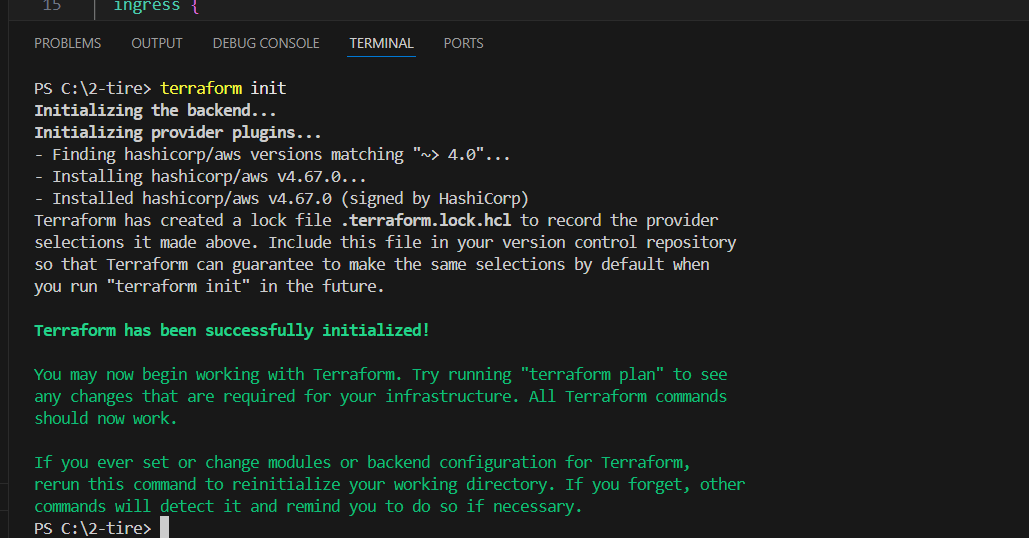
STEP 7: Go to the terminal.
- Enter terraform init command.
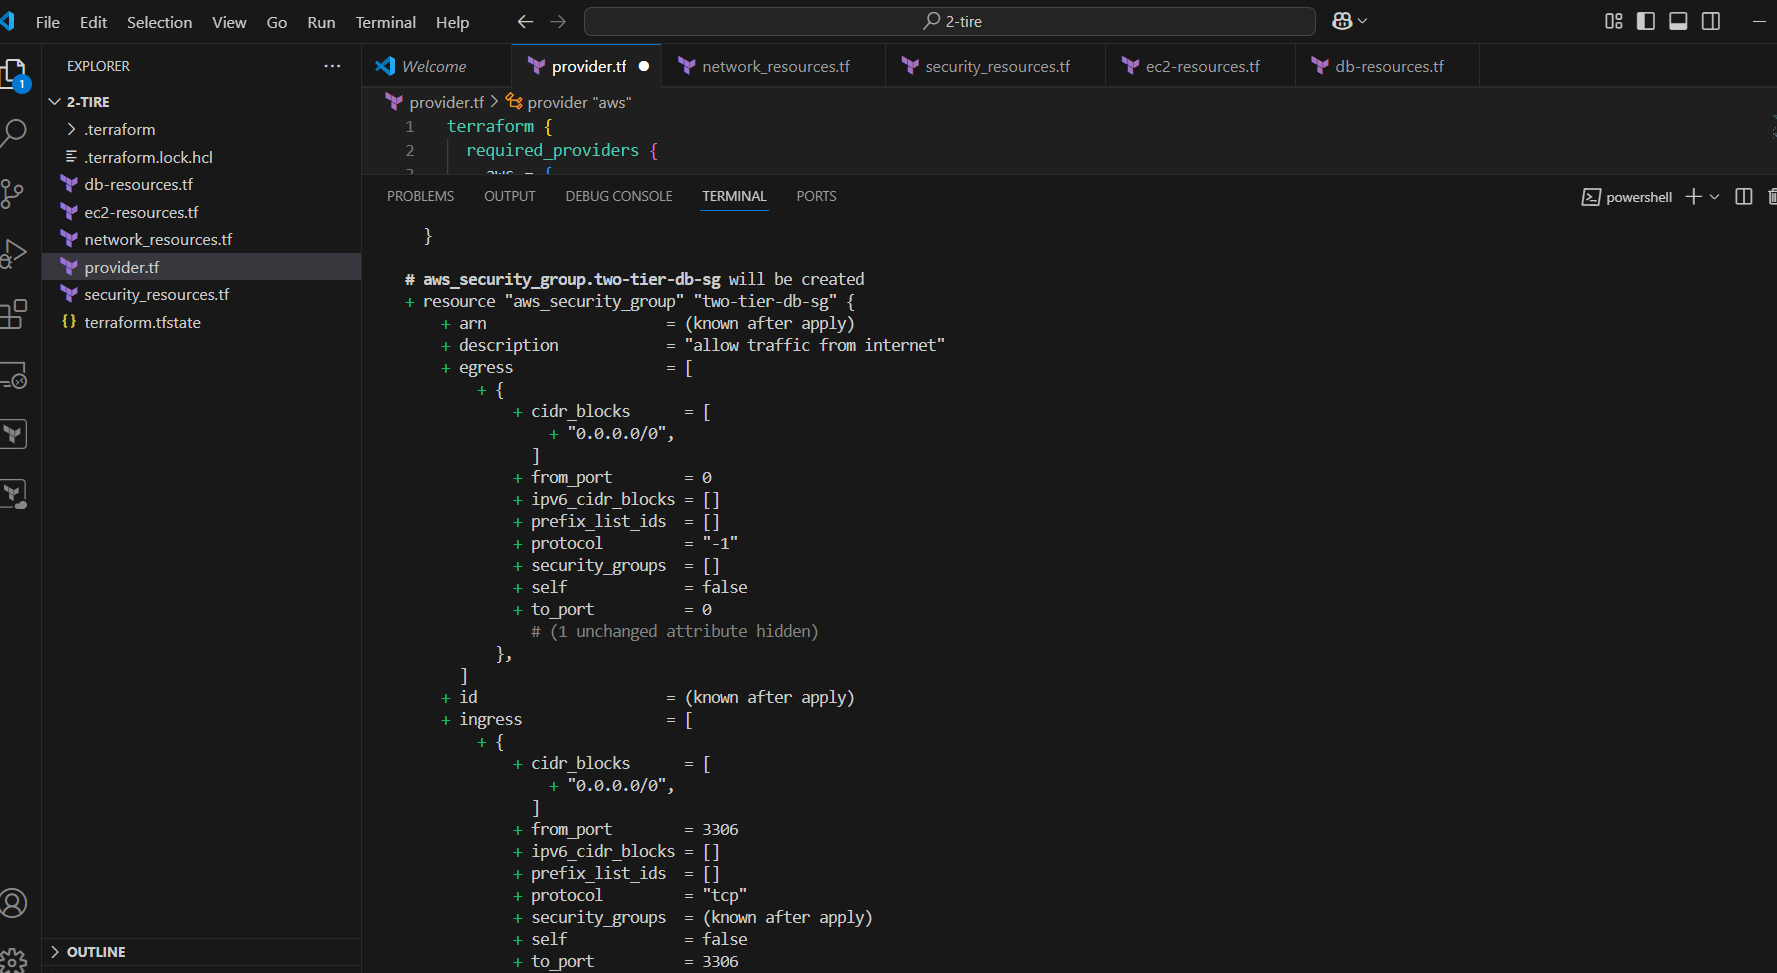
STEP 8: Next, Enter the terraform plan command.
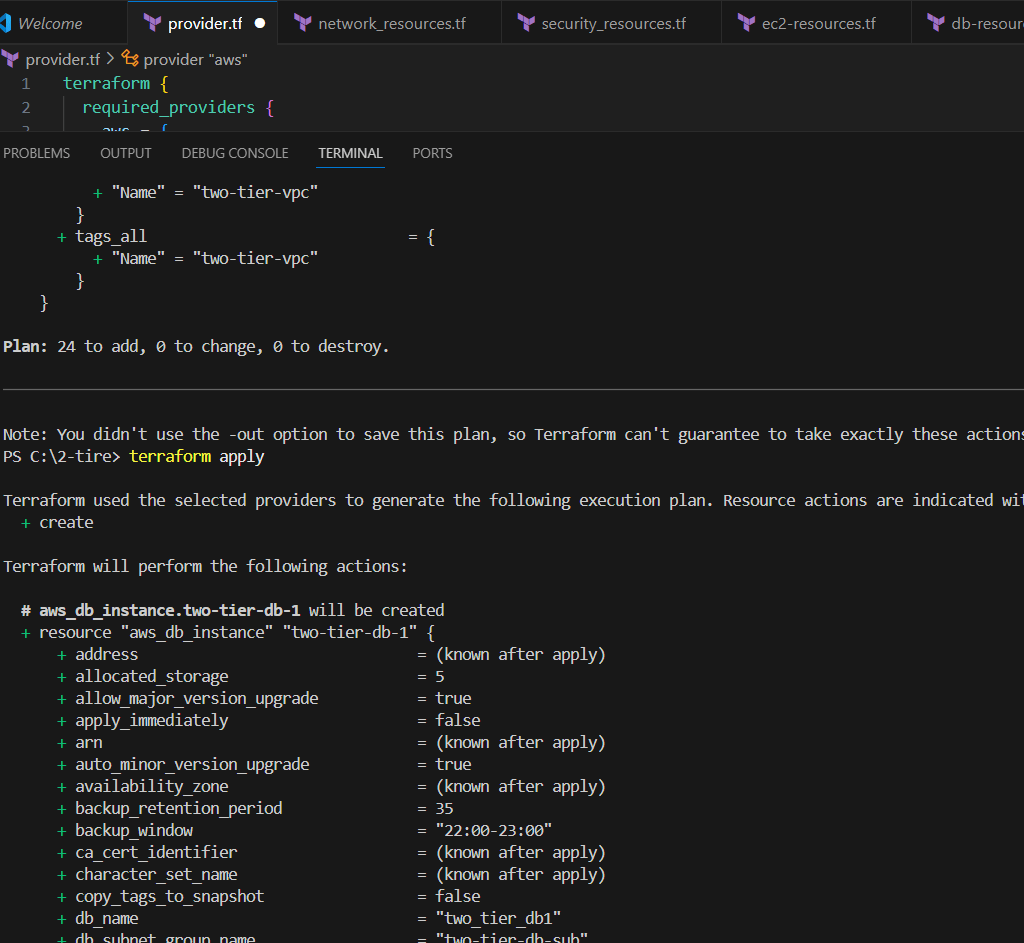
STEP 9: Enter terraform apply command.
STEP 10: Now, go to AWS console.
- And verify VPC and Network resources.
- EC2 instances.
- Load Balancer.
- Target Group.
- RDS MYSQL Database.
- EC2 NGINX web server is also working.
- Security Groups.

Conclusion.
By following this guide, you’ve successfully deployed a scalable and secure two-tier architecture on AWS using Terraform. This setup enables efficient management of resources and ensures flexibility for future expansion. Leveraging Terraform’s infrastructure-as-code capabilities not only streamlines the deployment process but also provides the consistency needed for a robust cloud environment. With this foundation in place, you can now customize and scale your architecture based on your specific requirements. Whether you’re building a simple web application or a more complex solution, Terraform and AWS offer the tools you need to grow and adapt with ease. Don’t forget to explore further Terraform modules and AWS services to enhance your architecture’s capabilities and ensure it meets your application’s evolving needs.

Add a Comment