Introduction.
In this article, we’ll explore an introduction to Amazon CloudWatch Synthetics and its key features. Amazon CloudWatch Synthetics is a service offered by AWS that enables you to monitor your web applications and APIs by simulating user interactions with them. you can create different kinds of Canaries to continually verify your user experience even when you don’t have traffic, monitor and test for unusual behavior, and trace issues to their source for faster resolution. CloudWatch Synthetics is helpful for identifying issues before they impact real users, providing proactive monitoring of your systems and applications. It supports a range of use cases like monitoring APIs, website uptime, or even simulating complex workflows like login or checkout processes. CloudWatch Synthetics integrates directly with AWS CloudWatch, enabling you to track metrics and logs in real-time. You can schedule tests at regular intervals (e.g., every minute, every 5 minutes) to ensure constant monitoring. If a monitor fails, you can configure CloudWatch to send notifications via email, SMS, or trigger an AWS Lambda function for automated remediation.

Use Cases for CloudWatch Synthetics.
- Check the health of APIs by simulating requests and ensuring they are responding correctly.
- Measure response times, latency, and overall performance by simulating user journeys through your application.
- Ensure your website is accessible and functioning as expected by running synthetic user tests at regular intervals.
- You can test more than just availability; you can automate user interactions like logging in or making a purchase to ensure that your web application behaves as expected in real-world scenarios.
Now, let’s dive into how to create an Amazon CloudWatch Synthetics monitor.
STEP 1: Sign in to AWS Console.
- Go to the Amazon CloudWatch console.
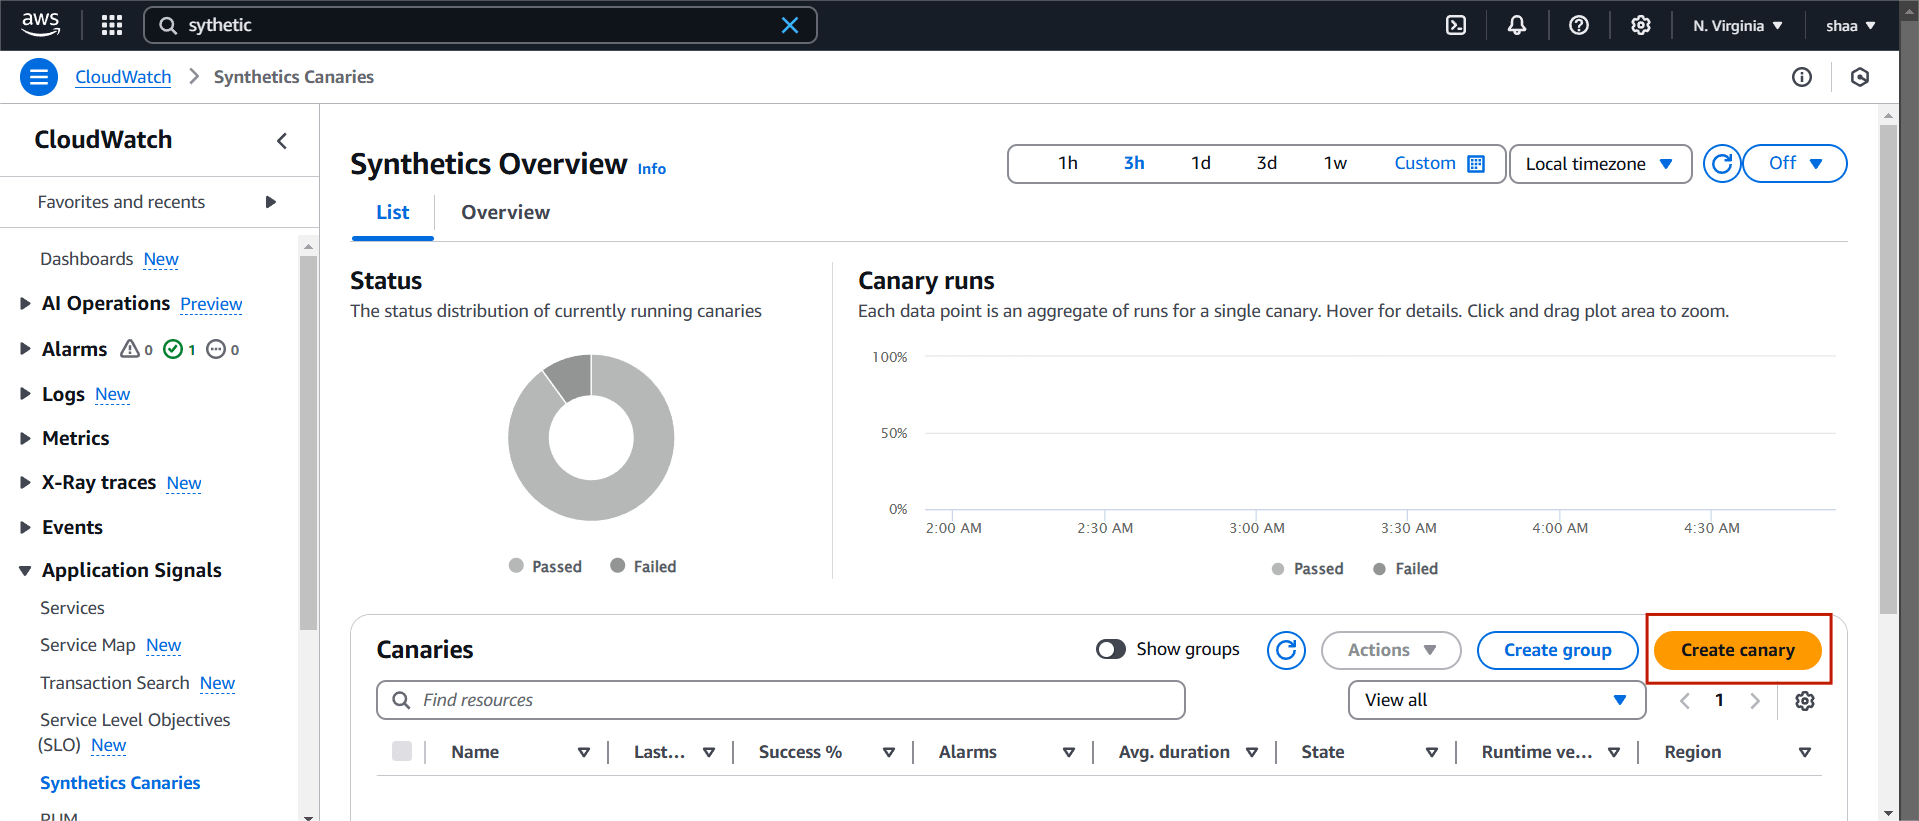
- In the left navigation pane, choose Synthetics under the CloudWatch section.
- Select create canary.
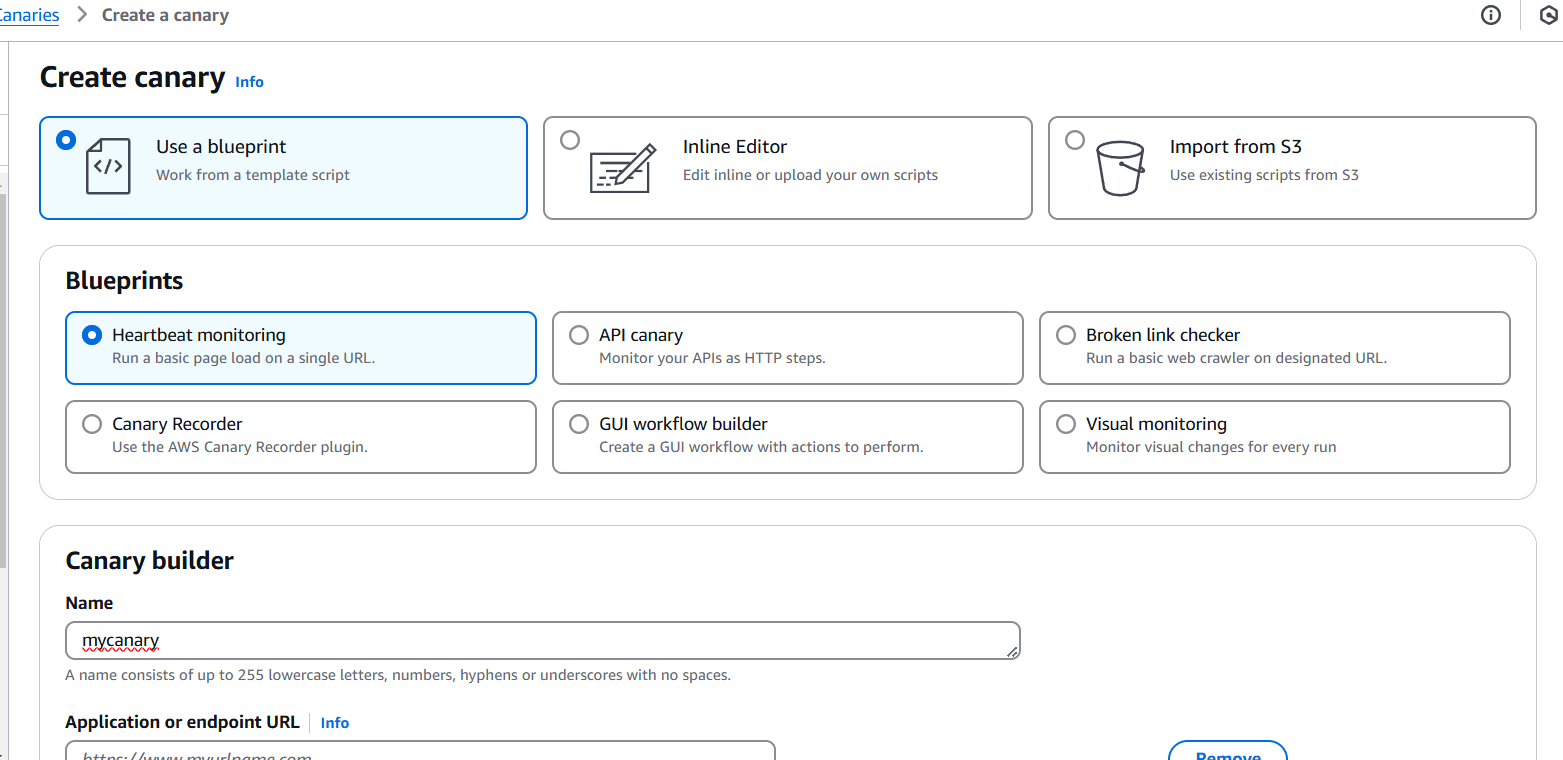
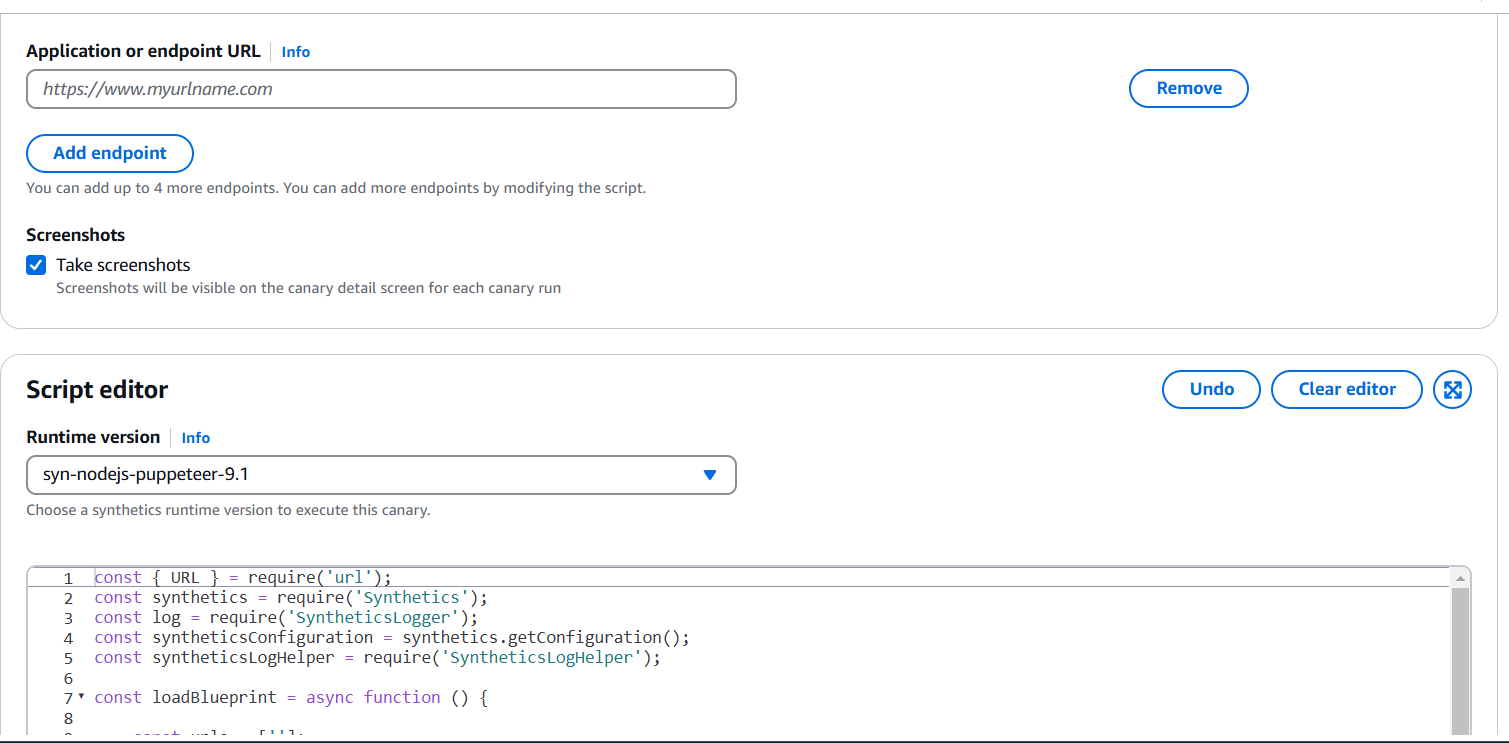
STEP 2: Canaries can be created using pre-existing blueprints, with scripts that can be edited inline, or through the use of a workflow builder or canary recorder.
- Enter the canary name.
STEP 3: You will also keep the default scheduling settings.
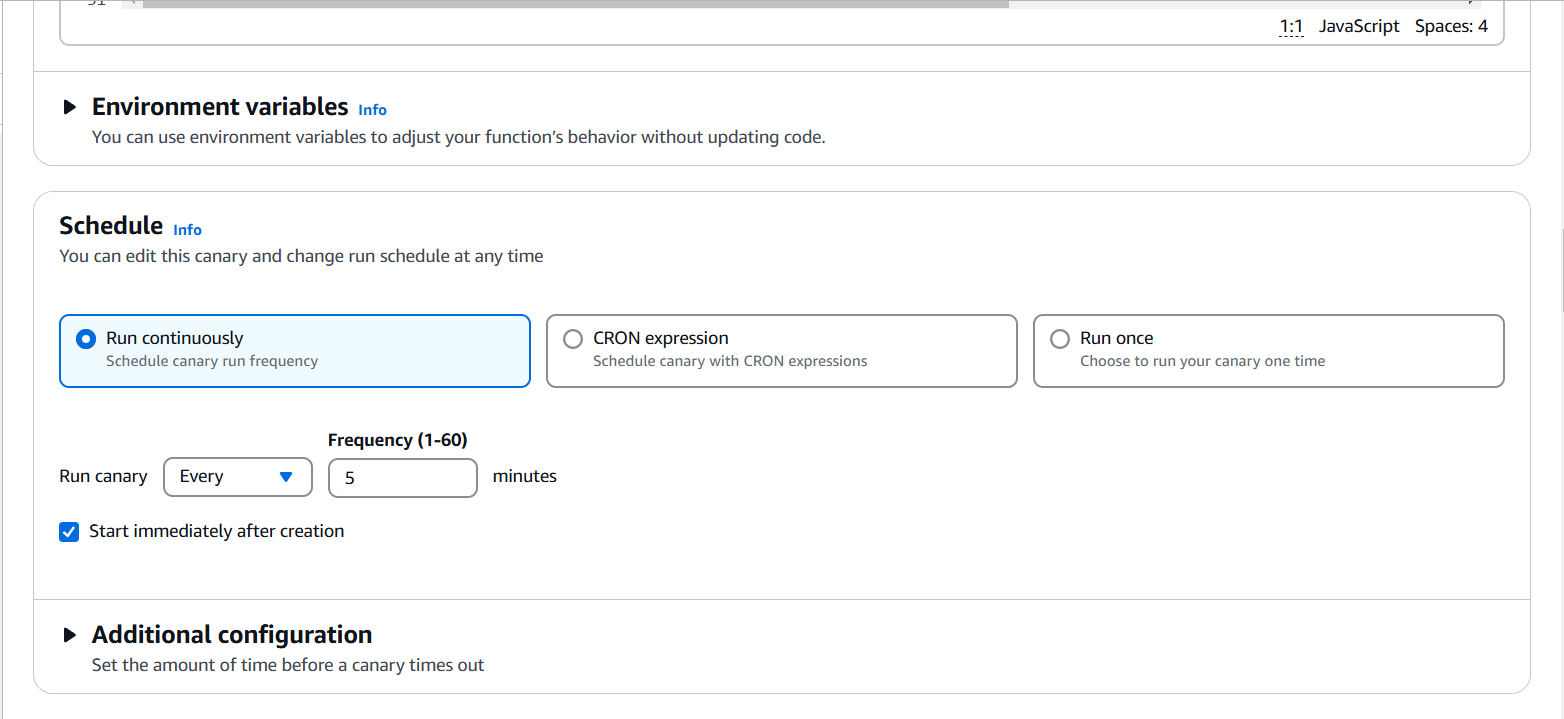
STEP 4: If you have specific data retention policies, you can adjust the default settings here to ensure compliance.
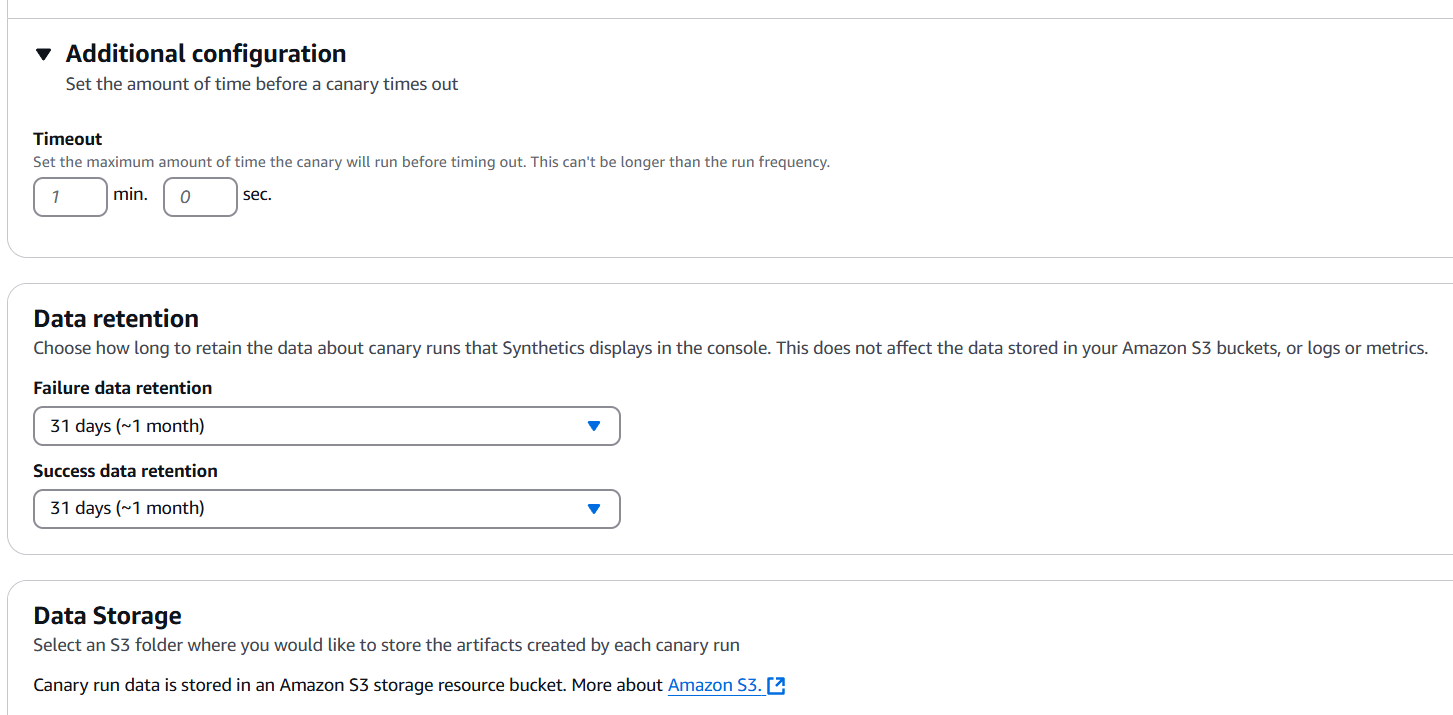
STEP 5: You will select the S3 location.
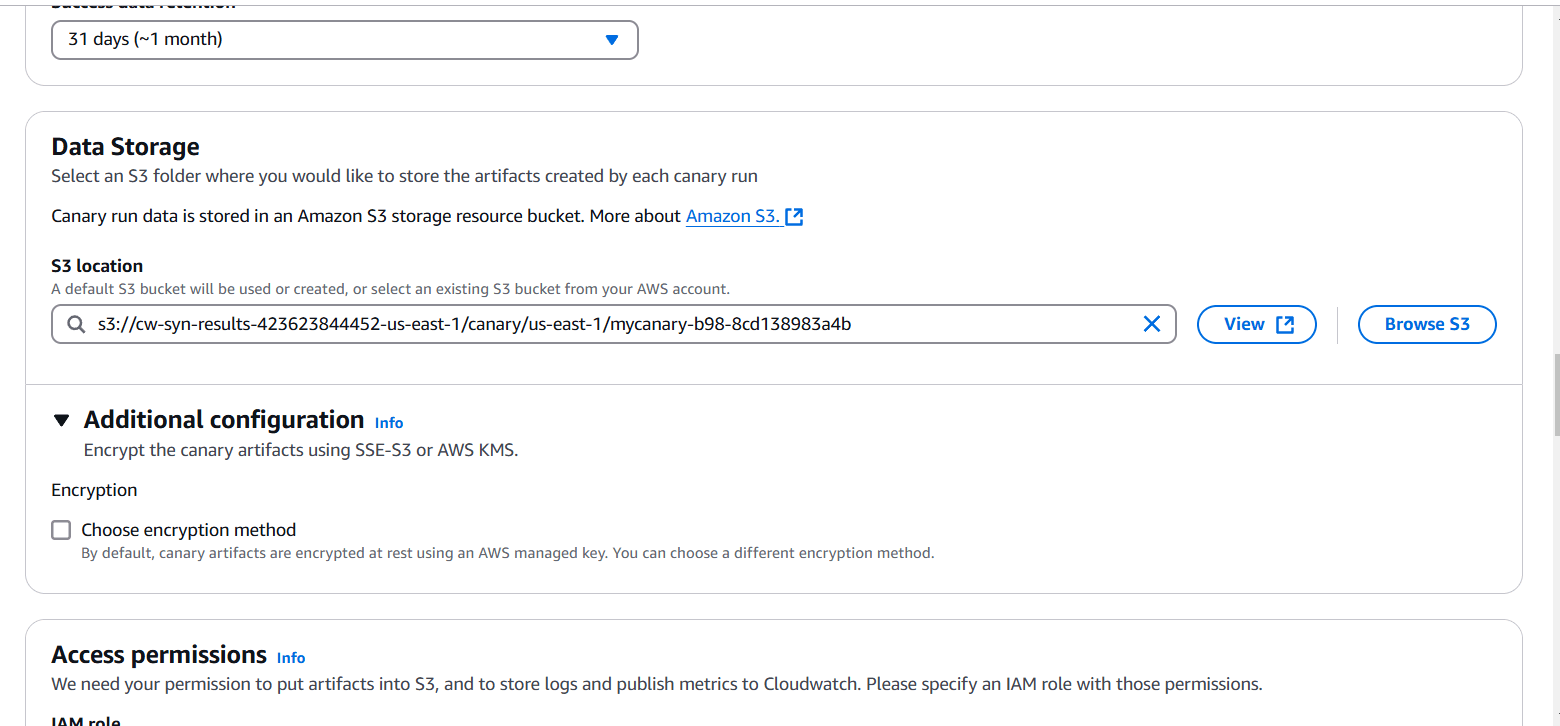
STEP 6: Click on create a new role.
- You can enable CloudWatch Synthetics to automatically create alarms for your canaries. Let’s set up an alarm to notify us via Amazon SNS if the canary fails two or more times within 15 minutes.
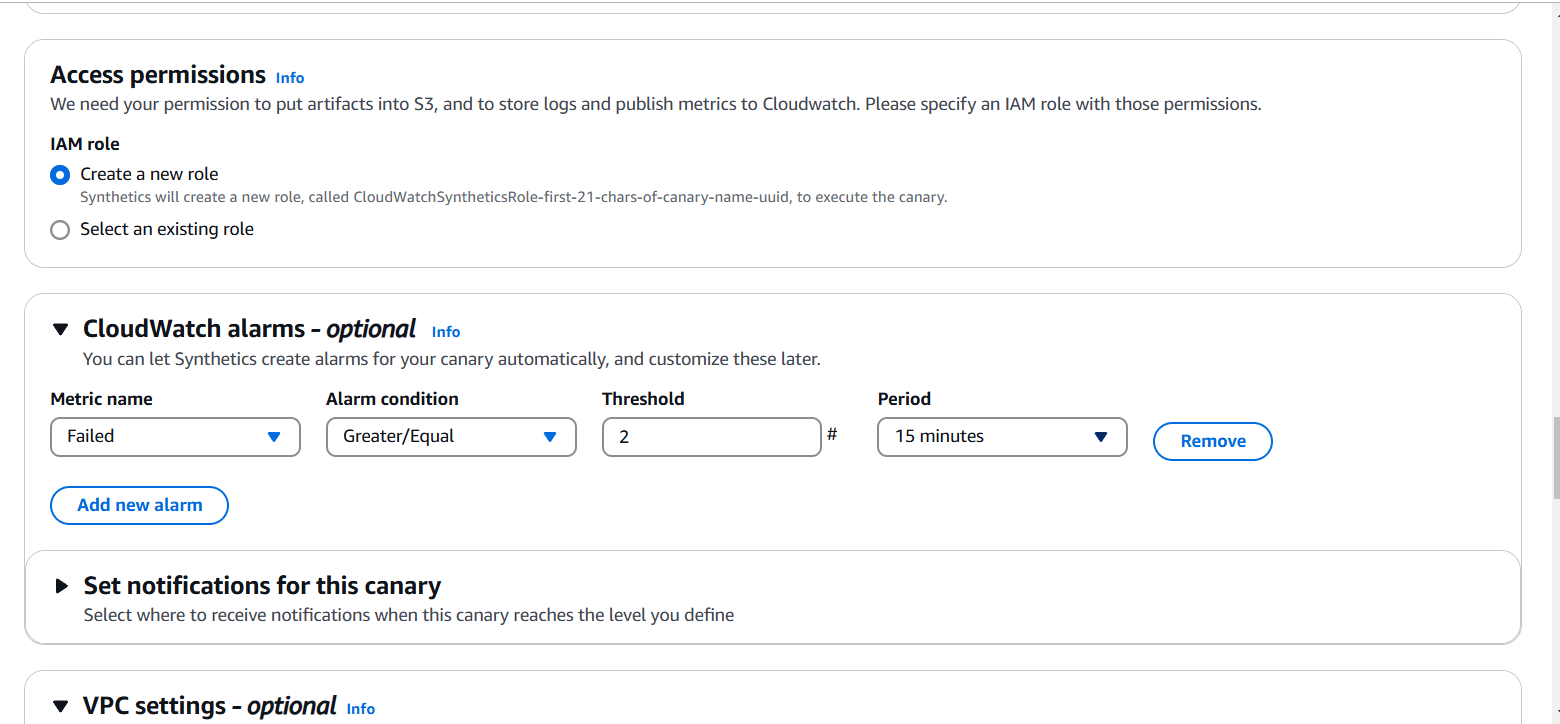
STEP 7: Select VPC and Subnets.
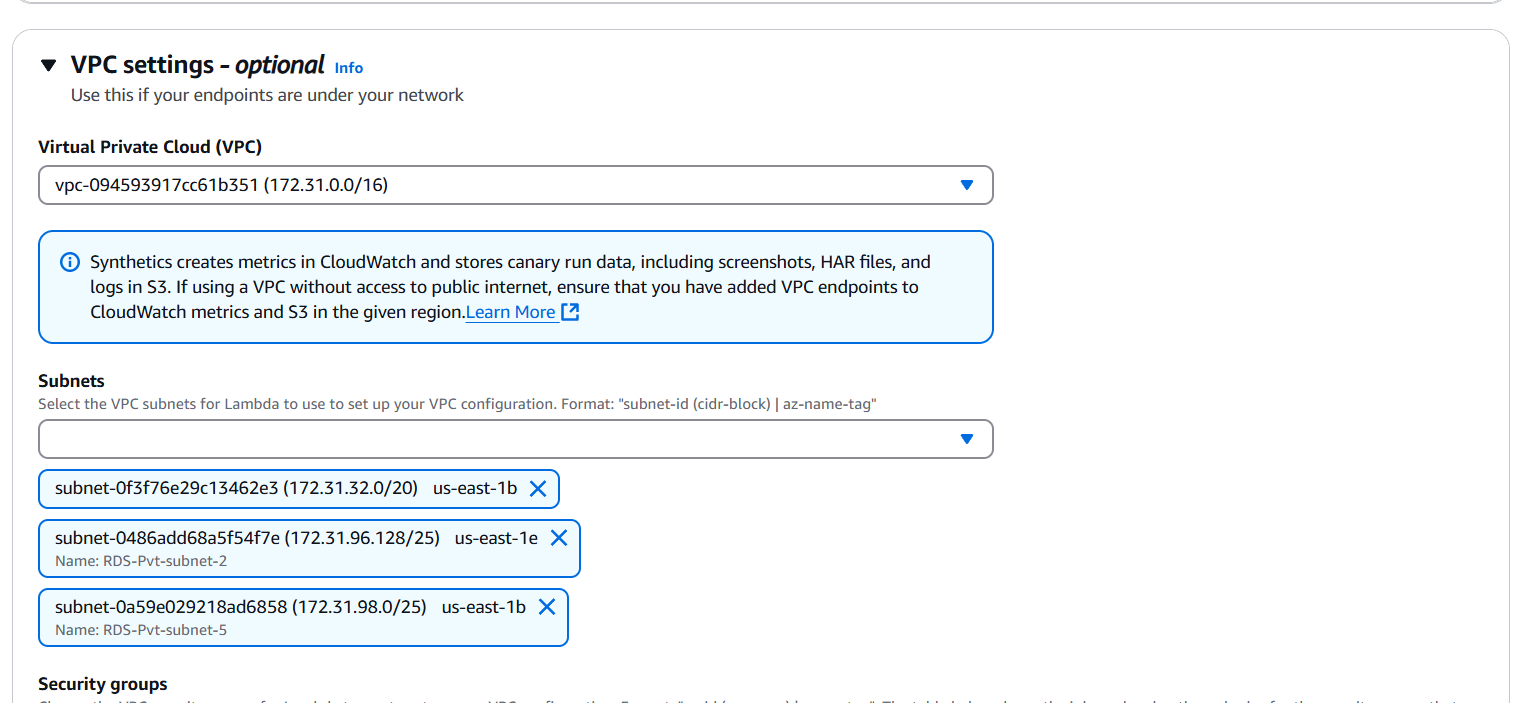
STEP 8: Select security group.
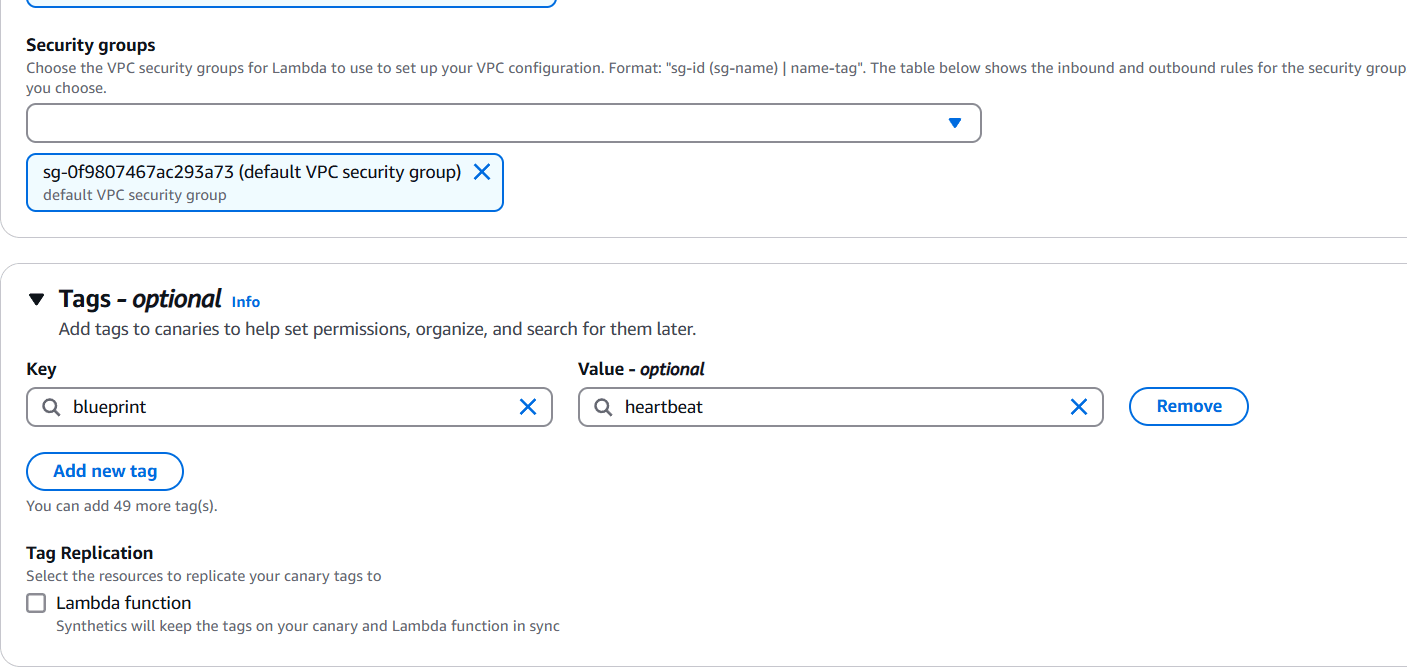
STEP 9: Tick on Active tracing and click create canary.
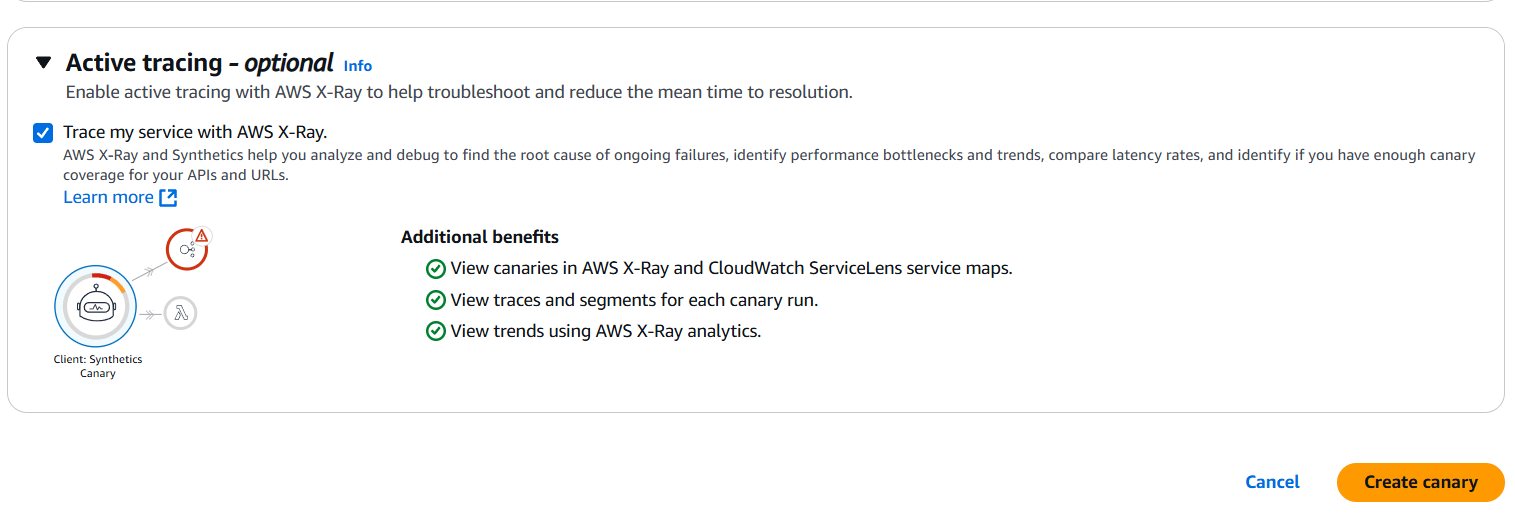
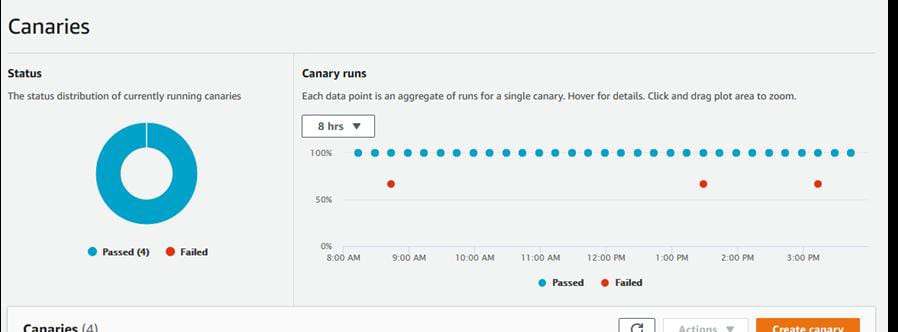
STEP 10: It will take a few minutes to create


Conclusion.
Our heartbeat monitoring canary has been successfully created. Amazon CloudWatch Synthetics provides a powerful way to monitor your web applications and APIs by simulating real user interactions. With its ability to create automated tests, schedule monitoring intervals, and integrate with other AWS services like CloudWatch Alarms and SNS, it helps ensure the availability and performance of your applications. By leveraging CloudWatch Synthetics, you can proactively identify issues, maintain compliance with data retention policies, and enhance the overall user experience. Whether you are monitoring simple websites or complex workflows, CloudWatch Synthetics is a valuable tool for maintaining application health in the cloud.

Add a Comment