Introduction.
Amazon Transcribe is a cloud-based speech-to-text service provided by Amazon Web Services (AWS). It converts audio into text, making it useful for transcribing phone calls, video content, and various audio recordings. Supports multiple languages and accents, making it suitable for global use. Automatically adds punctuation, capitalization, and formatting to transcriptions. It can distinguish between multiple speakers in a conversation (speaker diarization).
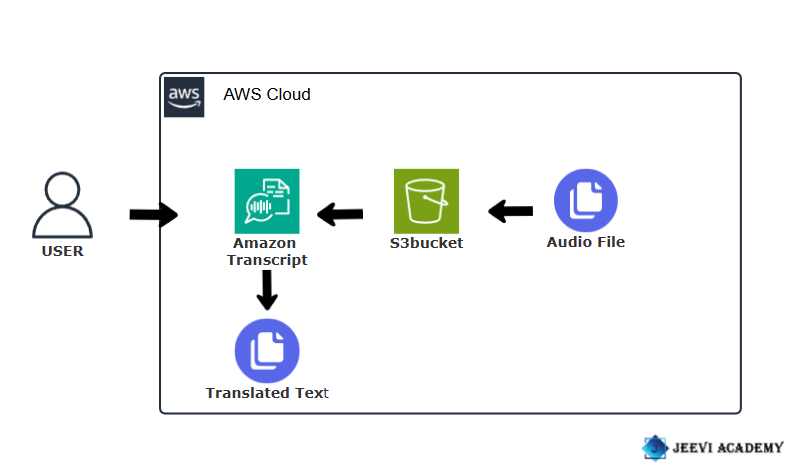

Start Now, Create an Audio Transcript with Amazon Transcribe.
STEP 1 : Navigate the S3bucket, Click on create bucket.

STEP 2 : Enter the bucket name.
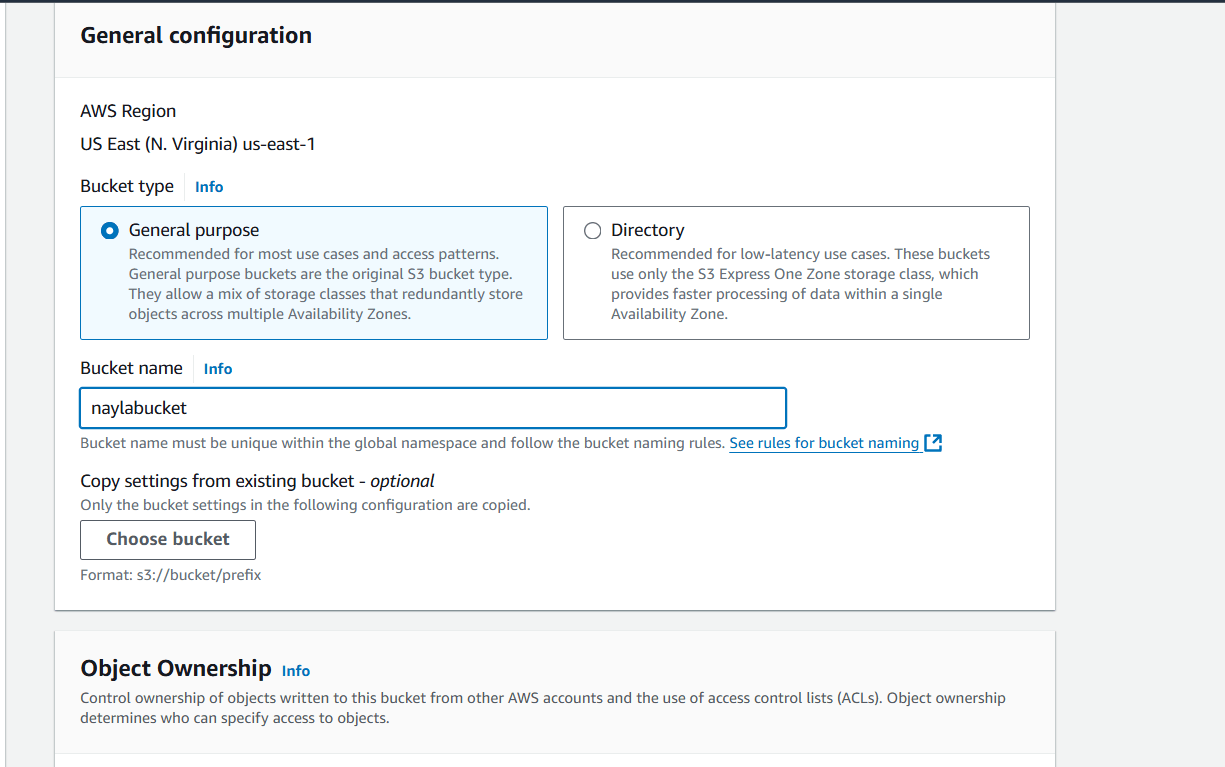
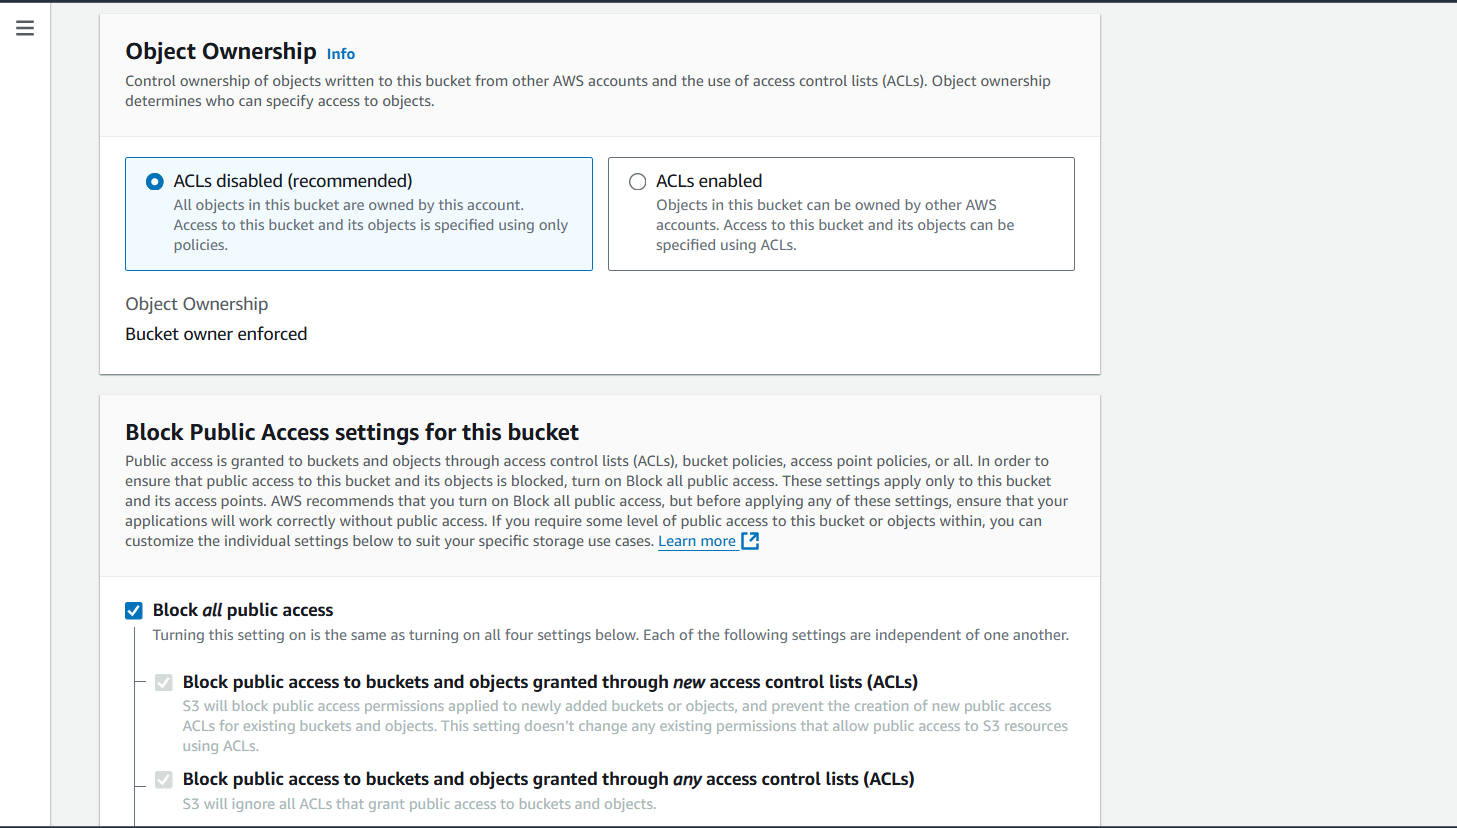
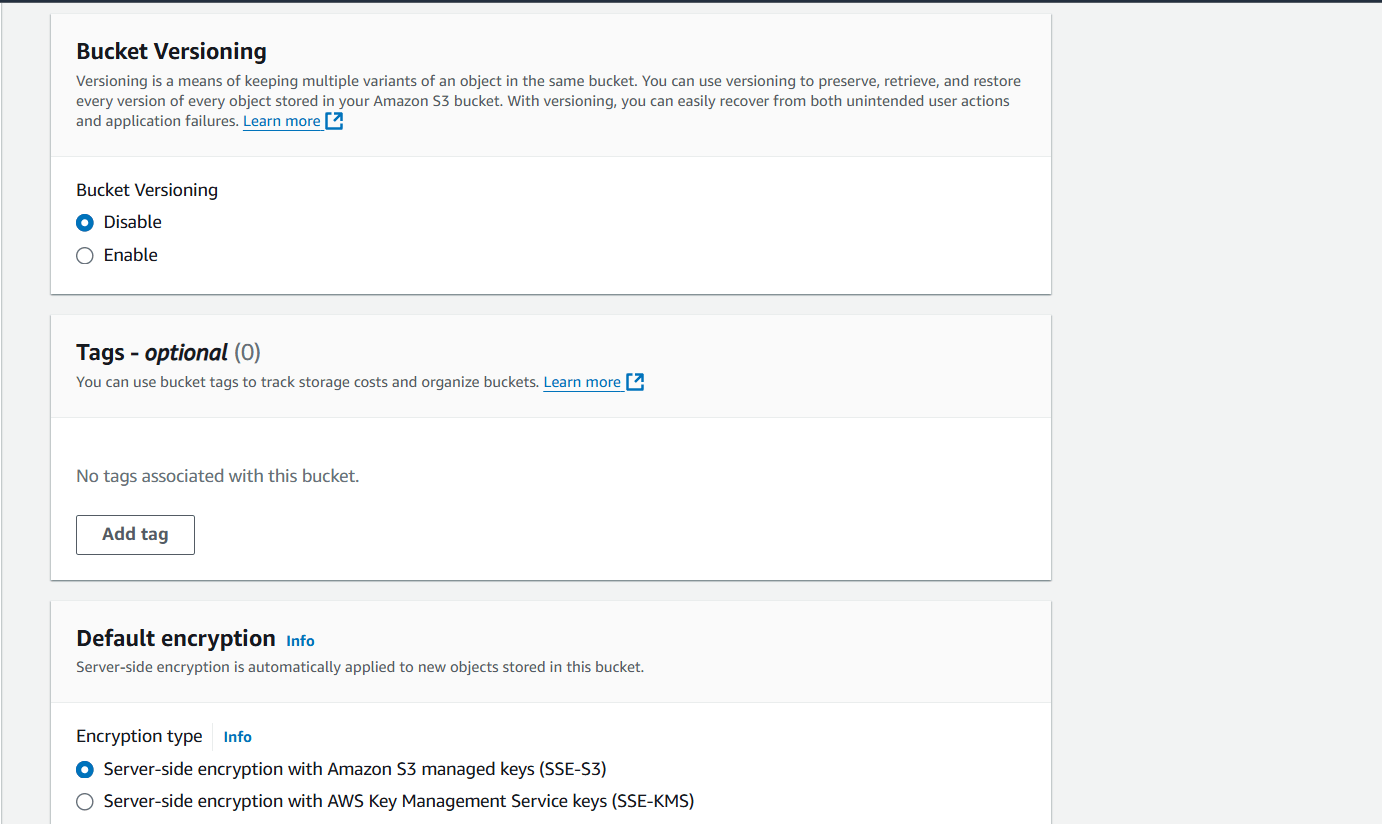
STEP 3 : Click create bucket.
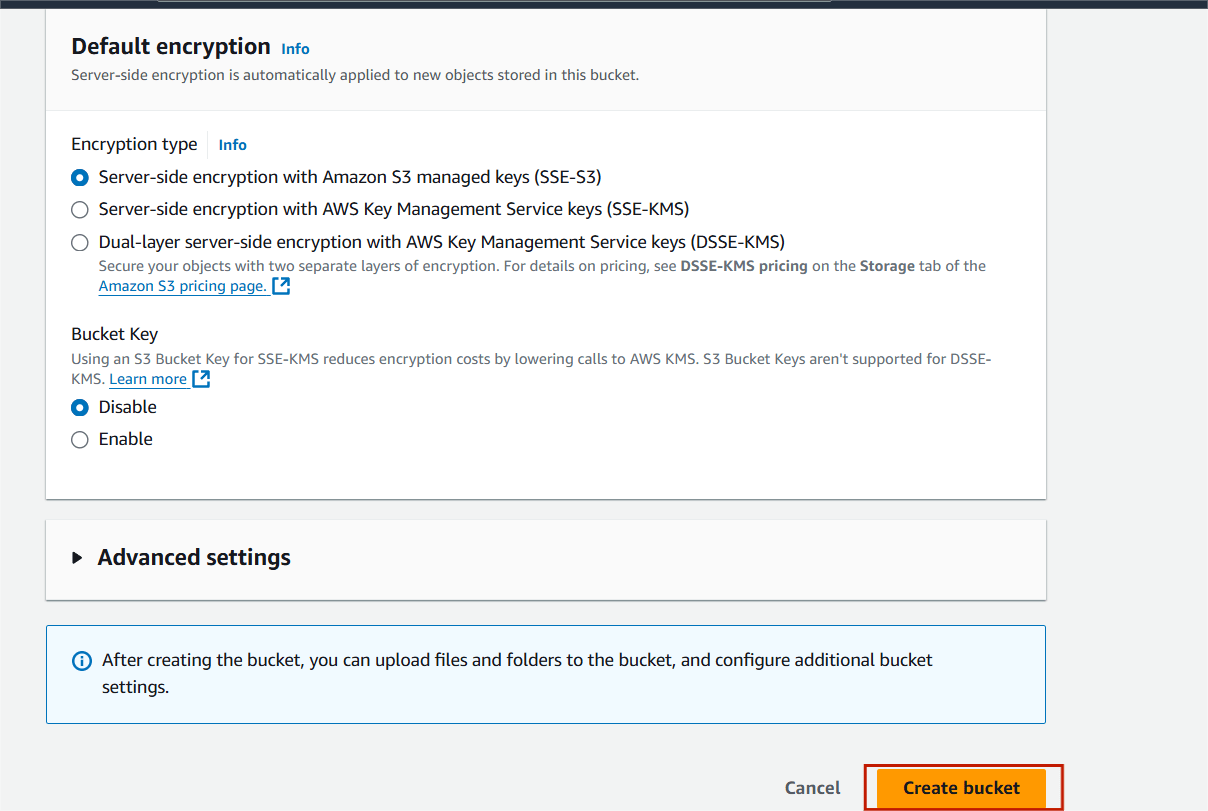
STEP 4 : Click your bucket name.
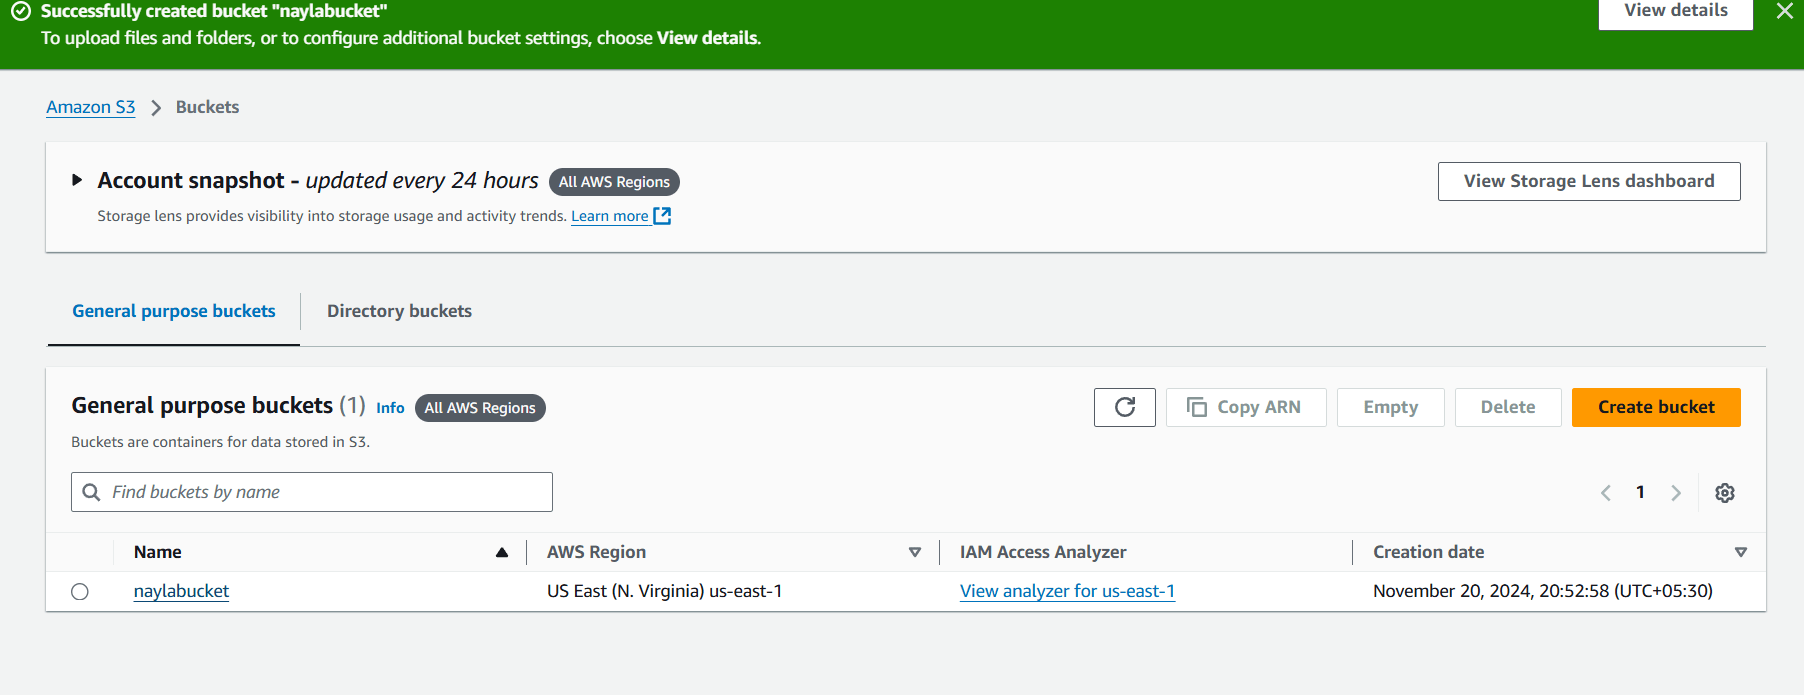
STEP 5 : You will see this page, Click on upload.
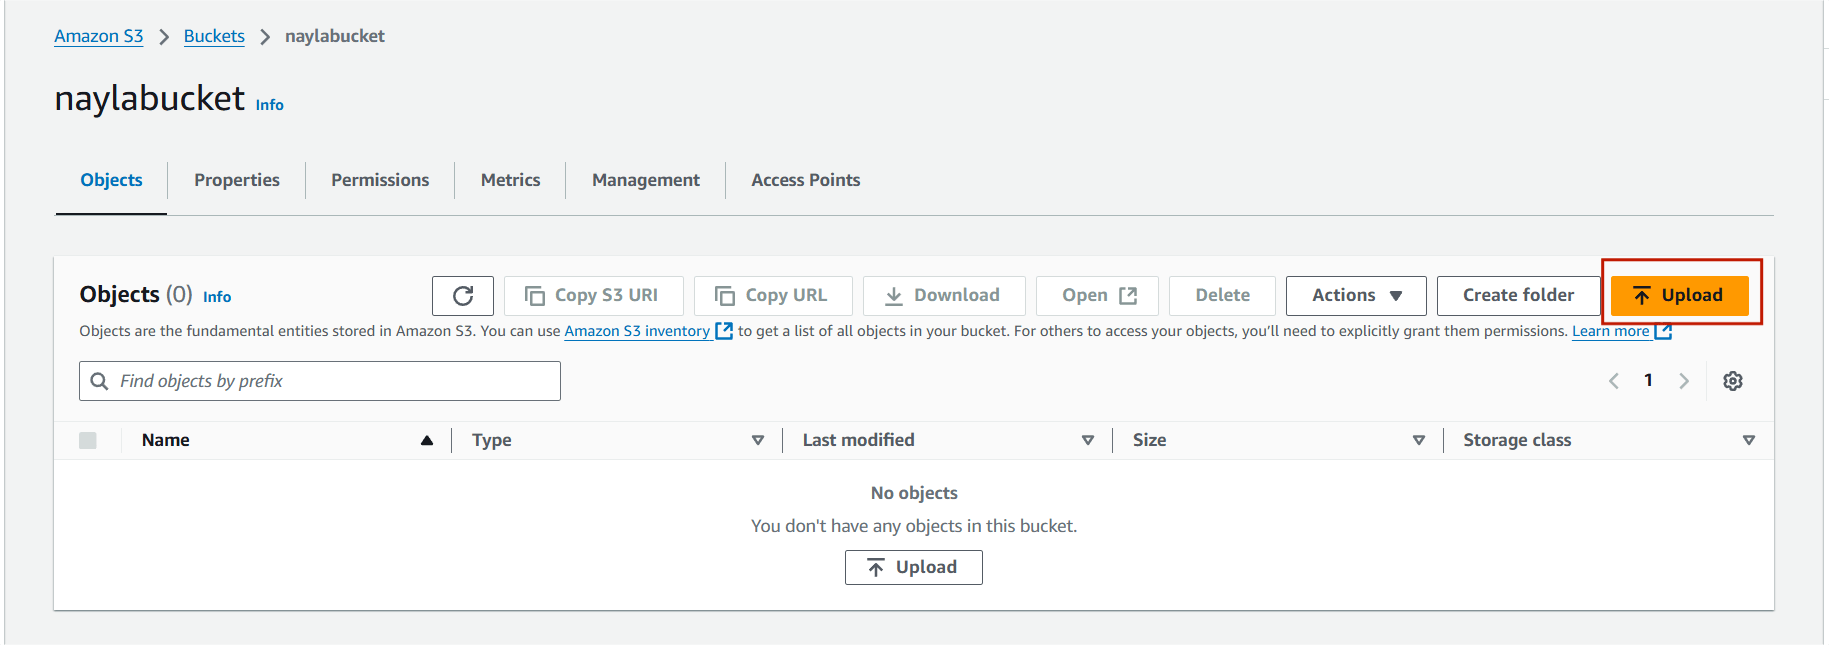
STEP 6 : Select add file, Upload your transcript audio.
STEP 7 : Click on upload.
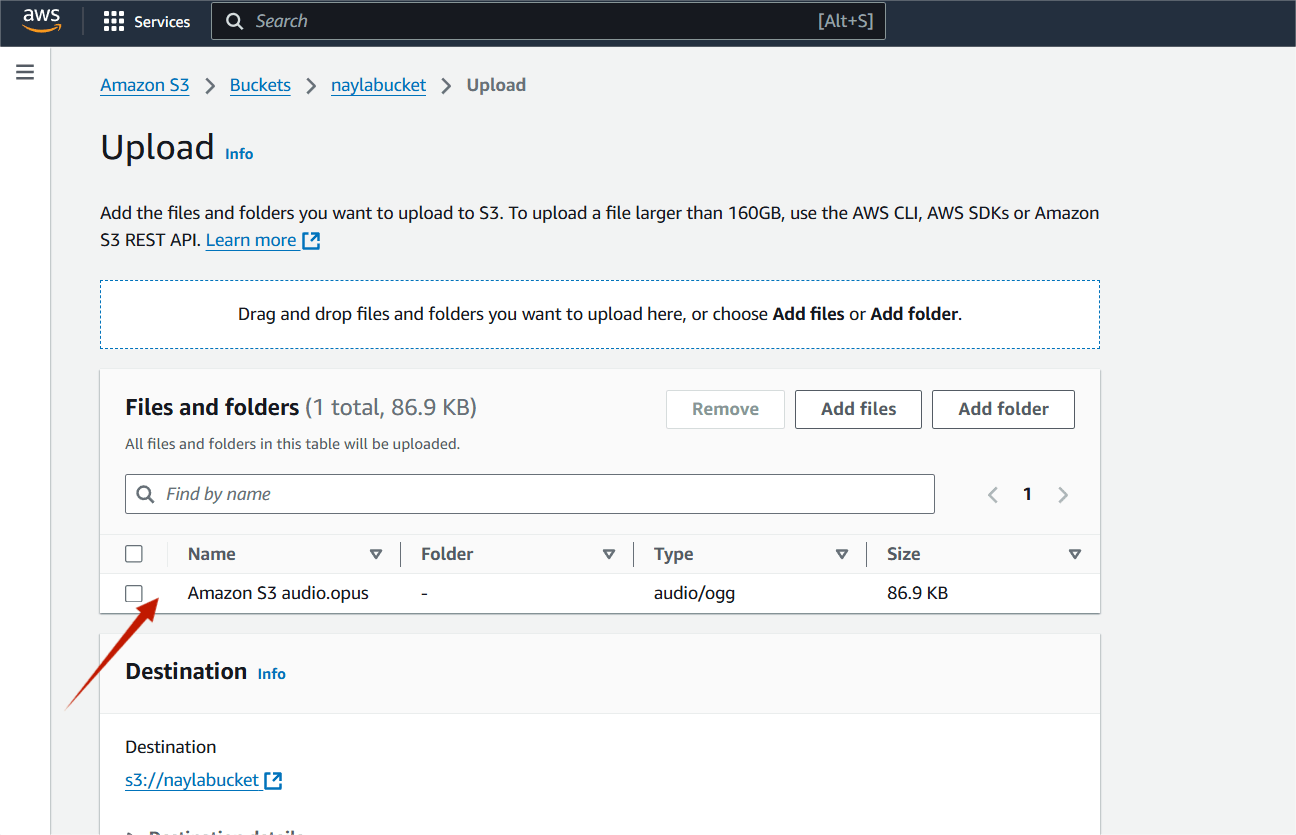
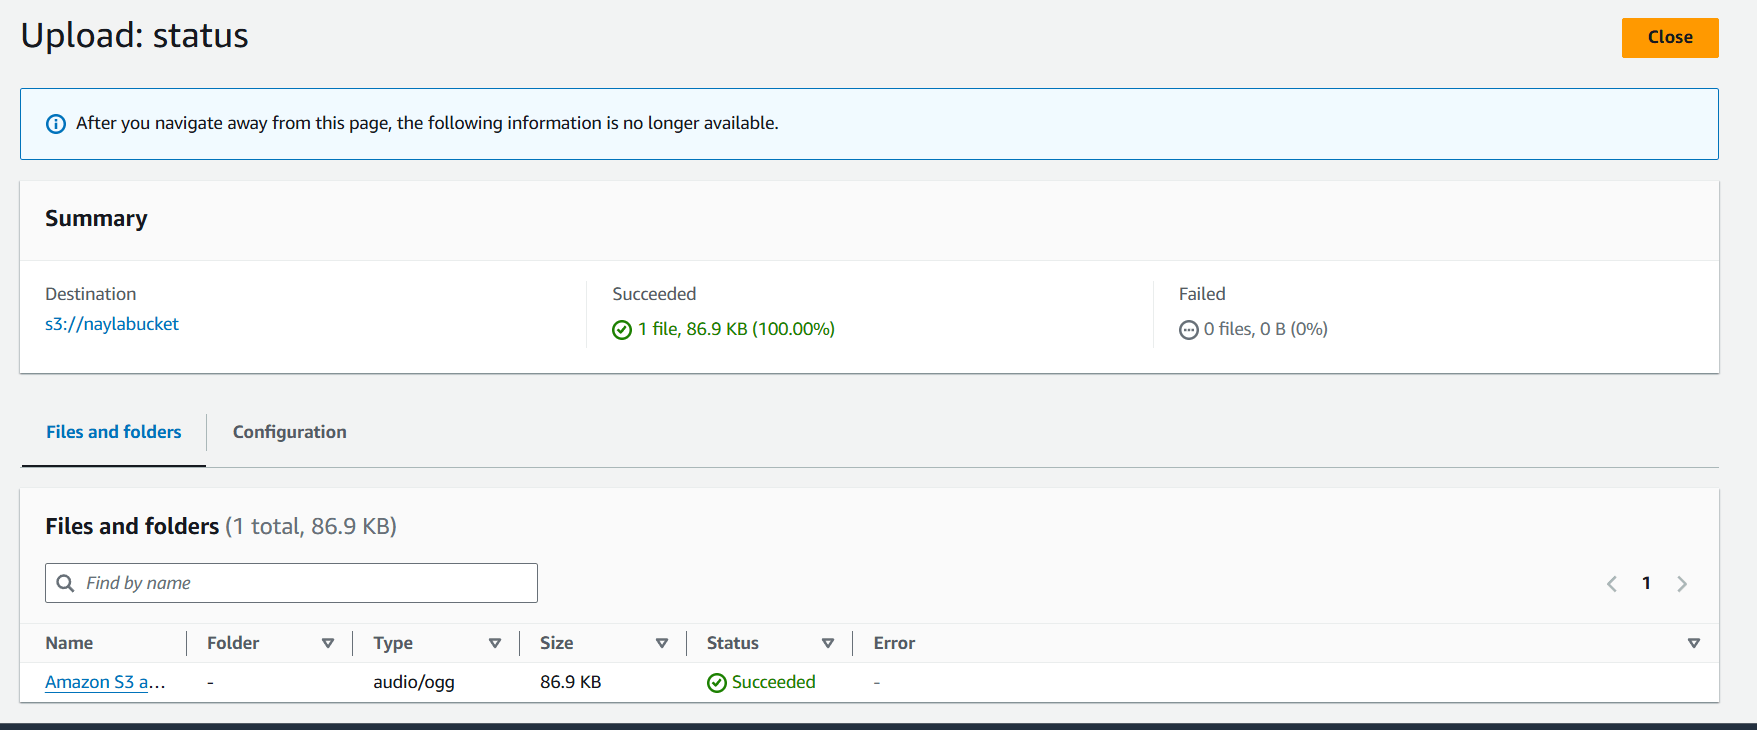
STEP 8 : Copy your audio S3 URI.

STEP 9 : Navigate Amazon Transcript.

STEP 10 : Select transcription jobs and click create job.

STEP 11 : Enter the job name.
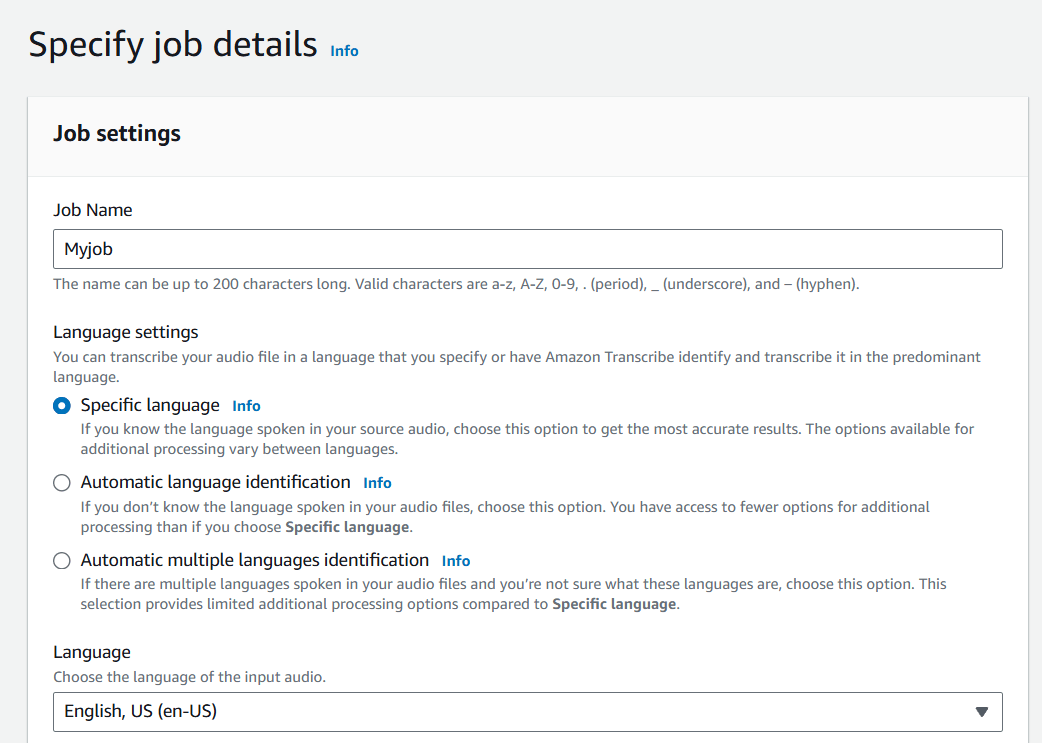
STEP 12 : Paste your S3 URI.
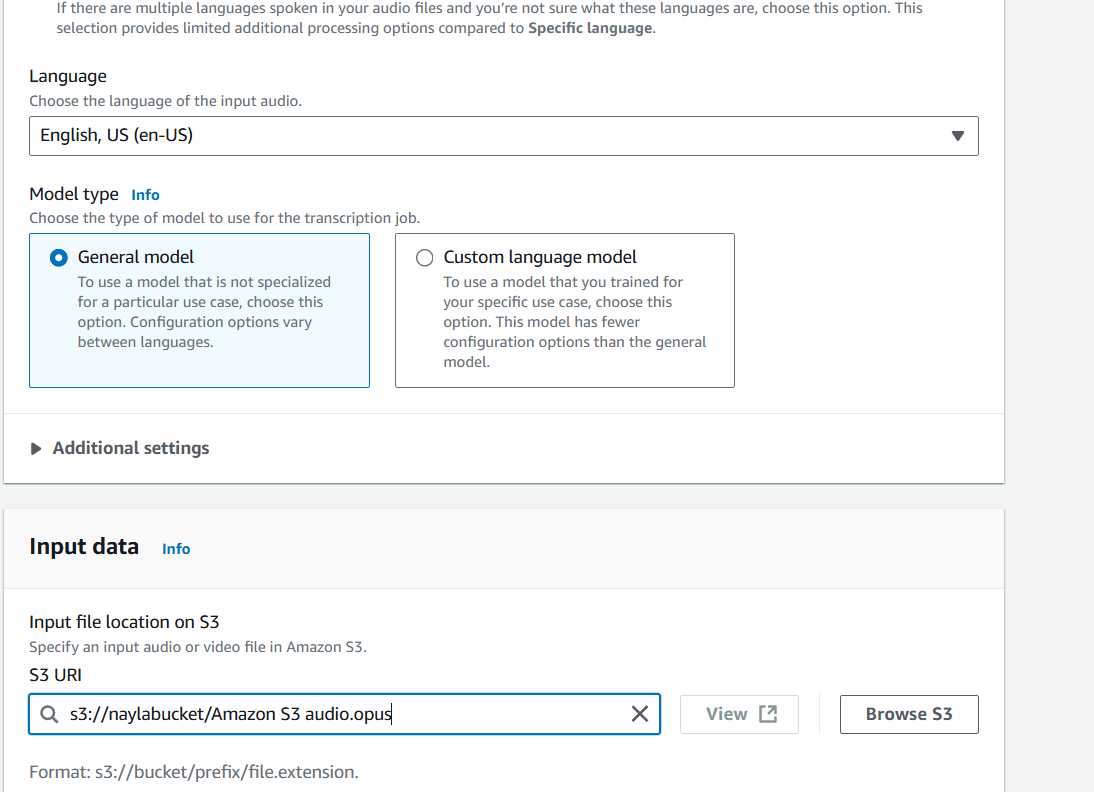
STEP 13 : Click on next.
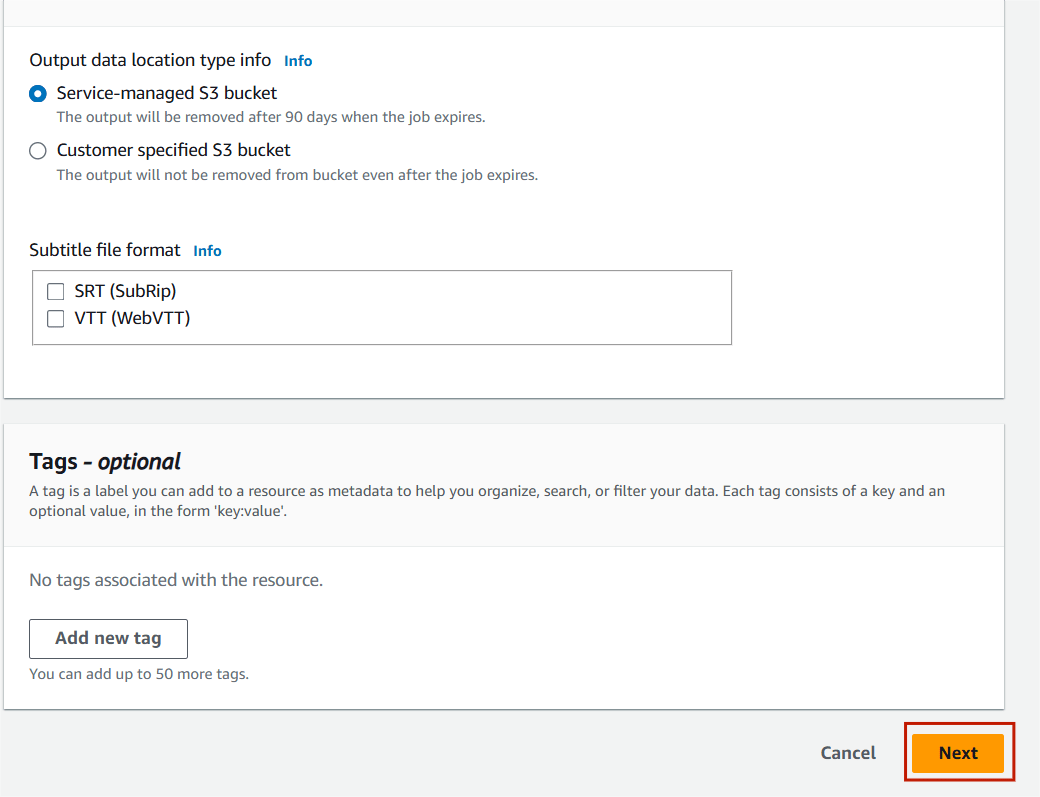
STEP 14 : Select create job.
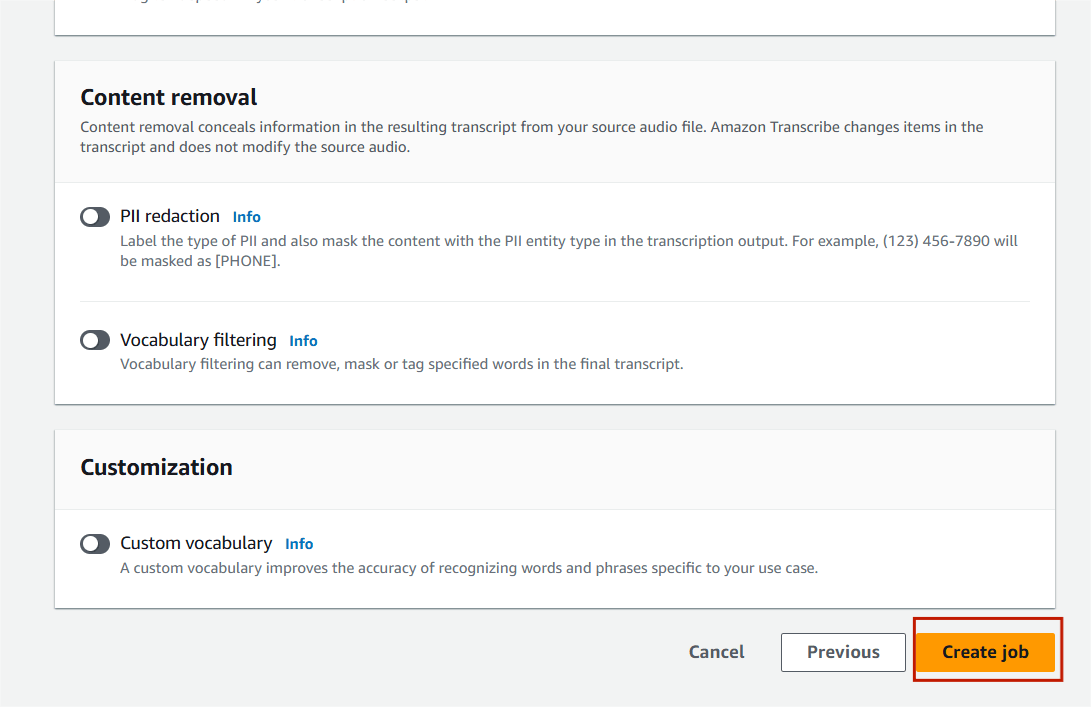
STEP 15 : Once the status is completed Click on your job.
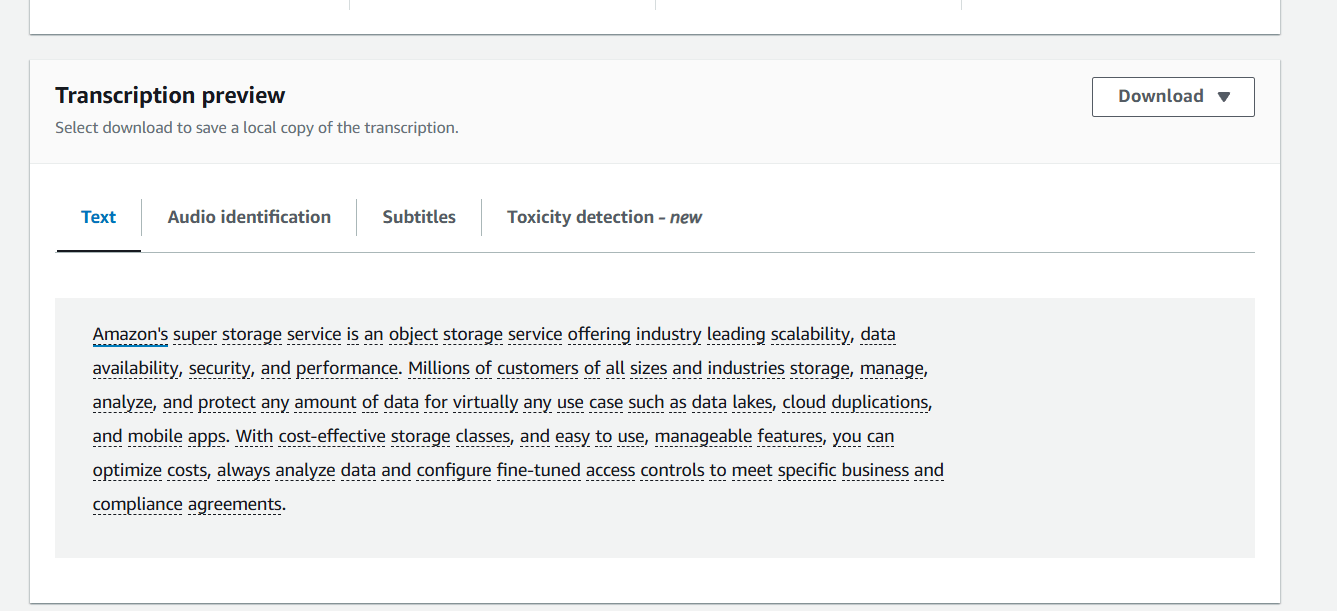
- Scroll down to the Transcription panel to view the transcription job output. In the JSON pane you can view the transcription results as it would be returned from the Transcribe API.


Conclusion.
You’ve now successfully created an audio transcript with Amazon Transcribe! If you plan to use this service frequently, consider automating the process with AWS SDKs or APIs. This feature, called Automatic Language Identification, can handle audio containing multiple languages and accurately transcribe it, making it an invaluable tool for global businesses and multilingual environments.

Add a Comment