Introduction.
In today’s globally connected digital landscape, ensuring your users get the fastest, most relevant experience possible isn’t just a luxury—it’s a necessity. As traffic to your website or application grows, especially across regions and continents, the way you route that traffic becomes critically important. That’s where AWS Route 53’s Geolocation Routing Policy steps in. Unlike traditional routing methods that treat all traffic the same regardless of origin, geolocation routing lets you make intelligent, location-based decisions about where to send user requests. Whether you’re running a multi-region application, optimizing performance, or meeting regulatory requirements, geolocation routing gives you precise control based on the geographic origin of your users. Route 53—Amazon’s scalable and highly available DNS web service—offers multiple routing policies, but geolocation stands out for its ability to deliver truly customized experiences. With this policy, you can configure DNS responses based on continents, countries, or even U.S. states. That means visitors from Europe can be directed to servers in Frankfurt, users in Asia can hit infrastructure in Singapore, and traffic from California can be served from a local edge location—all without writing complex logic into your application. This approach not only reduces latency but can also improve content localization, legal compliance, and service availability. Whether you’re serving a content-heavy media site, a global e-commerce platform, or a SaaS application, geolocation routing can play a crucial role in scaling smart. The best part? Setting it up in Route 53 is straightforward once you understand the core concepts. In this blog post, we’ll break down how geolocation routing works, when you should use it, and how to configure it step by step. We’ll explore real-world use cases, cover edge cases you should be aware of, and share some pro tips to make the most out of it. By the end of this article, you’ll not only understand geolocation routing—you’ll be ready to implement it with confidence. So let’s dive into the world of Route 53 geolocation routing policies and discover how you can use them to build smarter, faster, and more resilient infrastructure for your global audience.

Prerequisites
- You have a hosted zone set up in Route 53 for your domain.
- You have multiple resources (e.g., servers, load balancers, or endpoints) in different geographic regions.
- Your domain is already pointing to Route 53 name servers.
Step 1: Go to the Route 53 Console
- Sign in to the AWS Management Console.
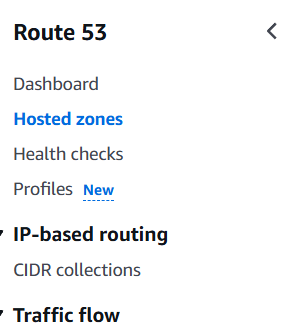
- Navigate to Route 53 > Hosted Zones.
- Click on the domain you want to set up geolocation routing for.

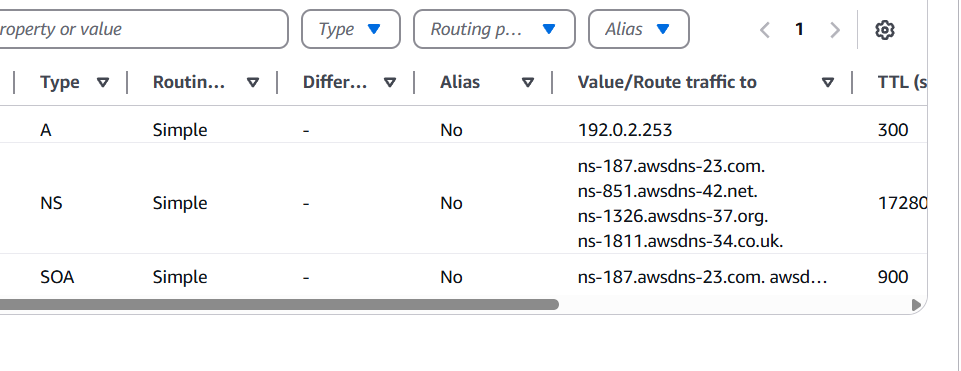
Step 2: Create a Record Set (Now called a “Record”)
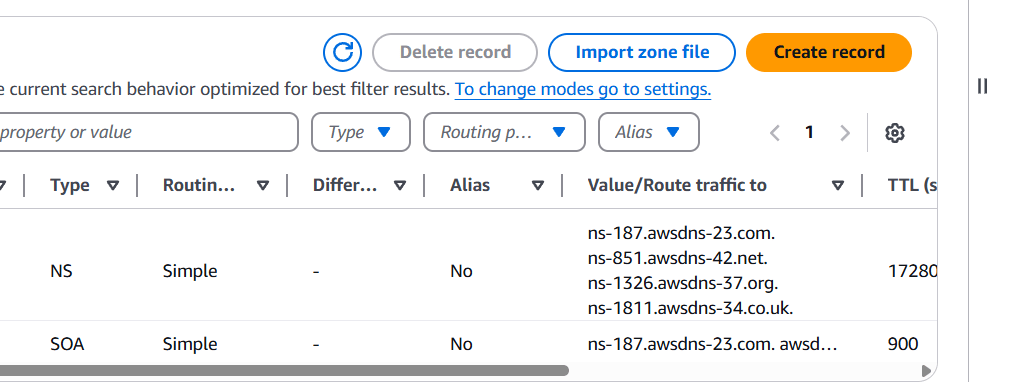
- Click “Create record”.
- Choose a Record type: usually A (IPv4) or CNAME, depending on your setup.
- Enter the record name (e.g.,
wwwor leave blank for root domain).

Step 3: Select “Geolocation” Routing Policy
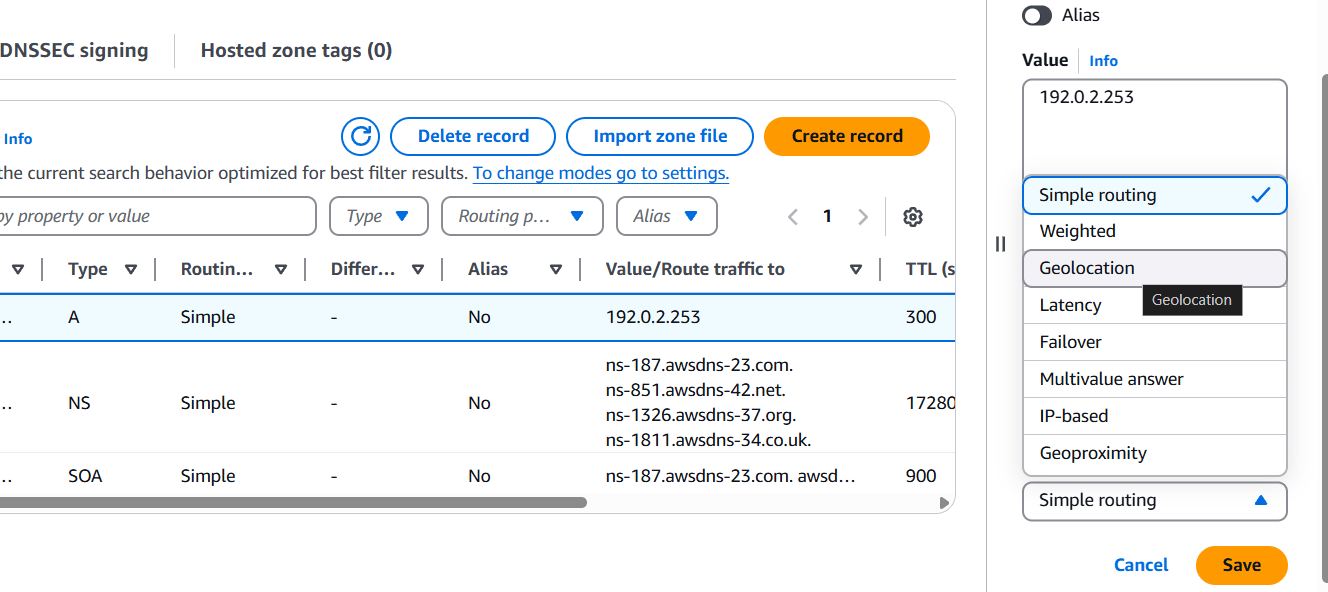
- Under Routing Policy, choose Geolocation.
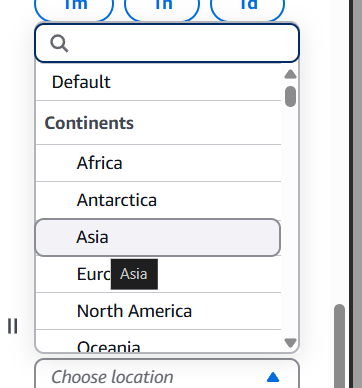
- Under Location, pick the geographic location:
- Continent (e.g., Asia)
- Country (e.g., United States)
- U.S. State (e.g., California)
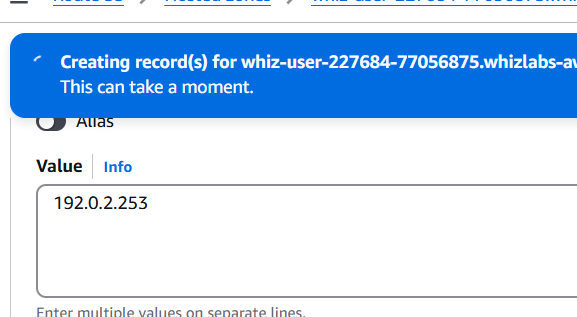
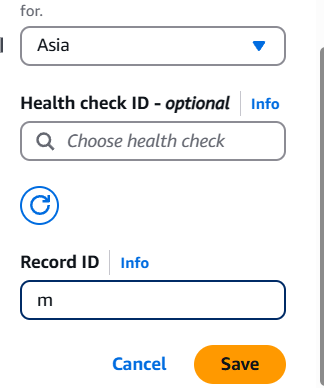
- Enter the value for the resource to route to (e.g., IP address or ELB hostname).
Step 4: Repeat for Other Locations
- Create additional geolocation records for each region or country you want to route differently.
- For example:
- U.S. traffic →
us-app.example.com - Europe traffic →
eu-app.example.com - Asia traffic →
asia-app.example.com
- U.S. traffic →
Step 5: Add a Default Record.
If a user’s location doesn’t match any of the geolocation records, Route 53 can use a default location record.
- Create one more record.
- Set Location to
Default. - Point it to a global fallback server or load balancer.
Step 6: Test Your Configuration
- Use
nslookup,dig, or an online DNS testing tool. - Simulate requests from different regions using VPNs or tools like Globalping.
Best Practices
- Always configure a Default geolocation record.
- Use health checks to ensure Route 53 only responds with healthy endpoints.
- Monitor usage with CloudWatch and Route 53 logs.
- Keep in mind geolocation is based on the user’s resolver IP, which might be different from the actual user’s location.

Conclusion.
In conclusion, AWS Route 53’s Geolocation Routing Policy is a powerful feature that allows you to control DNS responses based on the geographic location of your users. Whether you’re aiming to reduce latency, comply with regional regulations, or deliver tailored content, this routing method gives you the flexibility and precision to serve your global audience effectively. By directing users to the most appropriate endpoints based on where they are, you can significantly enhance performance, reliability, and the overall user experience. Implementing it is straightforward within the Route 53 console or via Infrastructure as Code tools, and when combined with good monitoring and fallback strategies, it becomes an essential part of any robust, global architecture. As your infrastructure grows, understanding and leveraging geolocation routing can give your application the edge it needs to stay responsive, compliant, and user-focused—no matter where your users are in the world.

Add a Comment