Introduction.
In modern software development, automation plays a critical role in streamlining processes, increasing efficiency, and ensuring faster delivery of applications. Jenkins, an open-source automation server, has become one of the most widely used tools in Continuous Integration and Continuous Deployment (CI/CD) pipelines. One of the most powerful features Jenkins offers is the ability to integrate with webhooks, allowing for automatic triggering of builds based on events that occur in your version control system, like GitHub or GitLab.
Webhooks are HTTP callbacks that notify external systems (like Jenkins) about specific events or changes. When it comes to Jenkins, webhooks can be used to trigger automated builds whenever there’s a change in the code repository, such as a push, pull request, or commit. This integration removes the need for manual intervention, saving developers valuable time and reducing the risk of human error.
Setting up Jenkins with webhooks enables continuous integration, which means that as soon as a developer commits code to a repository, Jenkins automatically pulls the changes and runs tests, build tasks, or deployment procedures. This creates a seamless process that speeds up development cycles and ensures that the code in production is always up to date and functioning as expected.
This guide will walk you through the steps required to set up Jenkins webhooks for automated builds. We’ll start with the prerequisites, such as installing Jenkins and configuring the necessary plugins, and then move on to configuring the webhook in your version control system (like GitHub, GitLab, or Bitbucket). Finally, we’ll demonstrate how Jenkins can automatically trigger builds when changes are pushed to your repository, ensuring a smoother and faster development workflow.
Whether you’re a beginner or an experienced developer, setting up Jenkins webhooks is a straightforward way to automate your build process. By the end of this tutorial, you’ll have a fully functioning CI/CD pipeline that reacts automatically to code changes, providing quicker feedback and improving the overall development experience.

Let’s get started with setting up Jenkins webhooks and harness the power of automation!
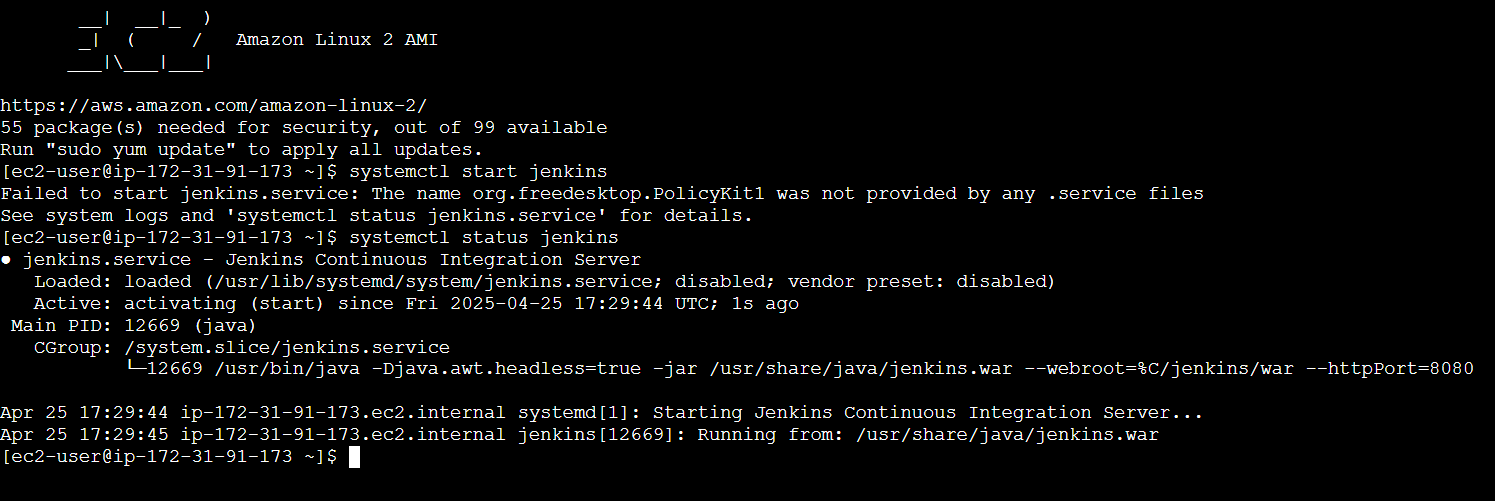
Step 1: Install Jenkins and Required Plugins
Ensure that Jenkins is up and running. Additionally, install any required plugins:
- Git plugin: For integrating Jenkins with Git repositories.
- GitHub plugin (if using GitHub): For GitHub integration with Jenkins.
- Generic Webhook Trigger plugin: To handle generic webhooks.
To install plugins:
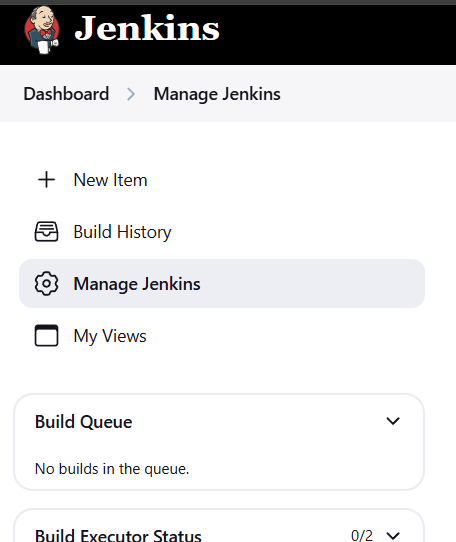
- Go to Jenkins Dashboard.
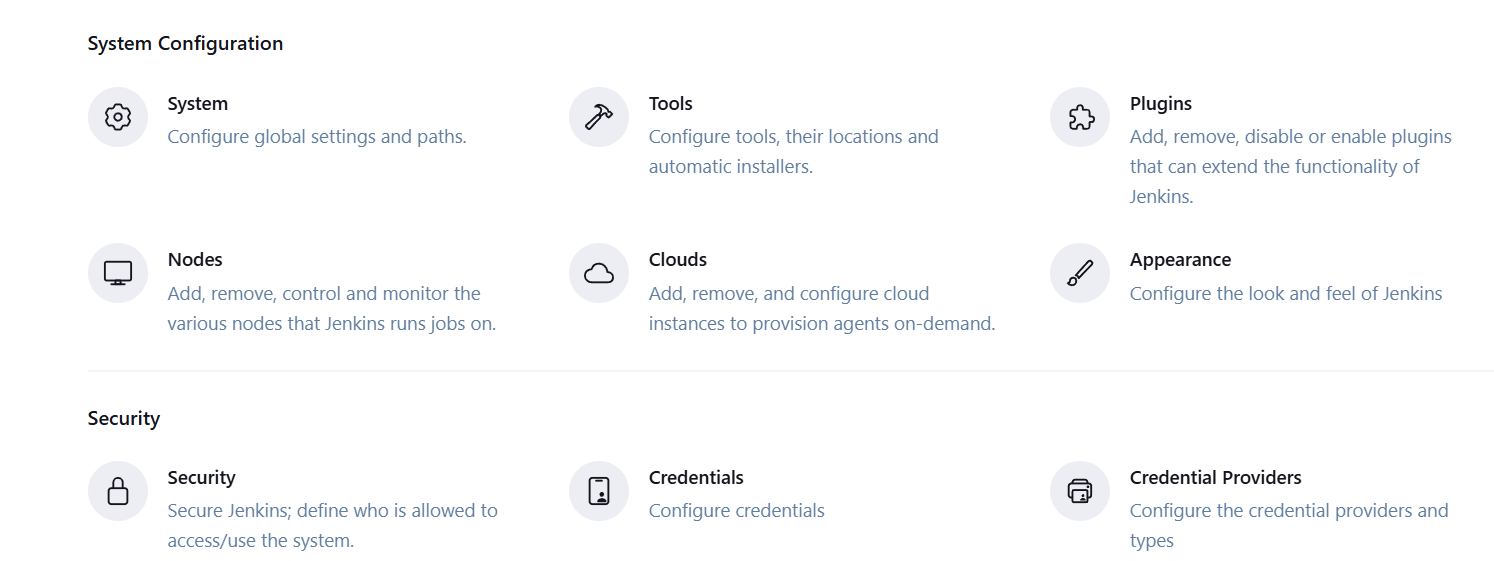
- Click on Manage Jenkins > Manage Plugins.
- Under the Available tab, search for the plugins you need and install them.

Step 2: Configure a Jenkins Job
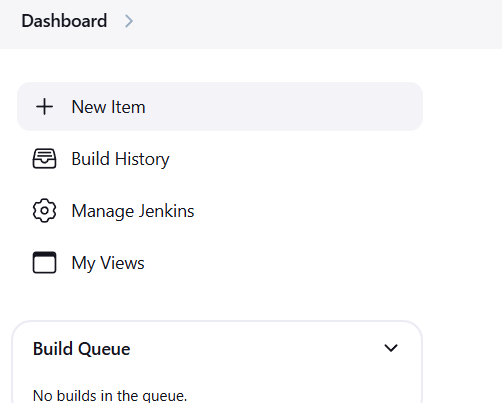
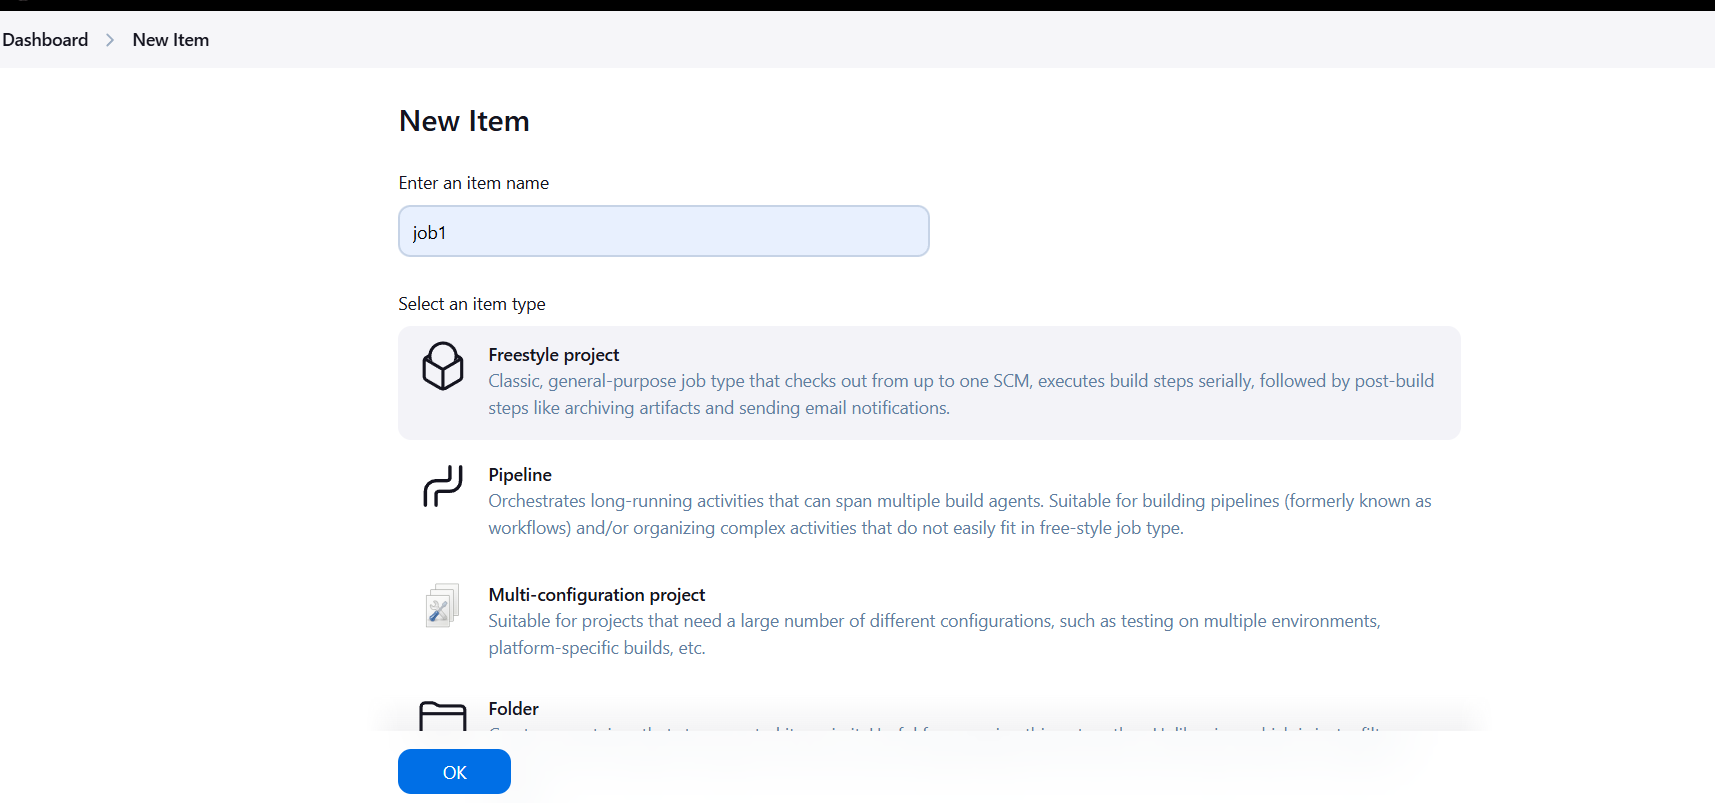
- Go to Jenkins Dashboard > New Item.
- Create a new Freestyle Project or Pipeline job.
- Set up the job according to your project requirements (e.g., specify Git repository URL, build commands, etc.).

Step 3: Set Up Webhook in Source Control Platform
For GitHub
- Go to your GitHub repository.
- Navigate to Settings > Webhooks > Add webhook.
- In the Payload URL field, enter the Jenkins server URL followed by
/github-webhook/(e.g.,http://your-jenkins-url/github-webhook/). - Select the Content type as application/json.
- Choose the events that should trigger the webhook (usually, you’ll select Just the push event).
- Click Add webhook.
Step 4: Configure Jenkins to Handle Webhook Triggers
- Go to your Jenkins job configuration page.
- Under Build Triggers, check GitHub hook trigger for GITScm polling (for GitHub) or use the Generic Webhook Trigger plugin for more flexibility (this plugin can handle a variety of webhook payloads).
- If using GitHub plugin, select GitHub hook trigger for GITScm polling.
- If using Generic Webhook Trigger plugin, you can configure webhook patterns and parameters for different services.
- Save your configuration.
Step 5: Test the Integration
- Make a code change (e.g., push a commit) to the repository.
- This will trigger the webhook to Jenkins.
- Jenkins should automatically start the job you configured in response to the webhook event.
- Check the Build History to ensure the job was triggered successfully.
Troubleshooting Webhooks:
- If the webhook isn’t triggering the build, check the Jenkins system logs and webhook delivery logs in your source control platform for errors.
- Ensure Jenkins is publicly accessible or that necessary network configurations (e.g., firewall settings) allow GitHub, GitLab, or Bitbucket to reach your Jenkins server.

Conclusion.
Integrating Jenkins with webhooks is a key step in automating your CI/CD pipeline, allowing for seamless code deployment and testing. By configuring webhooks in platforms like GitHub, GitLab, or Bitbucket, Jenkins can automatically trigger builds when changes are pushed to the repository. This eliminates the need for manual intervention and speeds up the development process. With plugins such as the Git plugin and Generic Webhook Trigger, Jenkins can easily communicate with your version control system. Securing webhook communication with a secret token ensures that only authorized events trigger builds. Overall, this integration enhances workflow efficiency, improves consistency, and accelerates delivery cycles. By automating these processes, teams can focus more on development and innovation while minimizing errors. Webhook-based automation helps maintain a continuous flow of updates, making CI/CD more reliable and scalable.

Add a Comment