Introduction.
In today’s fast-paced software development world, automation is a crucial part of improving efficiency and reducing errors. Jenkins, a popular open-source automation server, plays a significant role in this by providing continuous integration and continuous delivery (CI/CD) services. To further enhance its capabilities, Jenkins offers a powerful REST API that allows developers to integrate Jenkins with other applications, monitor jobs, trigger builds, and manage configurations programmatically. In this blog, we’ll dive into the concept of the Jenkins REST API, explore its key features, and discuss how you can leverage it to automate workflows and improve your DevOps practices. Whether you’re looking to build custom integrations or automate repetitive tasks, understanding Jenkins’ REST API is a valuable skill for modern developers.

STEP 1: Go to jenkins dashboard.
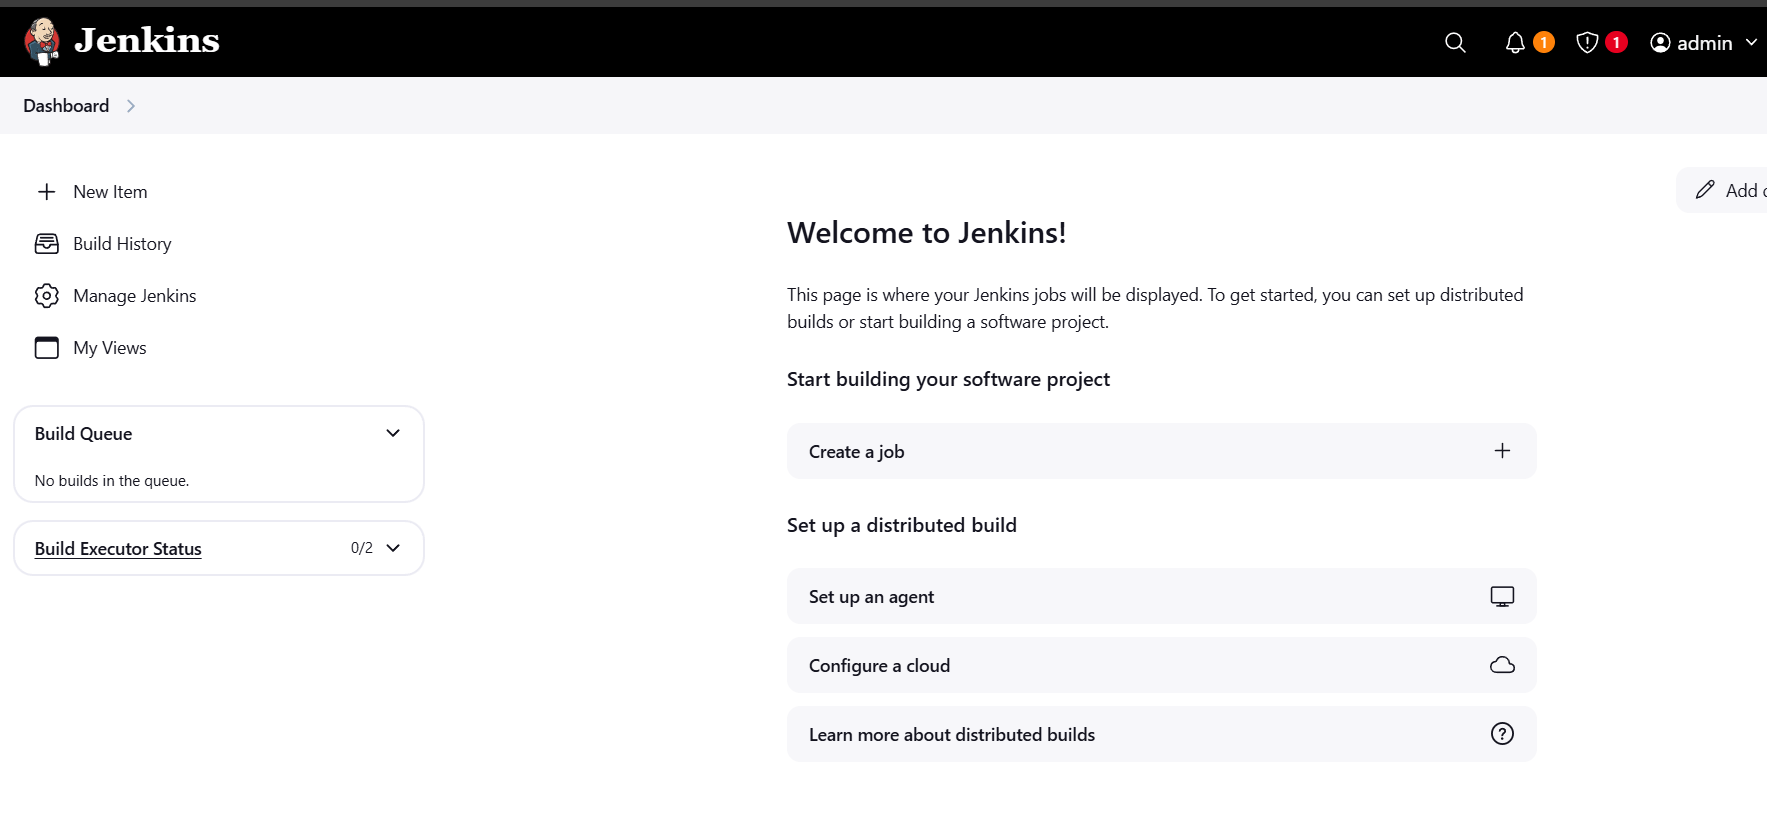
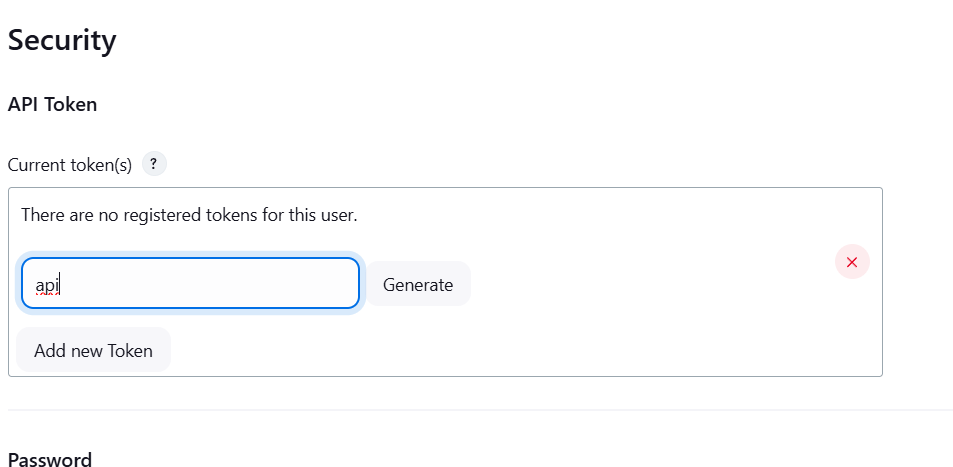
STEP 2: Click on your user name.
- Select security create API Token.
- Click on Add new token.
- Enter the name and click on generate.
- Copy your token.

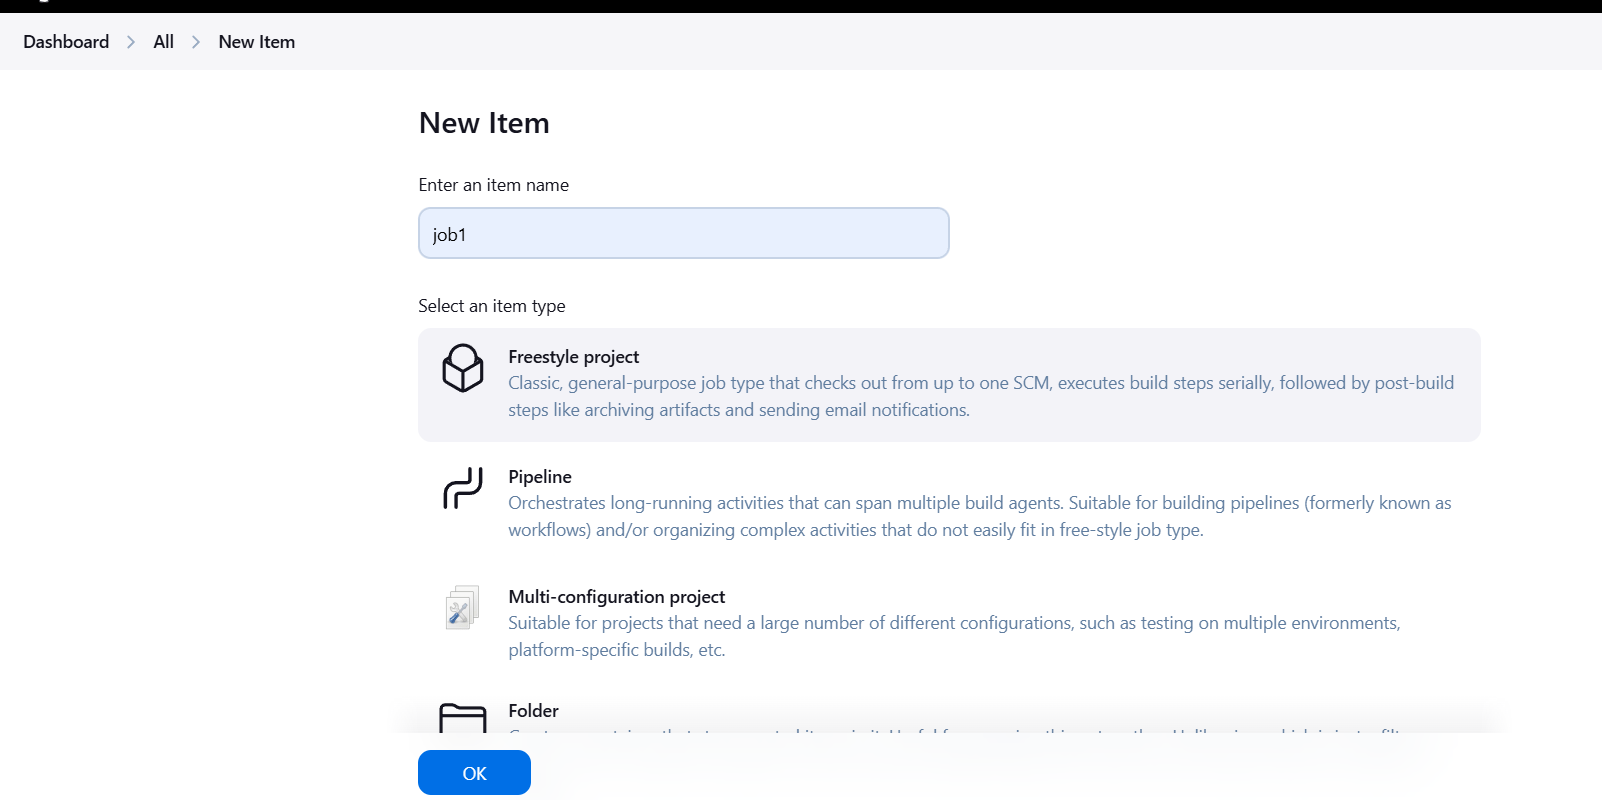
STEP 3: Next, Go to dashboard create new item.
- Enter the Job name and select the freestyle project.
- Click on ok.
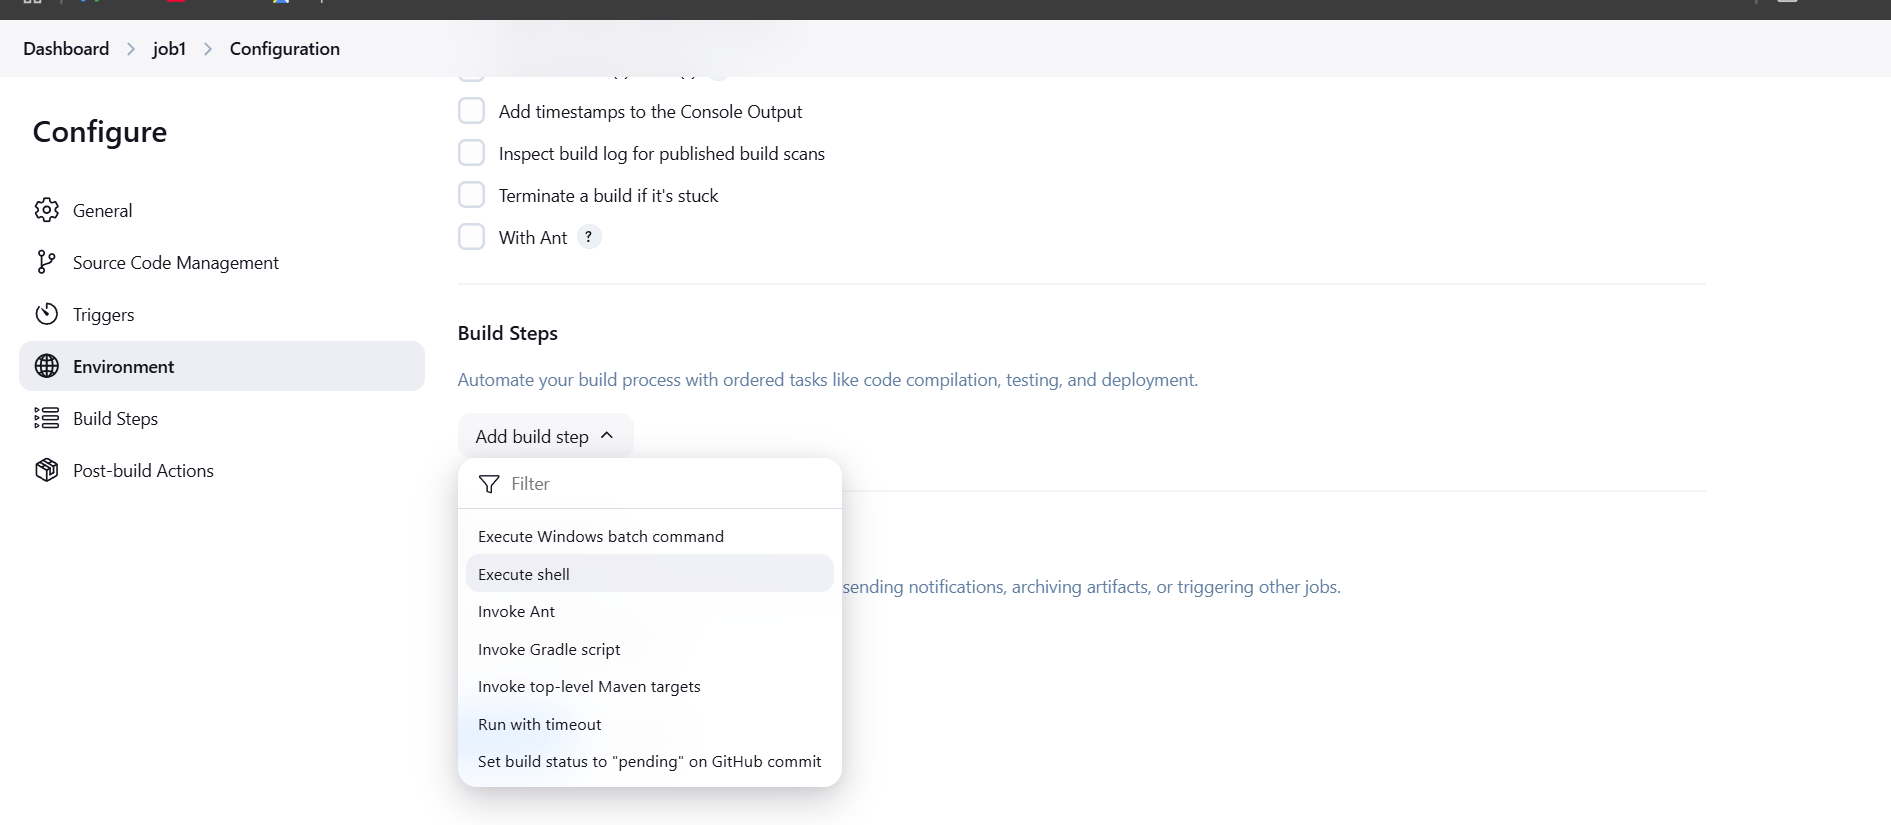
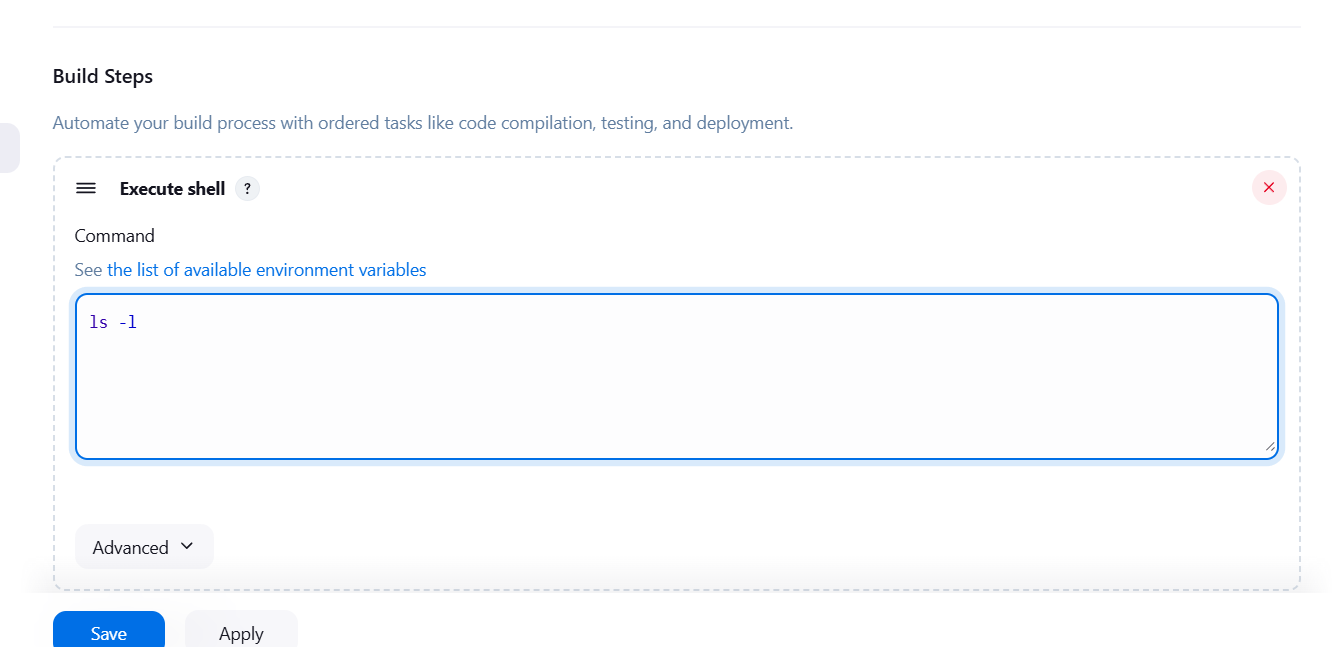
- Configure the Job.
- Scroll down Click on Add build and select execute shell.
- Enter the ls -l command.
- Apply and save.
STEP 4: Accessing the SSH Connection.
- Enter the following command.
echo "<API_TOKEN>" > APITOKEN
cat APITOKEN
STEP 5: Go to jenkins dashboard.
- Re-write the URL of Jenkins by adding /crumbIssuer/api/xml then hit Enter:
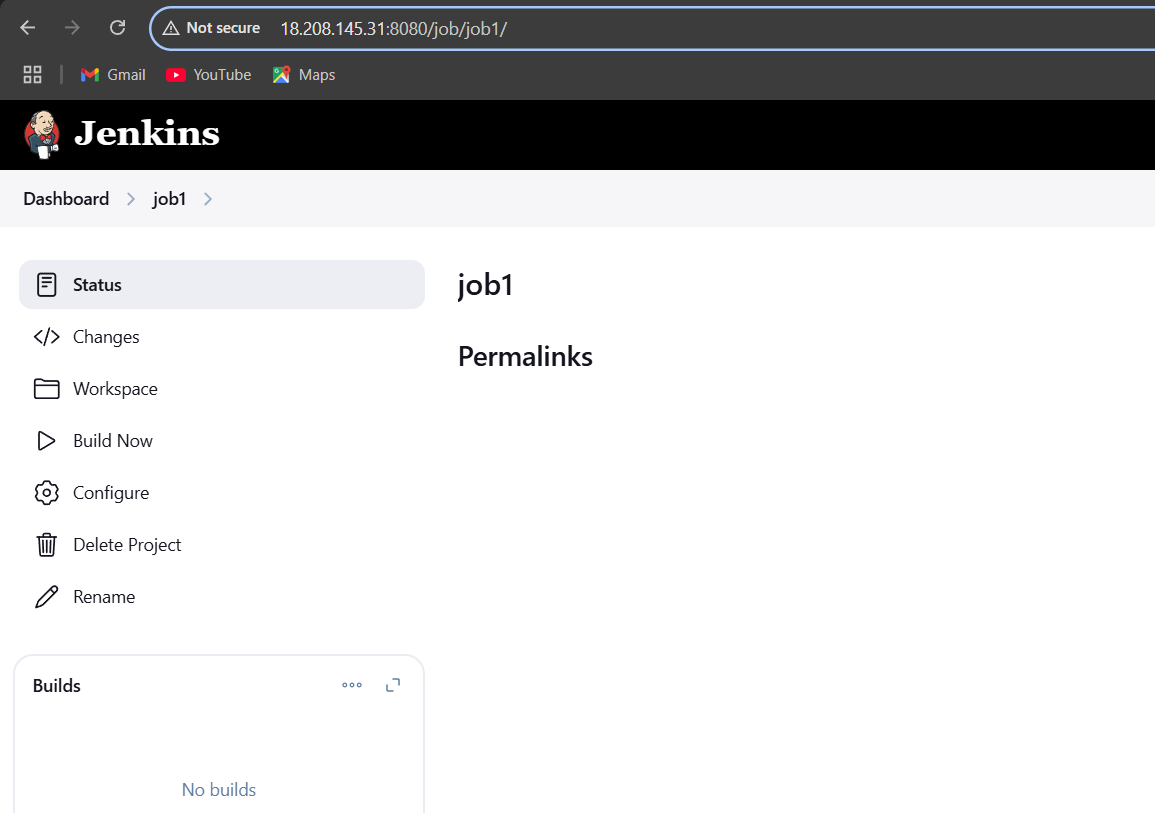

STEP 6: Execute the following command in the shell to retrieve the Jenkins crumb token. Replace username and password with the credentials Used in SSH Connection, and <jenkins-server-url> with the public IPv4 address of the EC2 instance.
crumb=$(curl -u "username:password" -s "http://<jenkins-server-url>/crumbIssuer/api/xml?xpath=concat(//crumbRequestField,\":\",//crumb)")
echo $crumb
cat APITOKEN
STEP 7: Run below command to start the build on Job1, replace “USERNAME:APITOKEN” with the username that you set initially and APITOKEN from previous step.
curl -X POST -u USERNAME:APITOKEN "JOB_URL/build" -H "crumb"STEP 8: Go to dashboard and verify the job build.

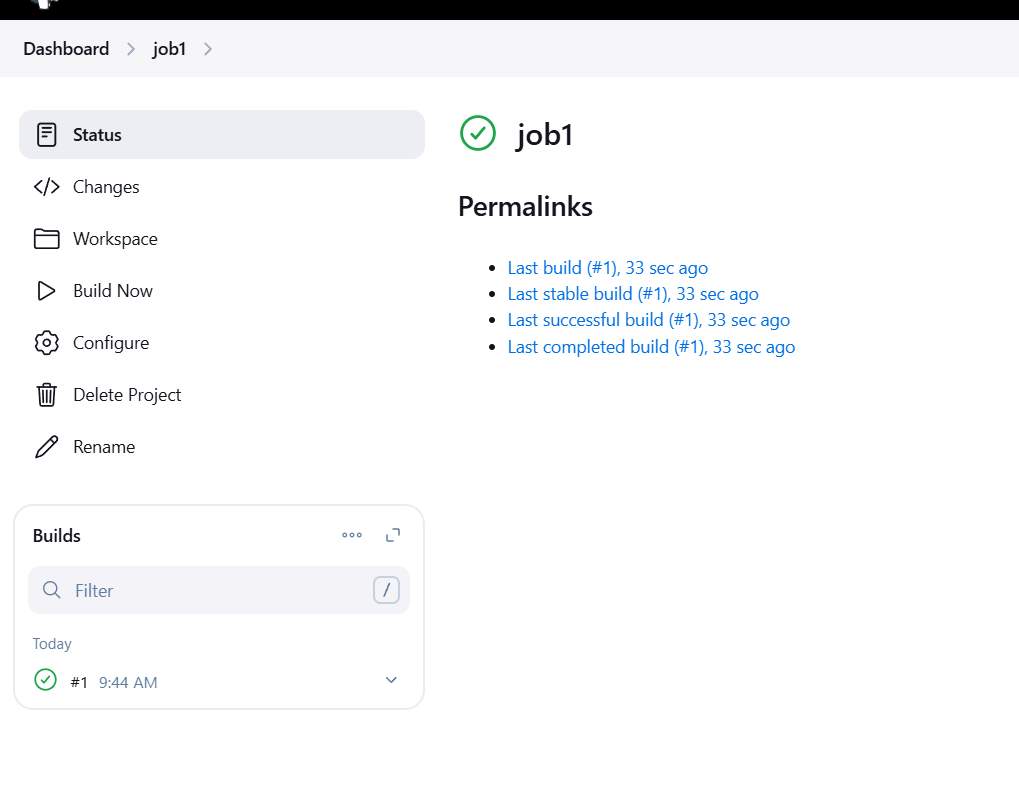
STEP 9: Run the below command to retrieve the configuration of a Jenkins job and save it locally, replace JobURL with the URL of Job1 from previous step, USER_NAME.
curl -X GET JobURL/config.xml -u USER_NAME:API_TOKEN -o mylocalconfig.xml
ls -l
curl -s -XPOST 'JENKINS_HOST/createItem?name=JOB_NAME' -u USERNAME:API_TOKEN --data-binary @mylocalconfig.xml -H "$crumb" -H "Content-type:text/xml"

STEP 10: Go to jenkins dashboard and verify the created the job2 like job1.


Conclusion.
In conclusion, the Jenkins REST API enhances the flexibility of Jenkins by providing a means for developers and system administrators to automate processes, monitor builds, and manage Jenkins configurations without directly interacting with the Jenkins UI. It’s a valuable resource for DevOps teams looking to streamline their workflows and integrate Jenkins into a broader automation pipeline.

Add a Comment