Introduction.
Configuring DNS with Amazon Route 53 is an essential part of managing domain names and directing traffic to your web applications. Route 53 is a scalable, highly available Domain Name System (DNS) web service provided by AWS, enabling users to route end-user requests to applications running on AWS or elsewhere. By configuring DNS with Route 53, users can create, update, and manage DNS records, such as A records, CNAME, or MX records, for domain names. This process ensures that traffic is directed to the right resources, whether it’s an Elastic Beanstalk environment, an EC2 instance, or an external server. Route 53 also integrates seamlessly with other AWS services, offering additional features like health checks and routing policies for optimized performance. With Terraform, this entire process can be automated, ensuring repeatable, version-controlled infrastructure deployment, making DNS management efficient and scalable.

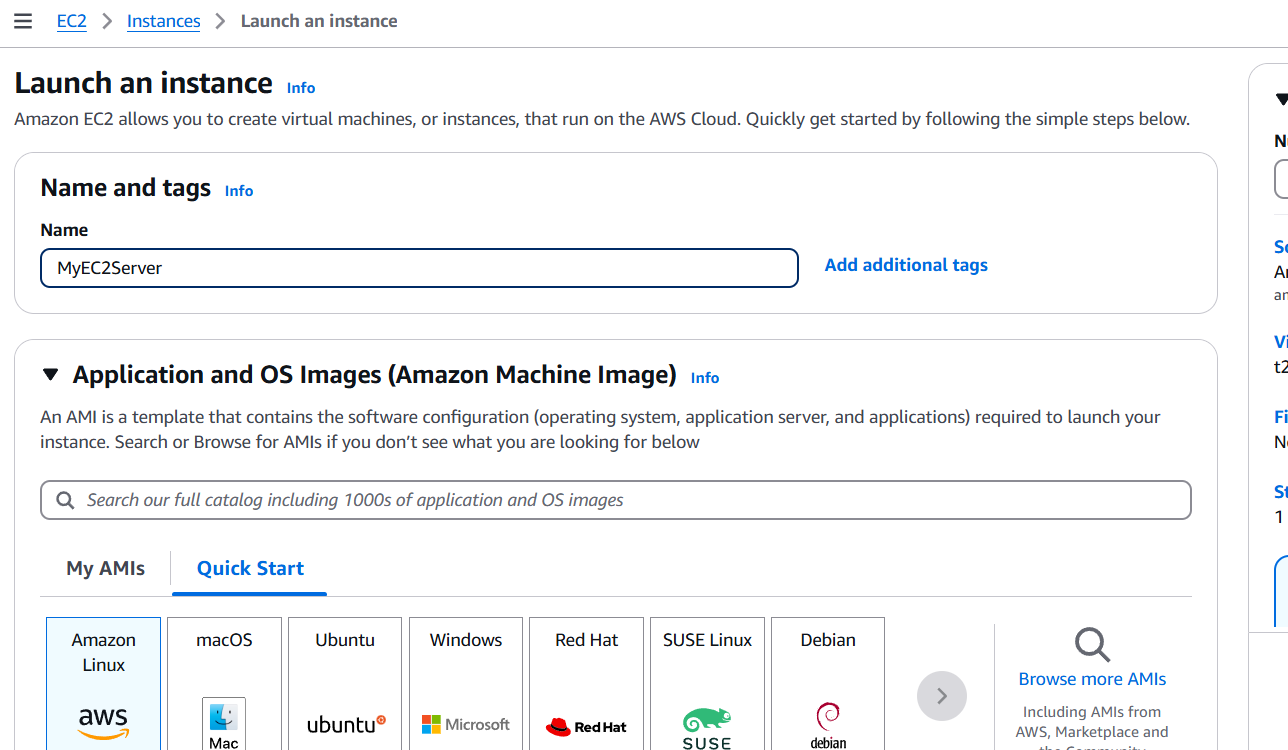
STEP 1: Navigate The EC2 and Select the instance click on create instance.
- Enter the instance name.
- Select the AMI and Instance type.
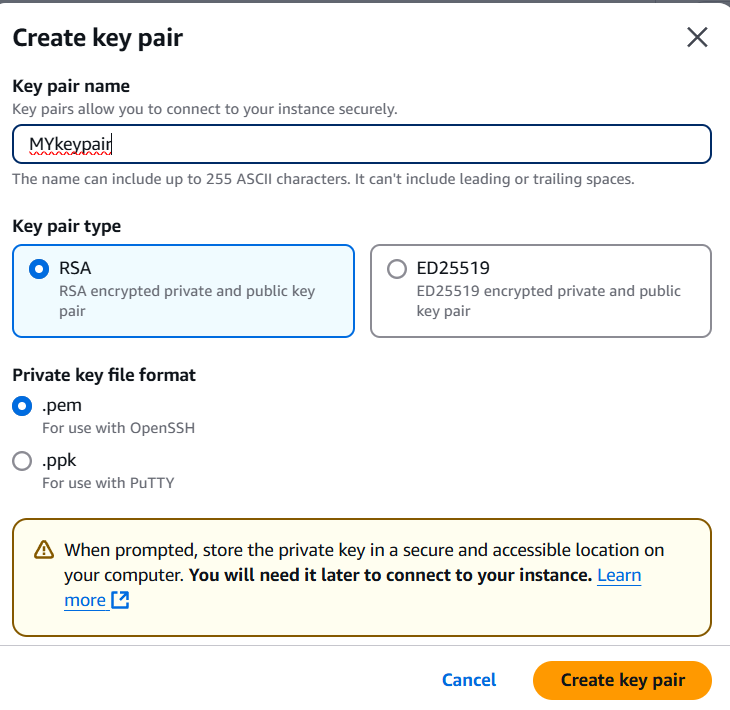
- Create the keypair.

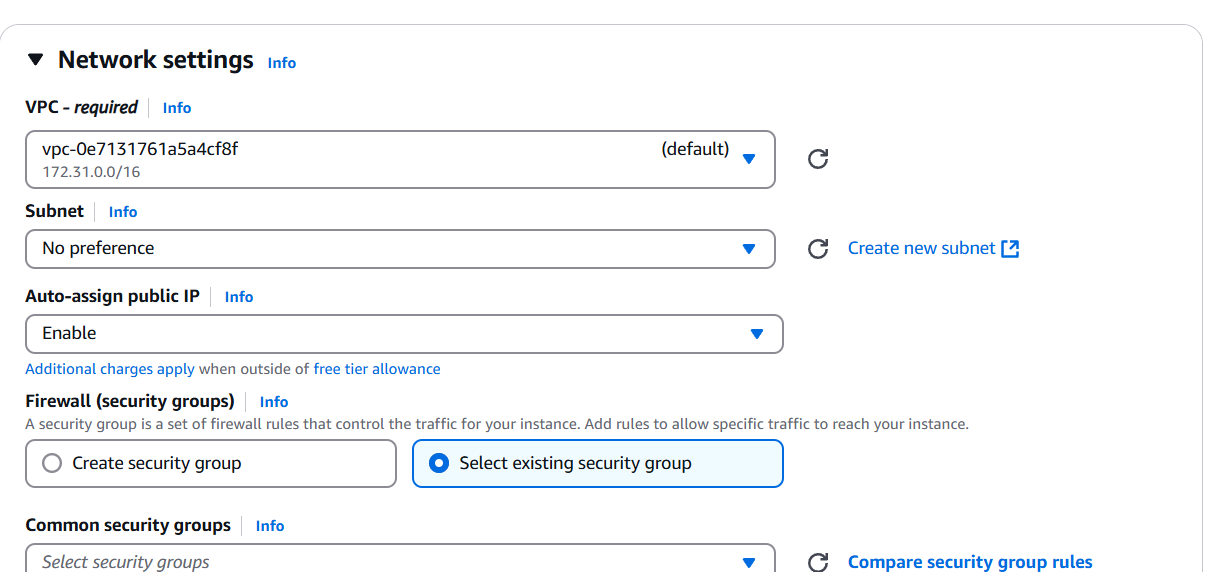
STEP 2: Edit the network settings.
- Enable the auto assign public IP.
- Create security gropu.
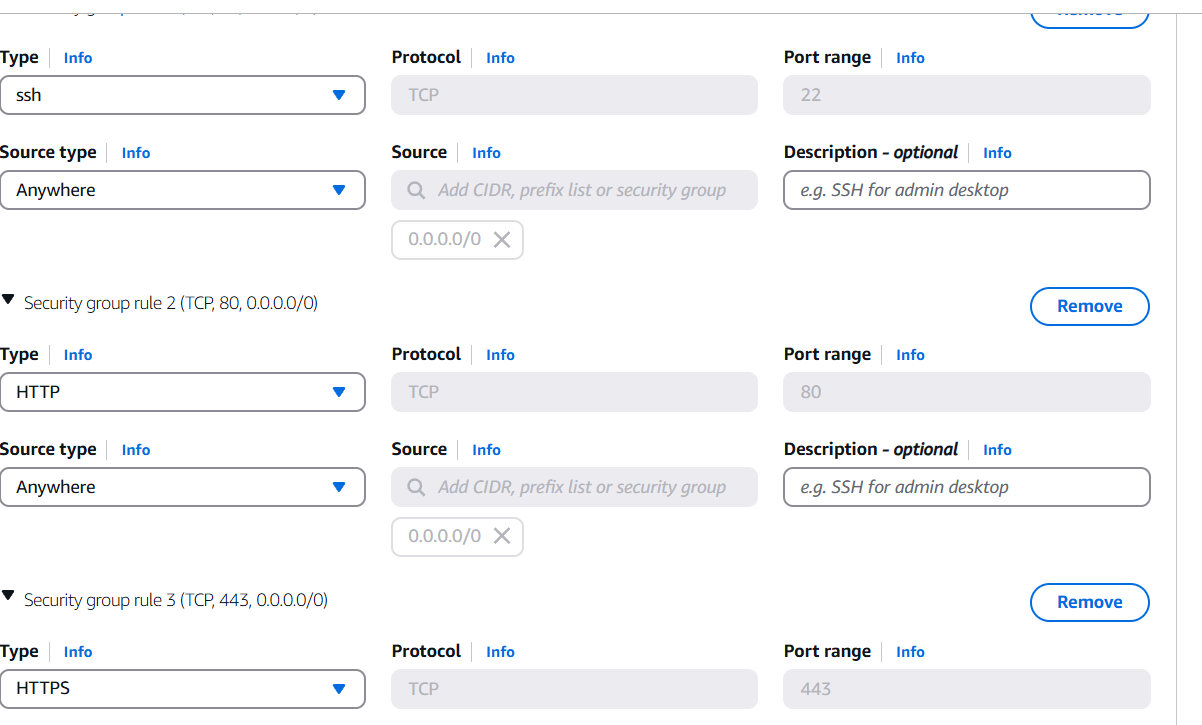
- To add the SSH, HTPP, HTPPS.

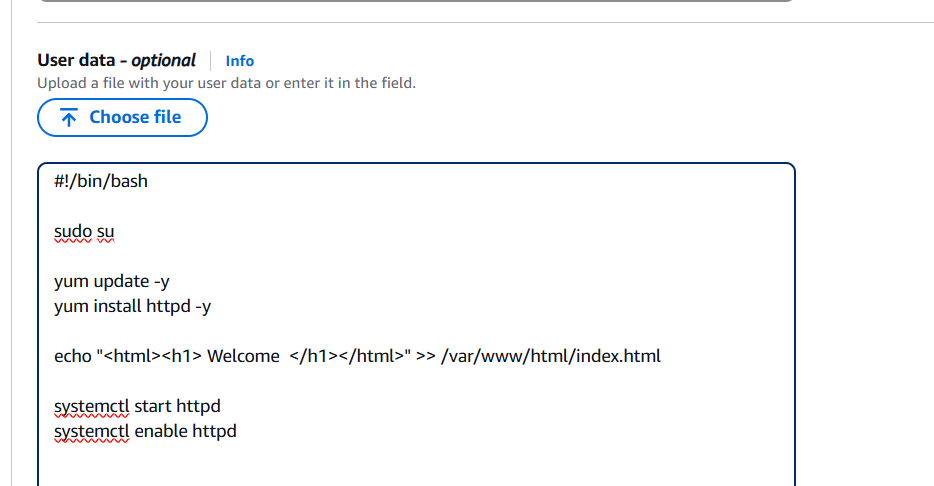
STEP 3: Go to additional and enter the lines in the user data box.
#!/bin/bash

sudo su

yum update -y
yum install httpd -y

echo "<html><h1> Welcome </h1></html>" >> /var/www/html/index.html

systemctl start httpd
systemctl enable httpd
STEP 4: Click on launch instance.

STEP 5: Go target groups and click on create.
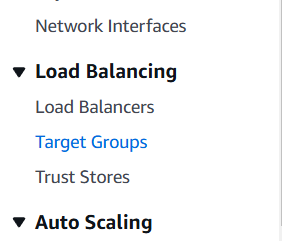

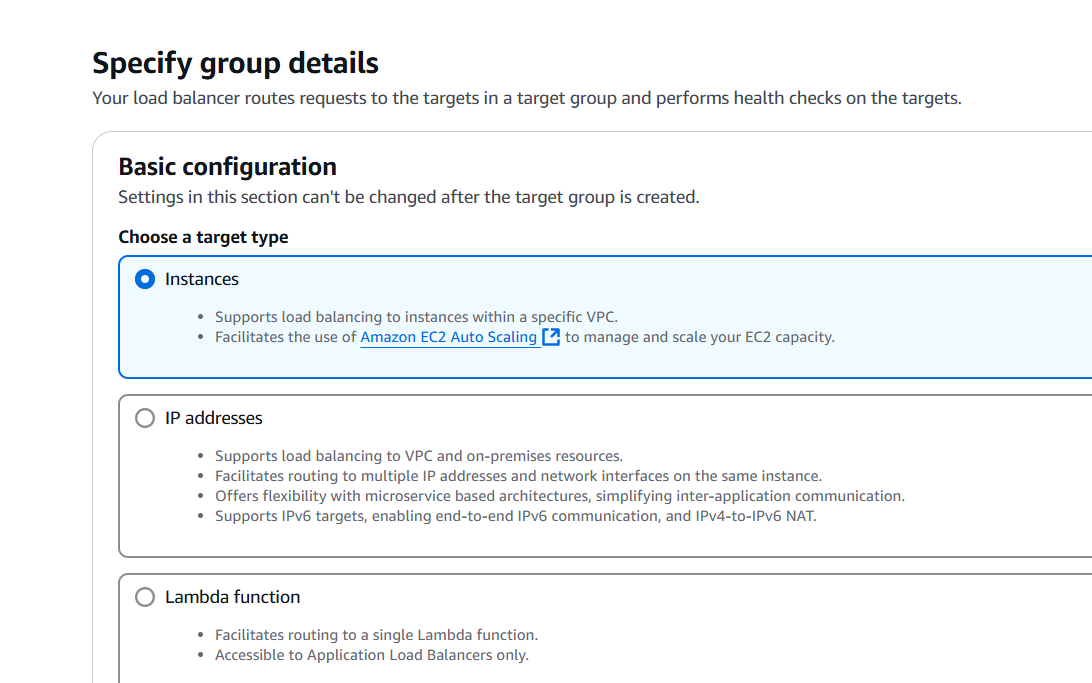
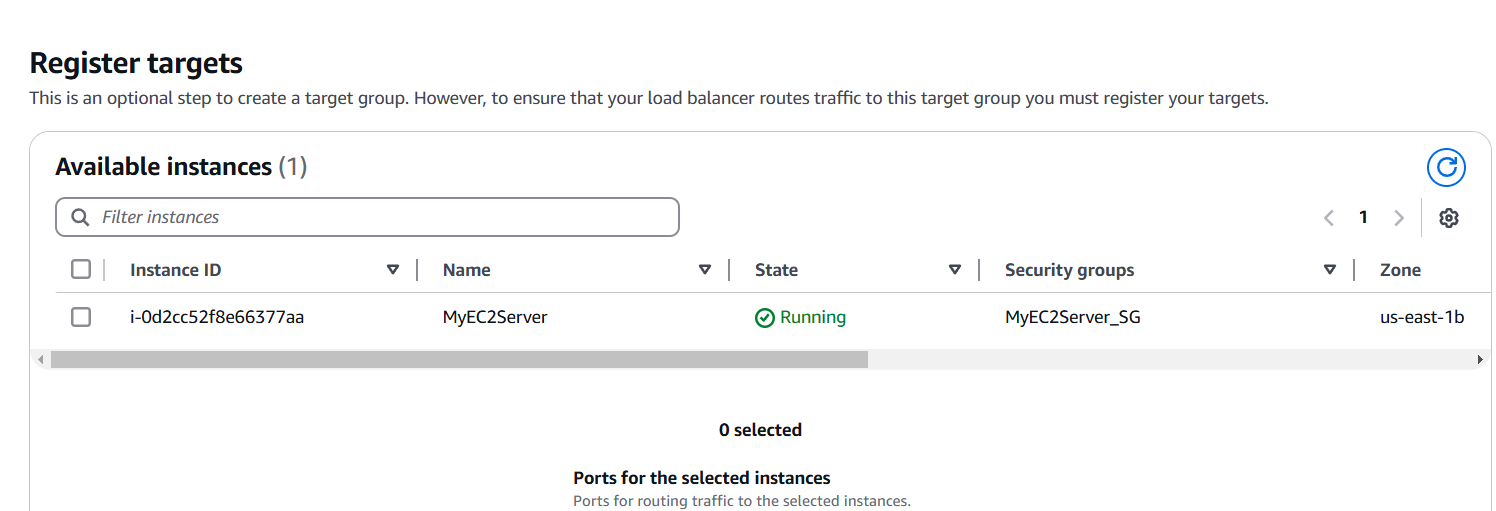
STEP 6: Enter the name and select the instance.
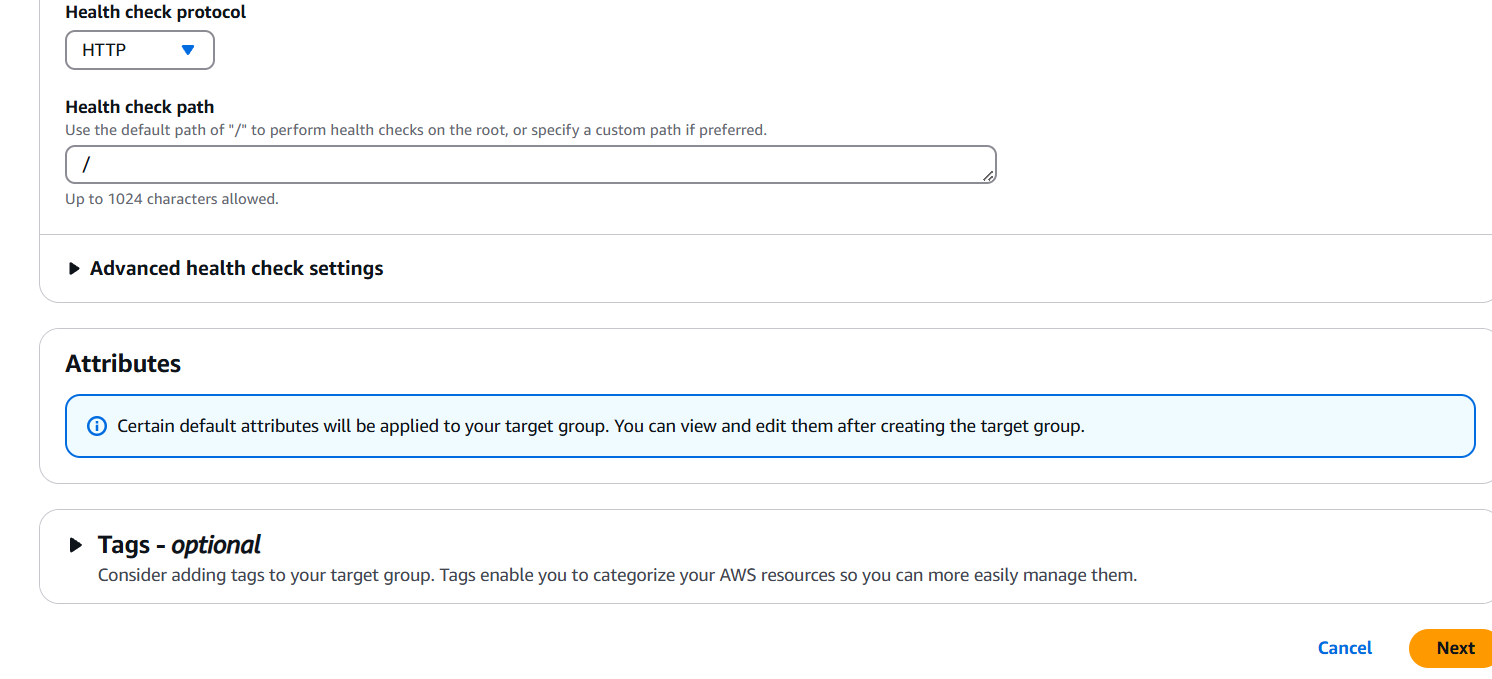
- Click on next and select your created instance.
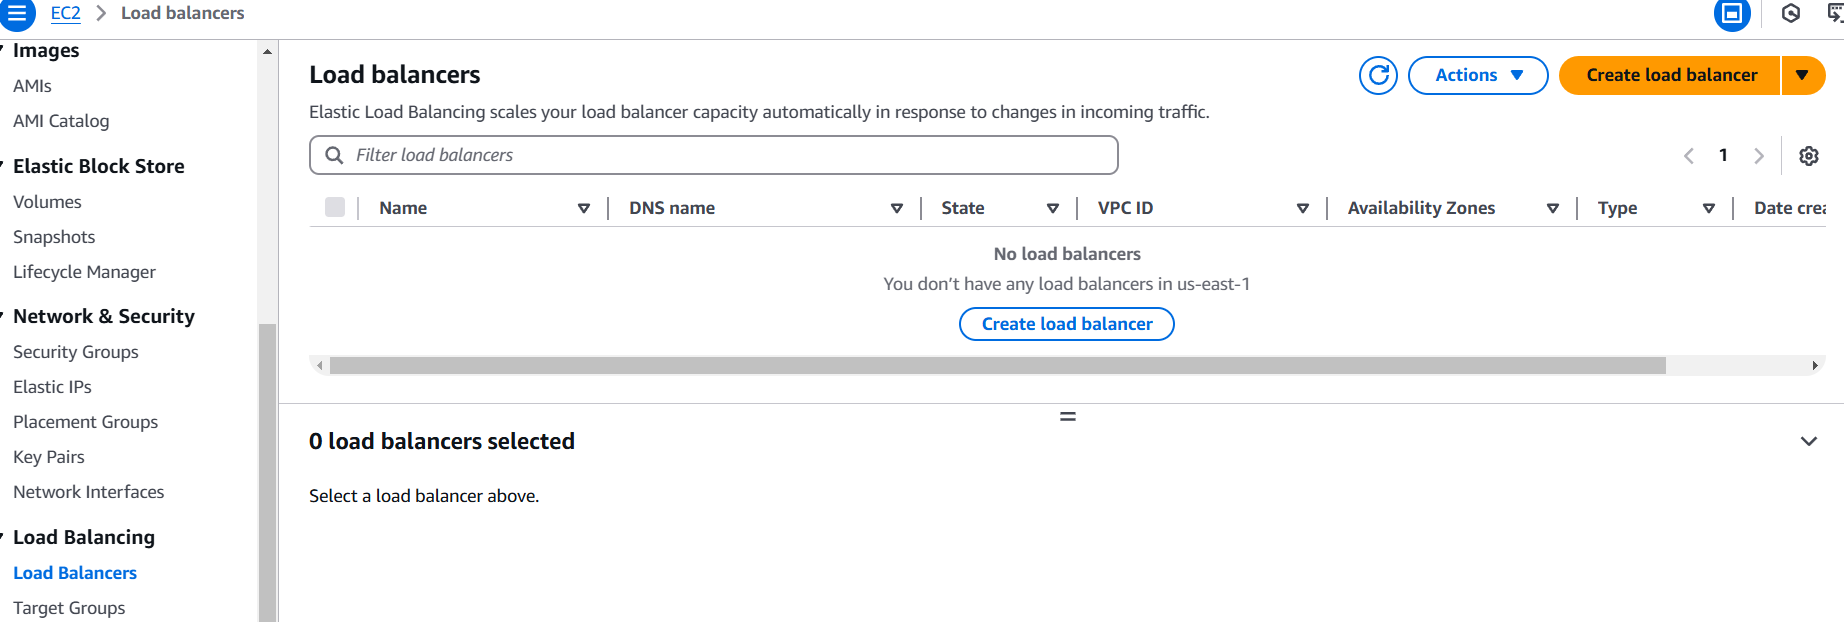
STEP 7: Click on create loadbalancer.
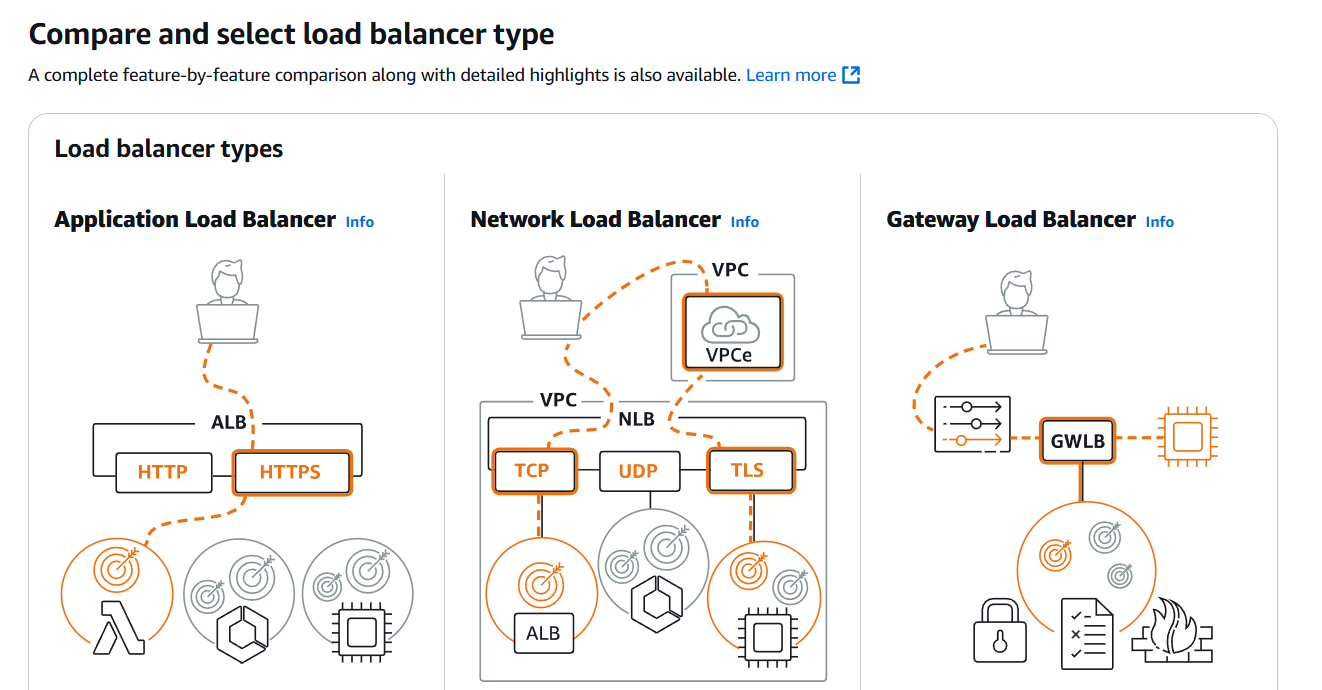
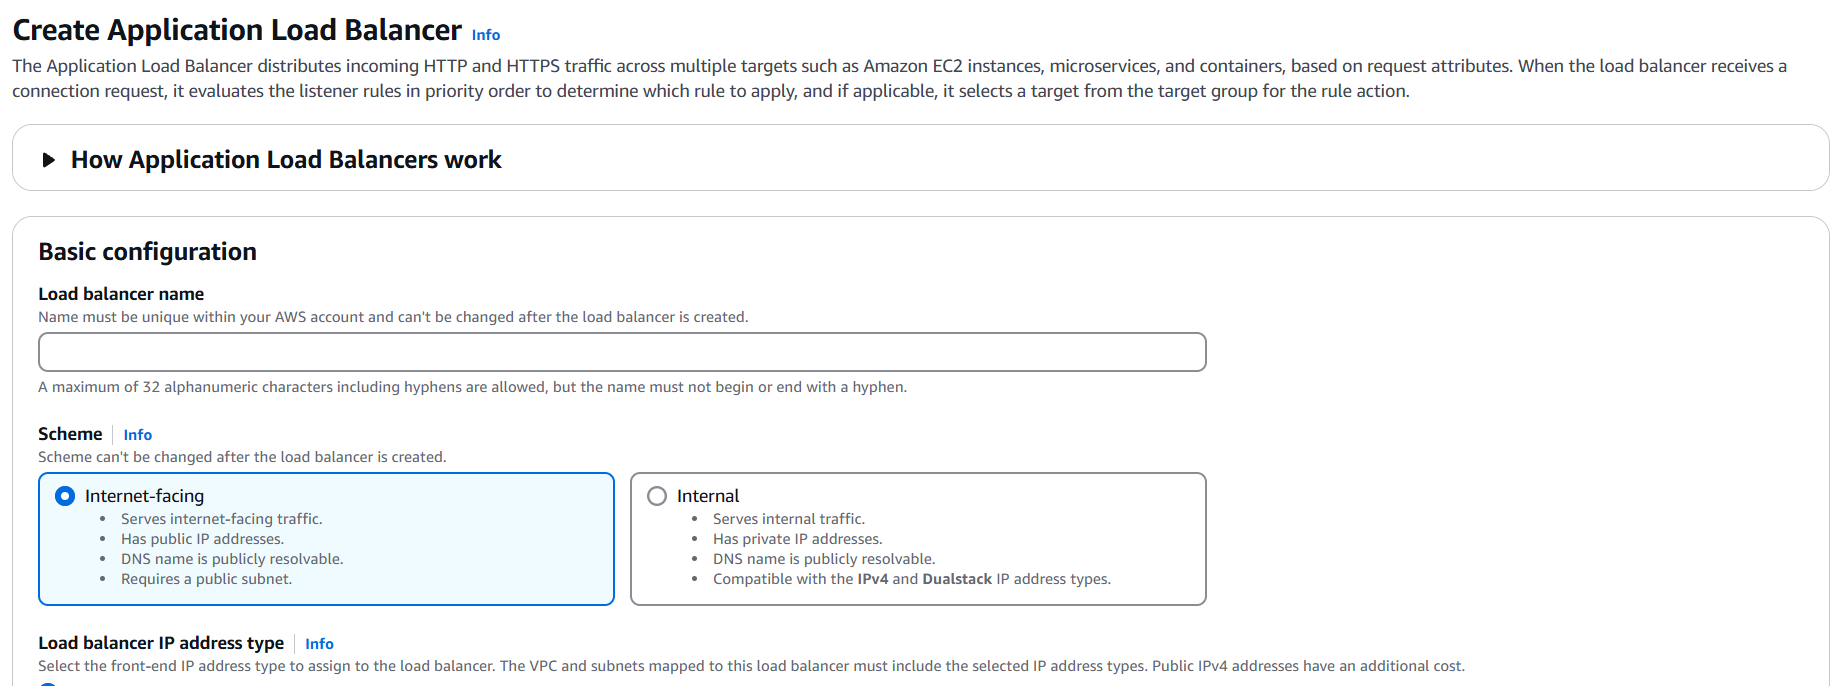
- Select application loadbalancer.


STEP 8: Copy your DNS and enter the browser.

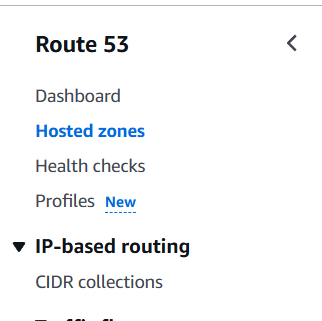
STEP 9: Go route53 and select hosted zones.
- Click on Create Record button.
- Keep the record name as default.
- In Value/Route traffic to, choose Alias to Application and Classic Load Balancer.
- Choose the Region : us-east-1.
- Choose the load balancer, For Evaluate target health, choose No and click on Create record button.
- Copy the record name of Type A, Open a web browser and paste the record name.


Conclusion.
In conclusion, configuring DNS with Amazon Route 53 is a crucial step in managing web traffic and ensuring that domain names correctly point to the right resources. By leveraging Route 53, businesses can achieve reliable, scalable, and highly available DNS management. Integrating Route 53 with AWS services and automating the configuration with tools like Terraform ensures consistency, reduces manual errors, and streamlines the deployment process. This setup enhances the overall performance, availability, and flexibility of web applications, allowing developers to focus on building their applications while leaving the complexity of DNS management to AWS Route 53.
Add a Comment