Introduction.
What is Jenkins?
Jenkins is an open-source automation server widely used in software development to automate the process of building, testing, and deploying applications. It supports Continuous Integration (CI) and Continuous Delivery (CD), which are key practices in modern DevOps workflows. With its extensive plugin ecosystem, Jenkins can integrate with numerous tools and technologies, making it highly adaptable to different workflows and environments. It helps teams detect issues early, improve software quality, and accelerate delivery times.

Notifications in Jenkins?
In Jenkins, notifications are a way to alert users or systems about the status of Jenkins jobs (builds, tests, deployments, etc.). Notifications can be configured to inform the relevant stakeholders (developers, testers, DevOps teams, etc.) when a build or pipeline succeeds, fails, or encounters any other significant event. These notifications help to ensure that teams can take timely action to address issues, monitor progress, and improve the overall development and deployment process.

Benefits.
- Real-Time Feedback: Immediate notification of build status allows teams to respond quickly to issues, reducing the time between detection and resolution.
- Faster Issue Detection and Resolution: By notifying teams about build failures, test issues, or deployment errors, Jenkins helps detect problems early in the development cycle.
- Automated Issue Detection: With notifications, any issues in the build pipeline are immediately flagged, enabling faster troubleshooting and minimizing downtime.
- Increased Reliability and Quality Assurance: Automated notifications ensure that critical issues like build failures or test failures are not overlooked, improving the reliability and quality of the software.
- Visibility and Transparency: Notifications give stakeholders visibility into the pipeline’s progress, build results, deployment status, and test outcomes.
- Improved Collaboration: Notifications ensure that all stakeholders are informed about the progress or failure of builds, deployments, and tests, enhancing collaboration across teams.
Requirements:
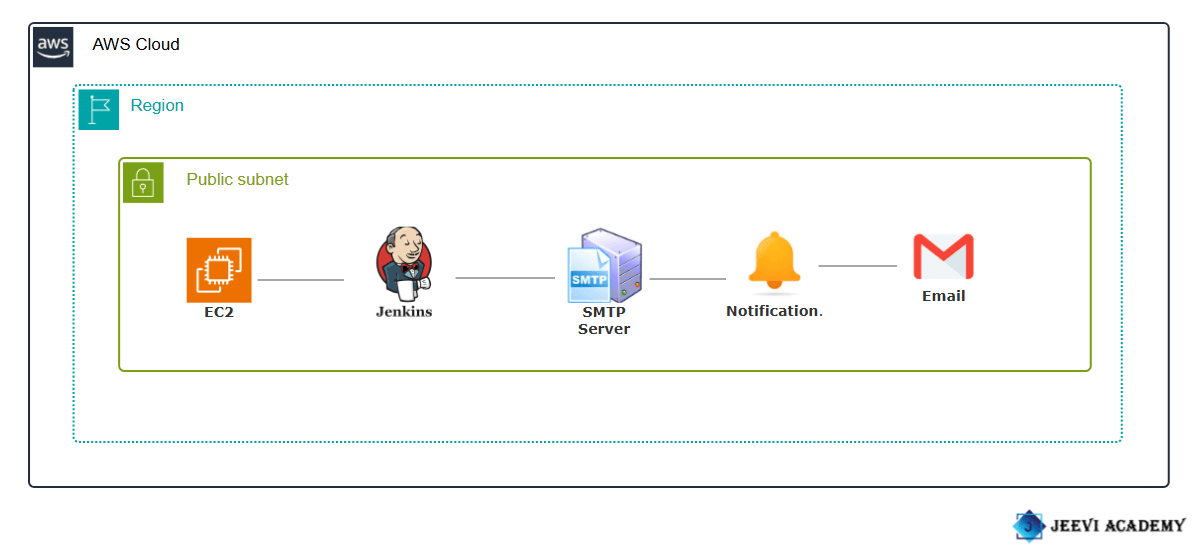
- Create a EC2 instance.
- Accessing EC2 with SSH.
- Install java and jenkins file.(https://www.jenkins.io/doc/book/installing/)
- Enter your browser your IP with port number(8080).
STEP 1: Enter the password and click continue button.


STEP 2: Create admin user.
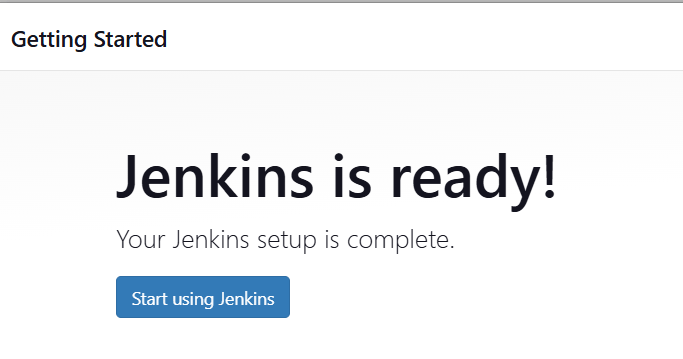
- Click save and continue and start using jenkins.


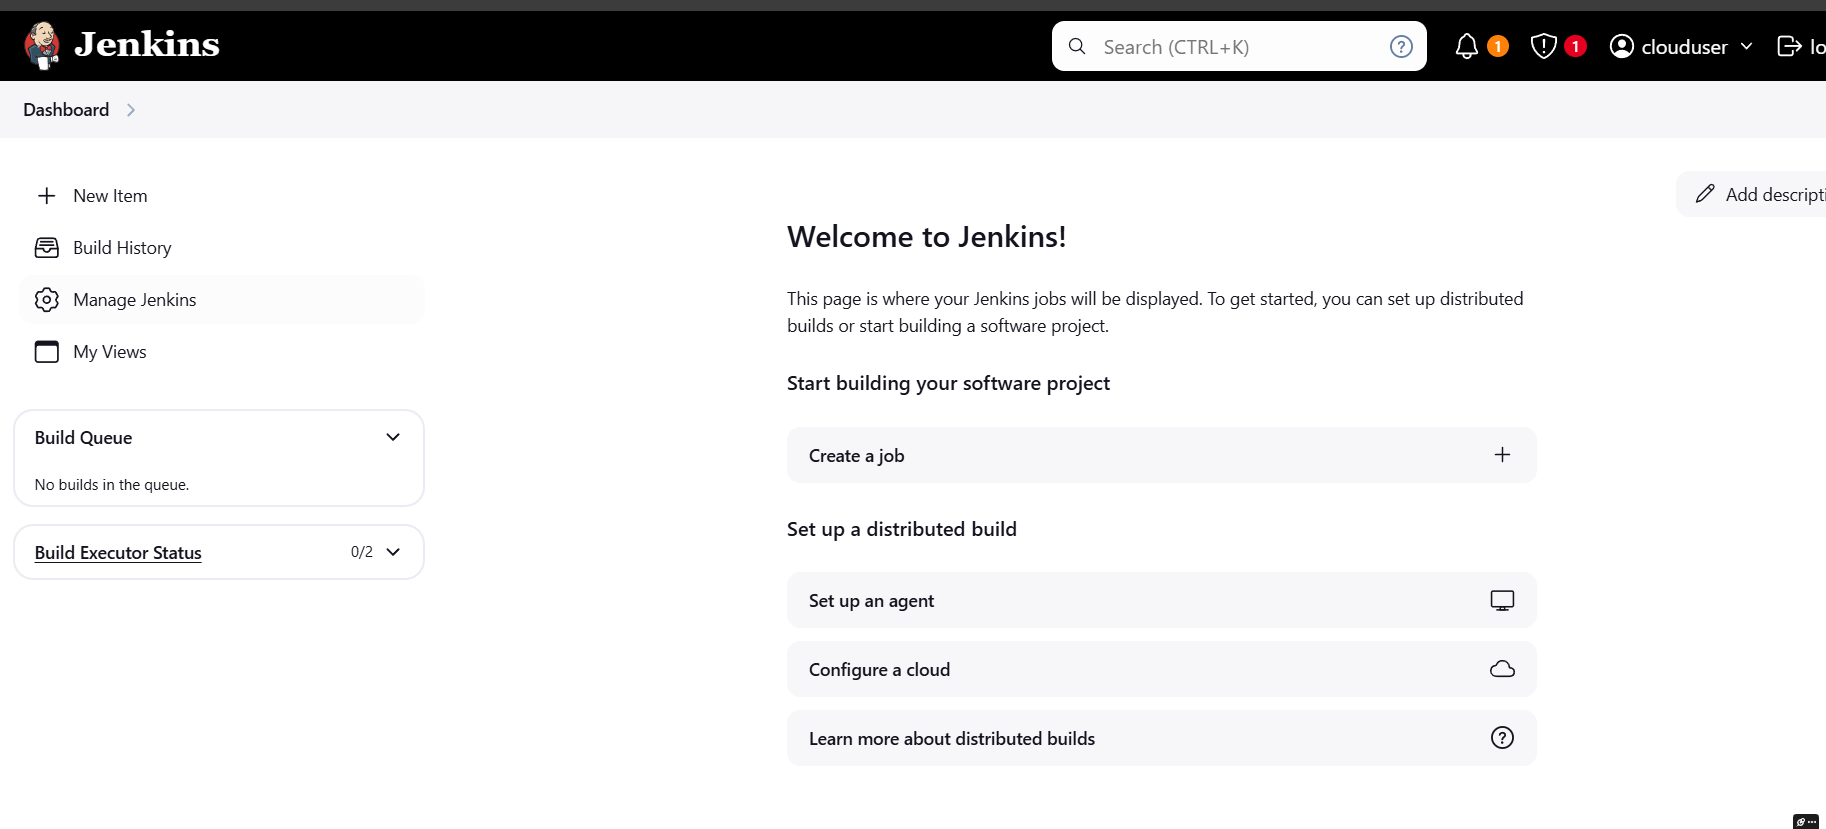
STEP 3: Next, You will see jenkins dashboard.

STEP 4: Go to google account and select security.
- Navigate the app password.


STEP 5: Create app password after you will get a secret password.

STEP 6: Go to manage jenkins, add credentials.
- Kind: Username with password.
- Username: Your email ID.
- Password: Secret password.
- ID: gmail.
- Click create.


STEP 7: Manage jenkins select system.
- Scroll down E-mail notification.
- SMTP Server: smtp.gmail.com
- Next Enter your email.
- Password: Secret password.
- Tick use SSL.
- Port: 465
- Click test configuration send email.

STEP 8: You will get a mail from jenkins.


Conclusion.
Jenkins notifications are an essential tool for teams using CI/CD processes, providing real-time feedback, improving communication, and ensuring fast detection and resolution of issues. By automating notifications, teams can focus on development and innovation while Jenkins handles the task of keeping everyone informed. This leads to a more efficient, transparent, and responsive software development lifecycle, contributing to higher software quality and faster delivery.

Add a Comment