Introduction.
In today’s cloud-native world, Kubernetes has become the go-to platform for managing containerized applications. Amazon Elastic Kubernetes Service (EKS) provides a fully managed Kubernetes service, enabling you to easily deploy and scale containerized applications on AWS. Setting up an EKS cluster manually can be complex, but by using Infrastructure as Code (IaC) tools like Terraform, you can automate the process and ensure a repeatable, scalable solution.
In this comprehensive guide, we’ll walk you through the steps to set up an Amazon EKS cluster and install kubectl, the Kubernetes command-line tool, using Terraform. Whether you’re new to EKS or a seasoned DevOps engineer looking to streamline your infrastructure, this tutorial will give you the knowledge and tools to get up and running with Kubernetes on AWS efficiently. Let’s dive in and explore how Terraform can simplify the creation of your EKS environment, so you can focus on deploying and managing your applications with ease.

Now, Create EKS Cluster and Install Kubectl in Terraform Using VS code.
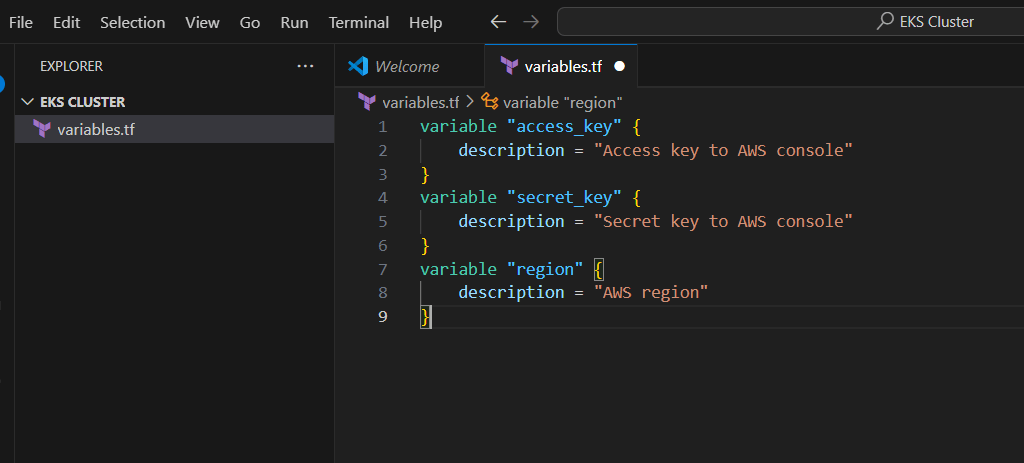
STEP1: Go to vscode open the new folder and create a variables.tf file.
- Enter the following terraform script.
variable "access_key" {
    description = "Access key to AWS console"
}
variable "secret_key" {
    description = "Secret key to AWS console"
}
variable "region" {
    description = "AWS region"
}
STEP 2: Next Create terraform.tfvars file.
- Enter the folllowing script.
- And enter the access key and secret key.
- Next, Save the file.
region = "us-east-1"
access_key = "<YOUR AWS CONSOLE ACCESS ID>"
secret_key = "<YOUR AWS CONSOLE SECRET KEY>"
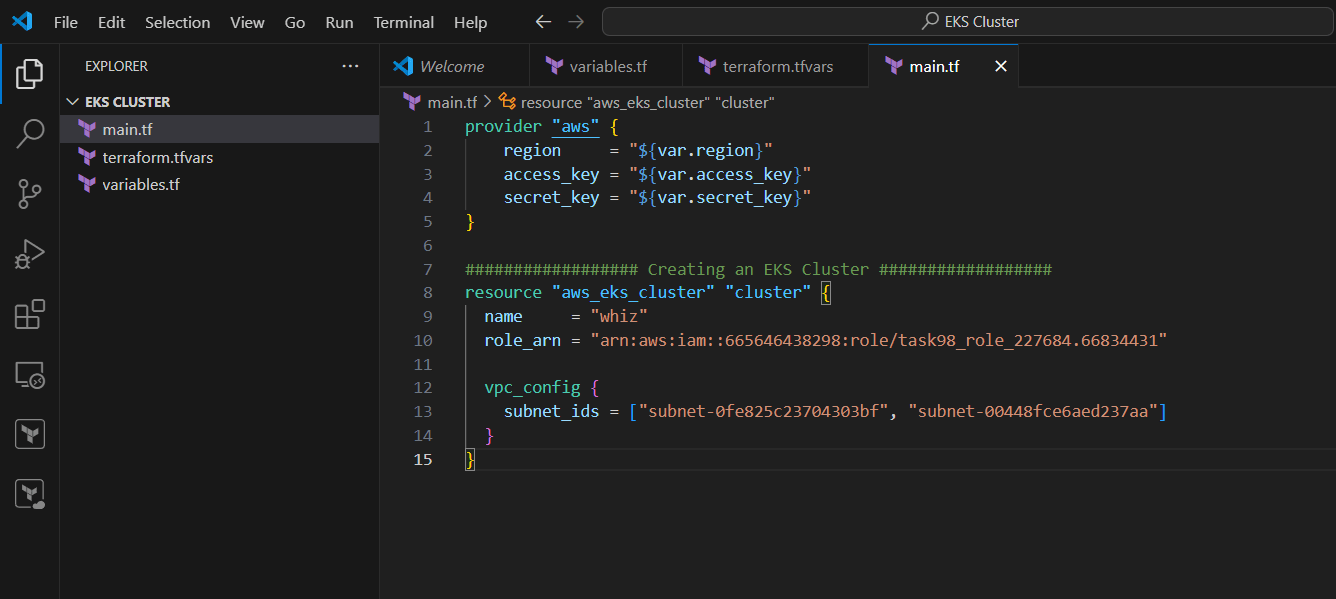
STEP 3: Create main.tf files.
provider "aws" {
    region     = "${var.region}"
    access_key = "${var.access_key}"
    secret_key = "${var.secret_key}"
}
STEP 4: Copide your role arn and paste the notepad.
- Next copy your subnet ID for us-east-1a, us-east-1b.

STEP 5: Now enter the Script foe creating cluster in main.tf file.
################## Creating an EKS Cluster ##################
resource "aws_eks_cluster" "cluster" {
  name     = "whiz"
  role_arn = "<YOUR_IAM_ROLE_ARN>"

  vpc_config {
    subnet_ids = ["SUBNET-ID 1", "SUBNET-ID 2"]
  }
}- Enter the arn and subnets ID.
STEP 6: Next create output.tf file.
- Enter the command and save the file.
output "cluster" {
  value = aws_eks_cluster.cluster.endpoint
}
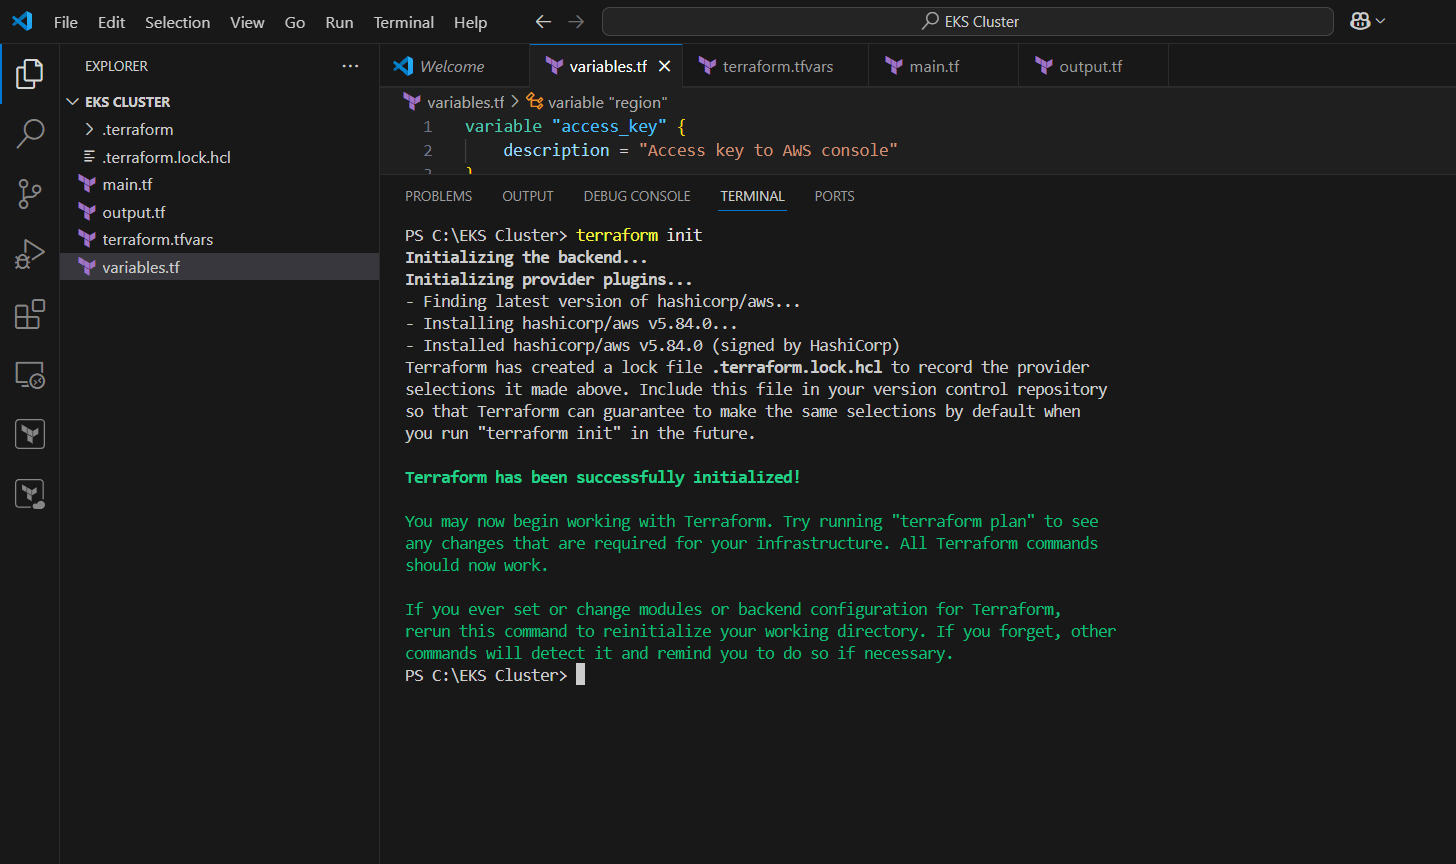
STEP 7: Now, go to the terminal, Enter trraform init command.
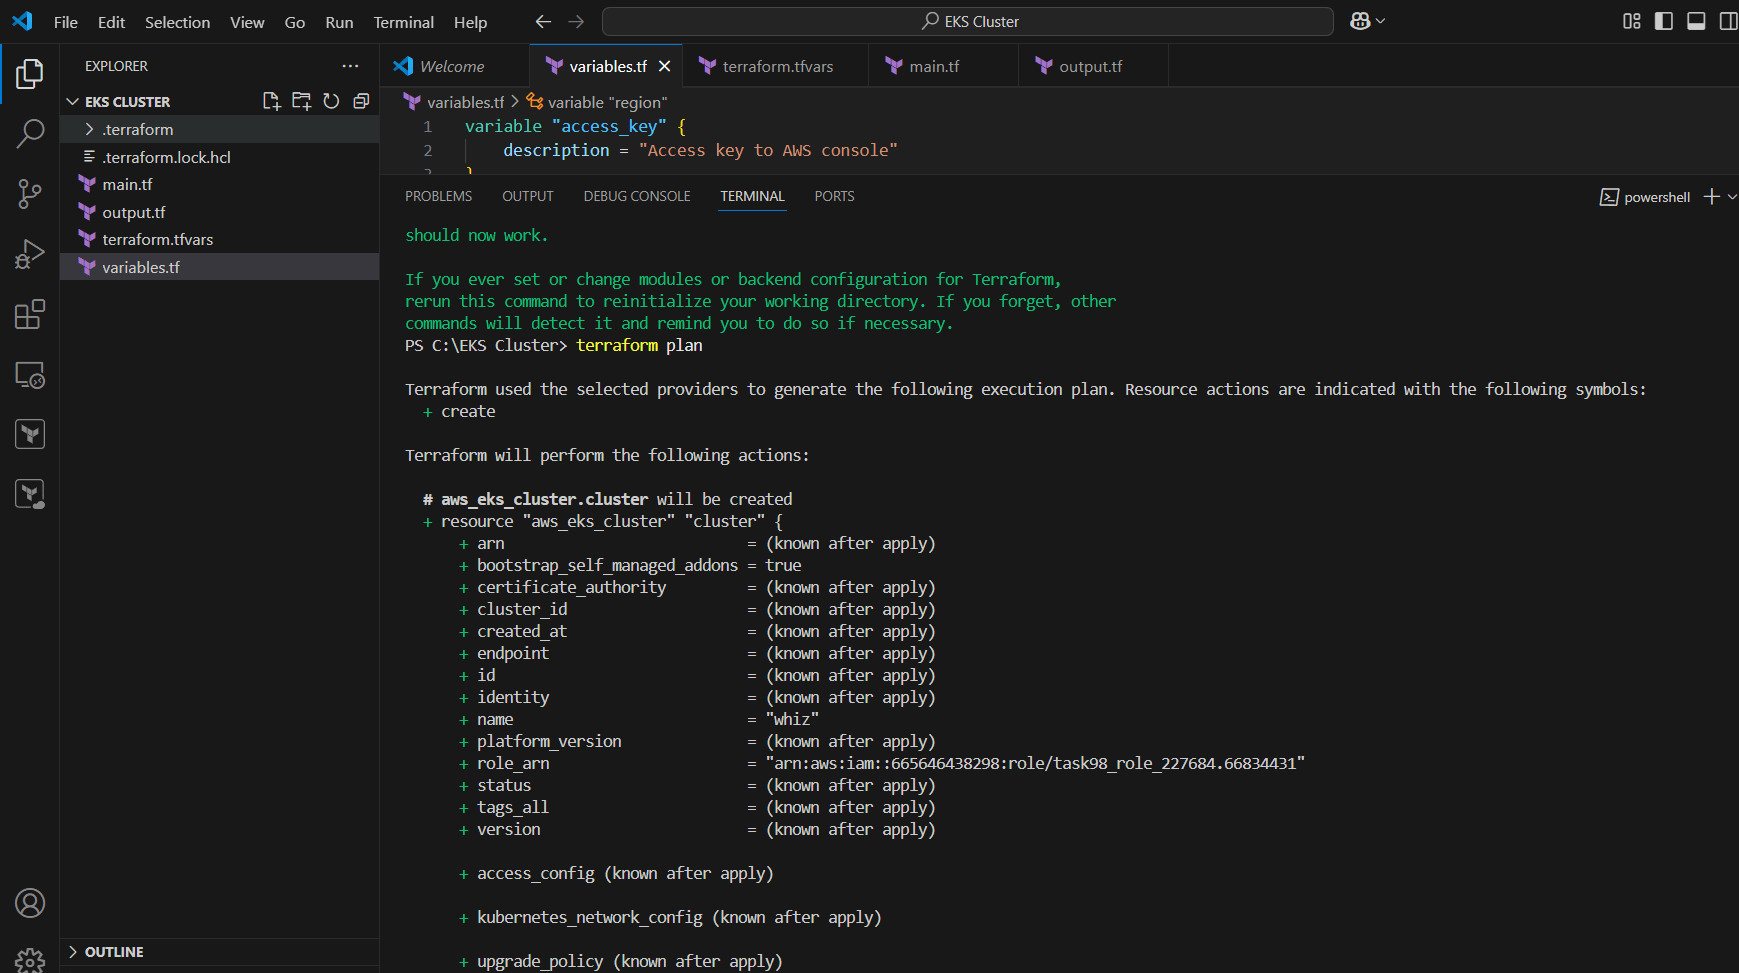
STEP 8: Enter terraform plan command.
STEP 9: Enter terraform apply.
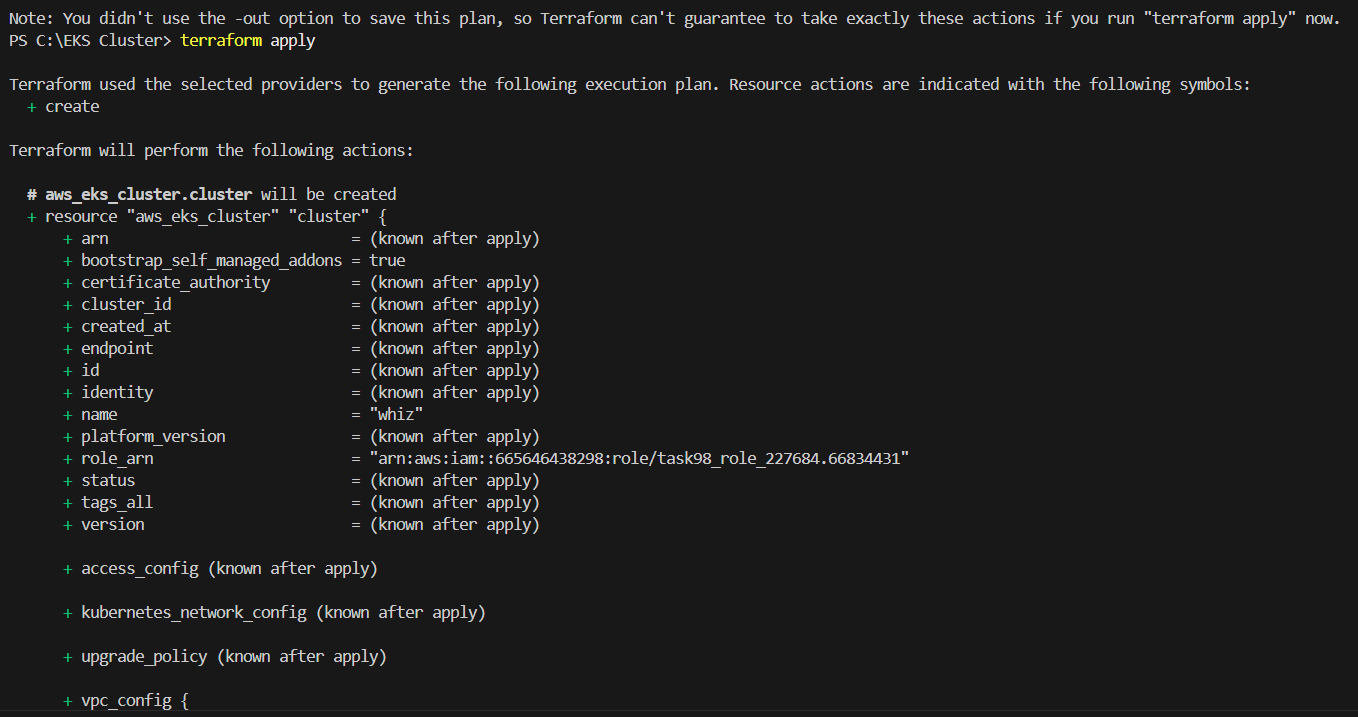
STEP 10: Go amazon EKS console verify the created cluster.

STEP 11: Click on the Cloud Shell icon on the top right AWS menu bar.
Enter the following command.
curl -o kubectl https://amazon-eks.s3.us-west-2.amazonaws.com/1.18.9/2020-11-02/bin/linux/amd64/kubectl
chmod +x ./kubectl
mkdir -p $HOME/bin && cp ./kubectl $HOME/bin/kubectl && export PATH=$PATH:$HOME/bin
kubectl version --short --client
aws eks update-kubeconfig --region us-east-1 --name whiz
kubectl get svc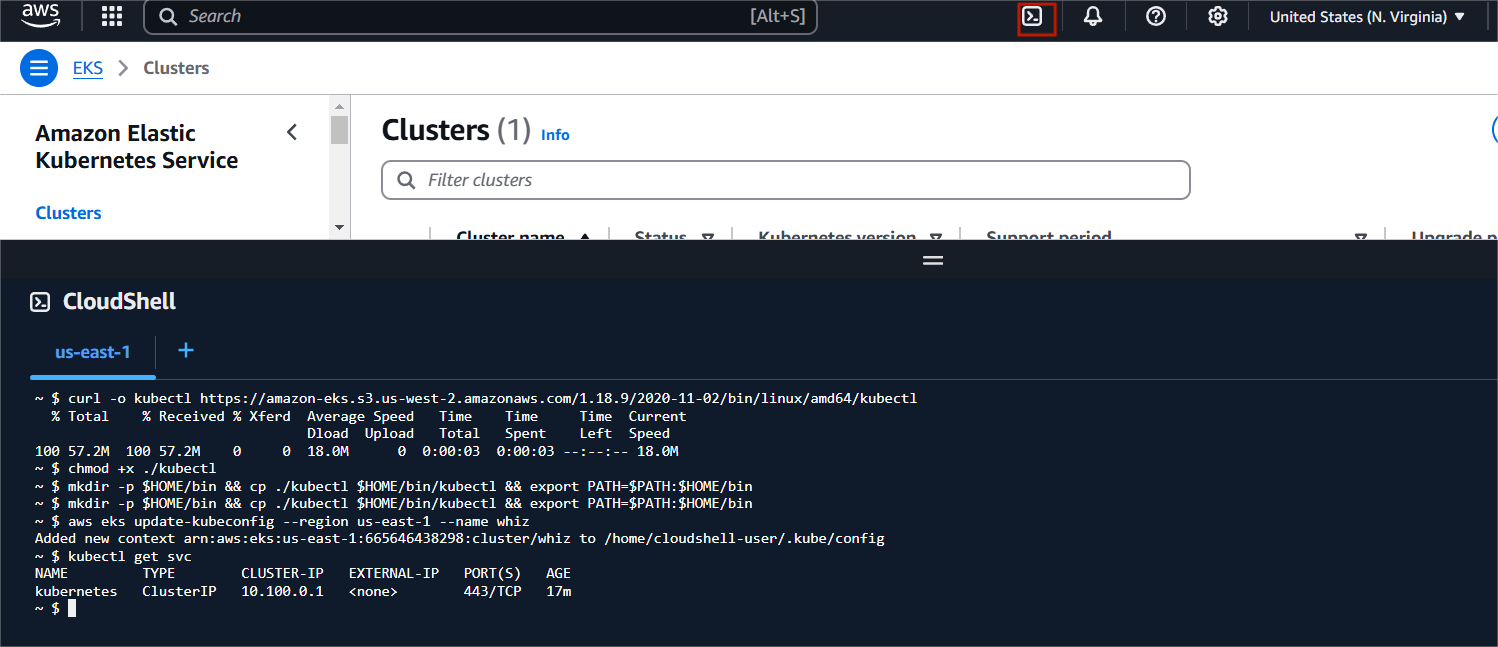

Conclusion.
Setting up an Amazon EKS cluster and installing kubectl using Terraform is an efficient way to manage Kubernetes infrastructure on AWS. By leveraging Terraform’s Infrastructure as Code capabilities, you not only automate the setup process but also ensure a reproducible and scalable environment for your containerized applications. With the steps outlined in this guide, you’ve learned how to configure your AWS environment, create an EKS cluster, and set up kubectl for easy management of your Kubernetes workloads.
The combination of Amazon EKS and Terraform simplifies Kubernetes cluster management, reduces manual errors, and enhances operational efficiency. Whether you’re deploying microservices, managing applications, or experimenting with Kubernetes, this setup provides a solid foundation to build on. As you continue to explore and expand your Kubernetes ecosystem, using tools like Terraform will help streamline your processes and scale your infrastructure seamlessly. With the knowledge gained from this tutorial, you’re now equipped to take full advantage of EKS and kubectl in your cloud-native journey. Happy deploying!

Add a Comment