AWS SES.
Amazon Simple Email Service (Amazon SES) is a scalable, cost-effective, and flexible cloud-based email service designed for businesses to send bulk and transactional emails. Its provides feedback loops, sending analytics, and built-in content filtering to enhance deliverability. SES supports multiple configurations for dedicated IPs, IP warm-up, and domain authentication, ensuring reliable deliverability.

What is Terraform?
Terraform is an open-source Infrastructure as Code (IaC) tool developed by HashiCorp, that lets you build, change, and version cloud and on-prem resources safely and efficiently in human-readable configuration files that you can version, reuse, and share.
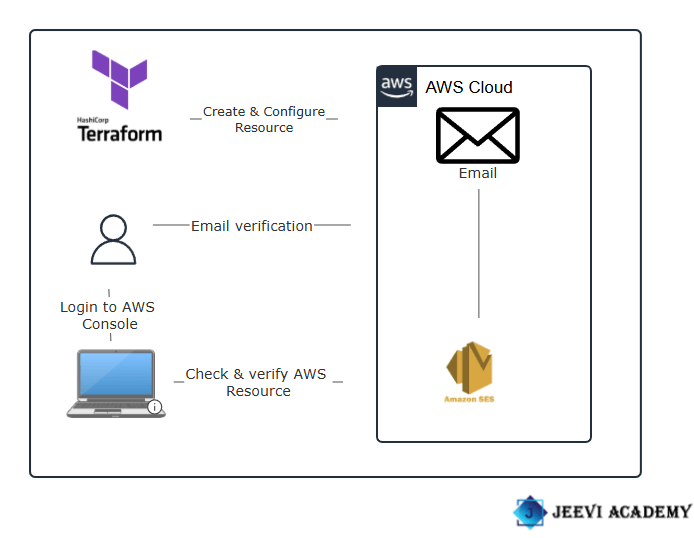
In this guide, I’ll walk you through sending notifications using AWS SES and a Terraform script, all while working with Visual Studio Code (VSCode).
TASK 1: Create a terraform script.
STEP 1: Open VScode and select the folder.
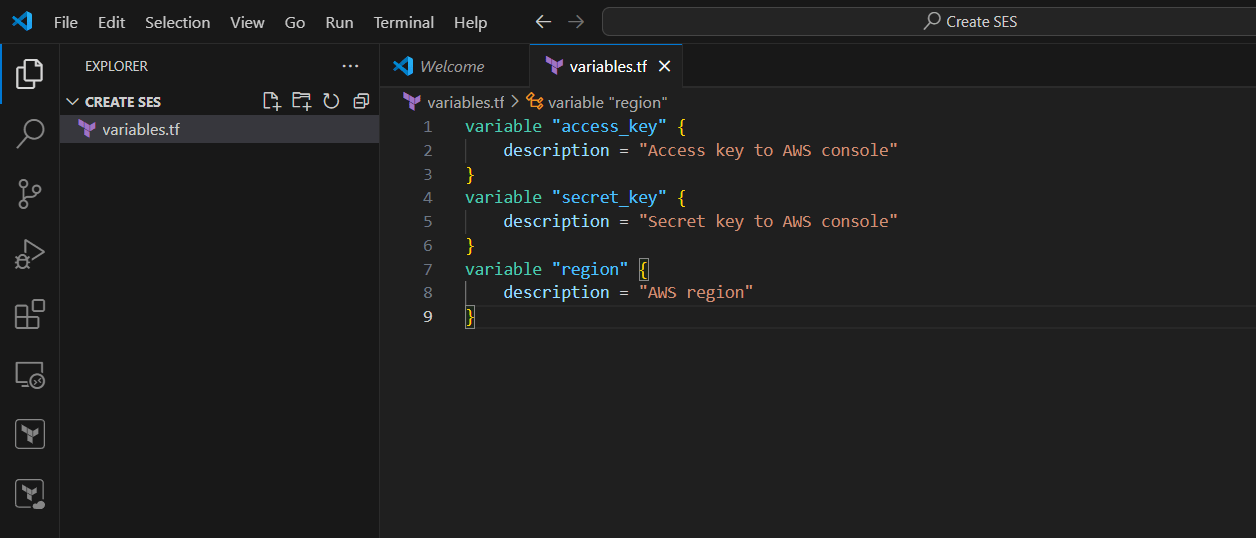
- Create a variables.tf file enter the following script and save it.
variable "access_key" {
    description = "Access key to AWS console"
}
variable "secret_key" {
    description = "Secret key to AWS console"
}
variable "region" {
    description = "AWS region"
}
TASK 2: Create IAM user.
STEP 1: Go to AWS console and navigate the IAM user.
- Click create user.
- Enter name and set password.
- Click on next button.

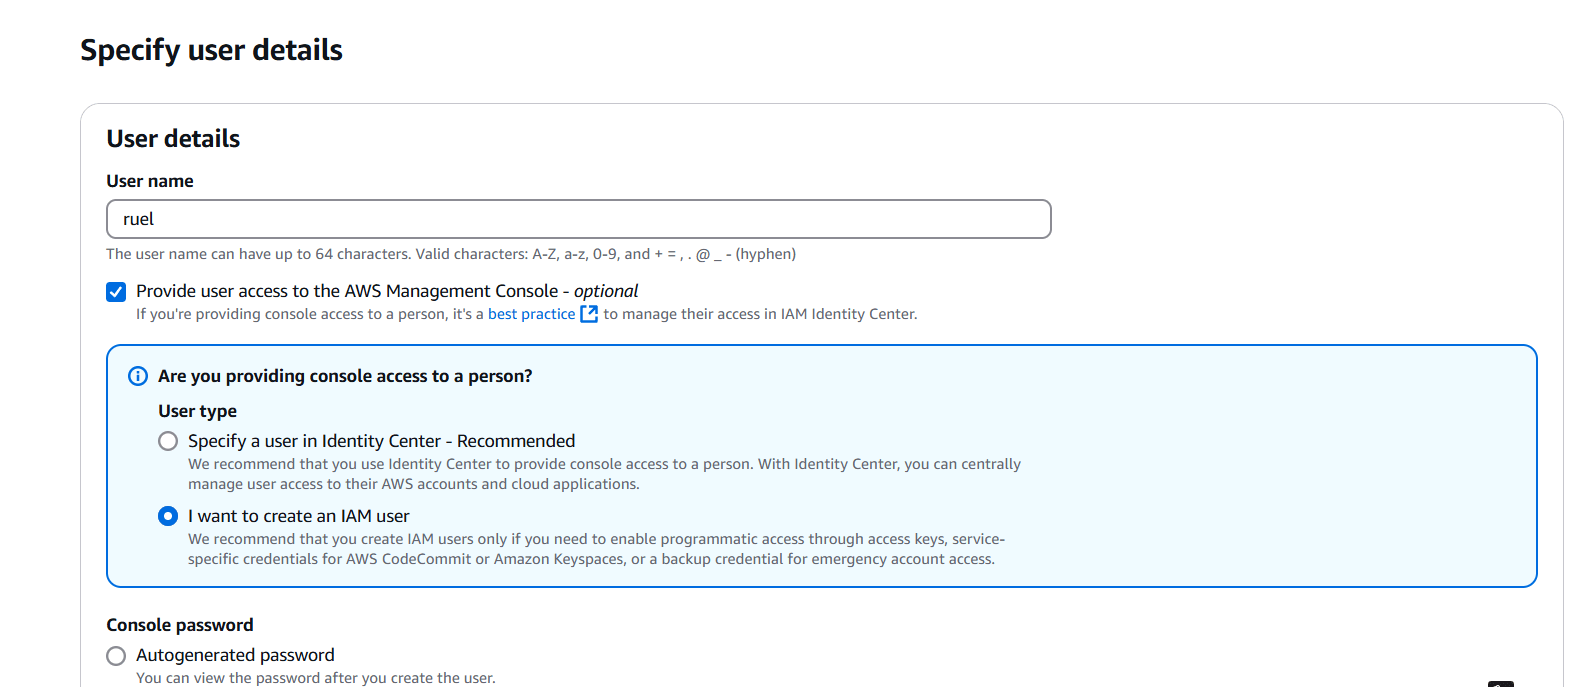
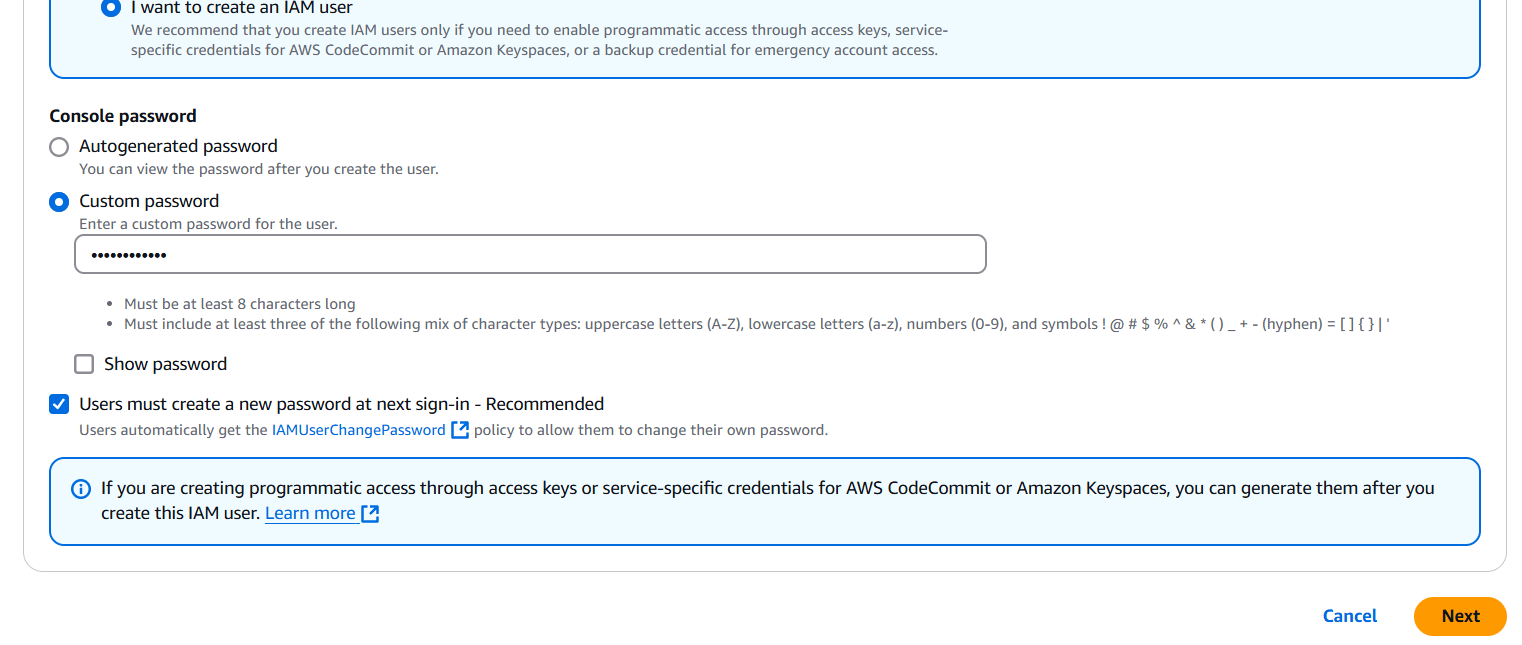
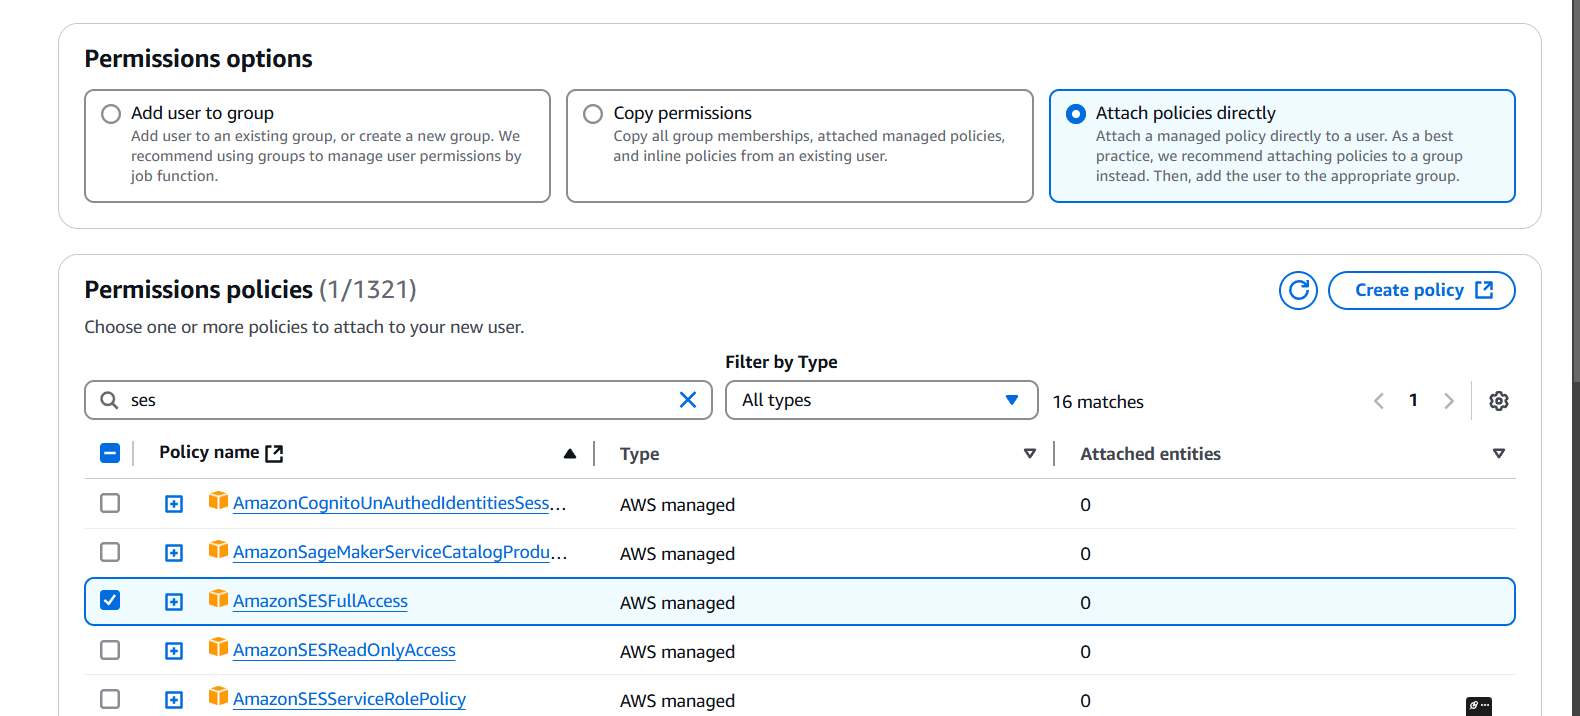
STEP 2: Select the Attach policies directly.
- Tick on AmazonSESfullaccess.
- Click on next button.
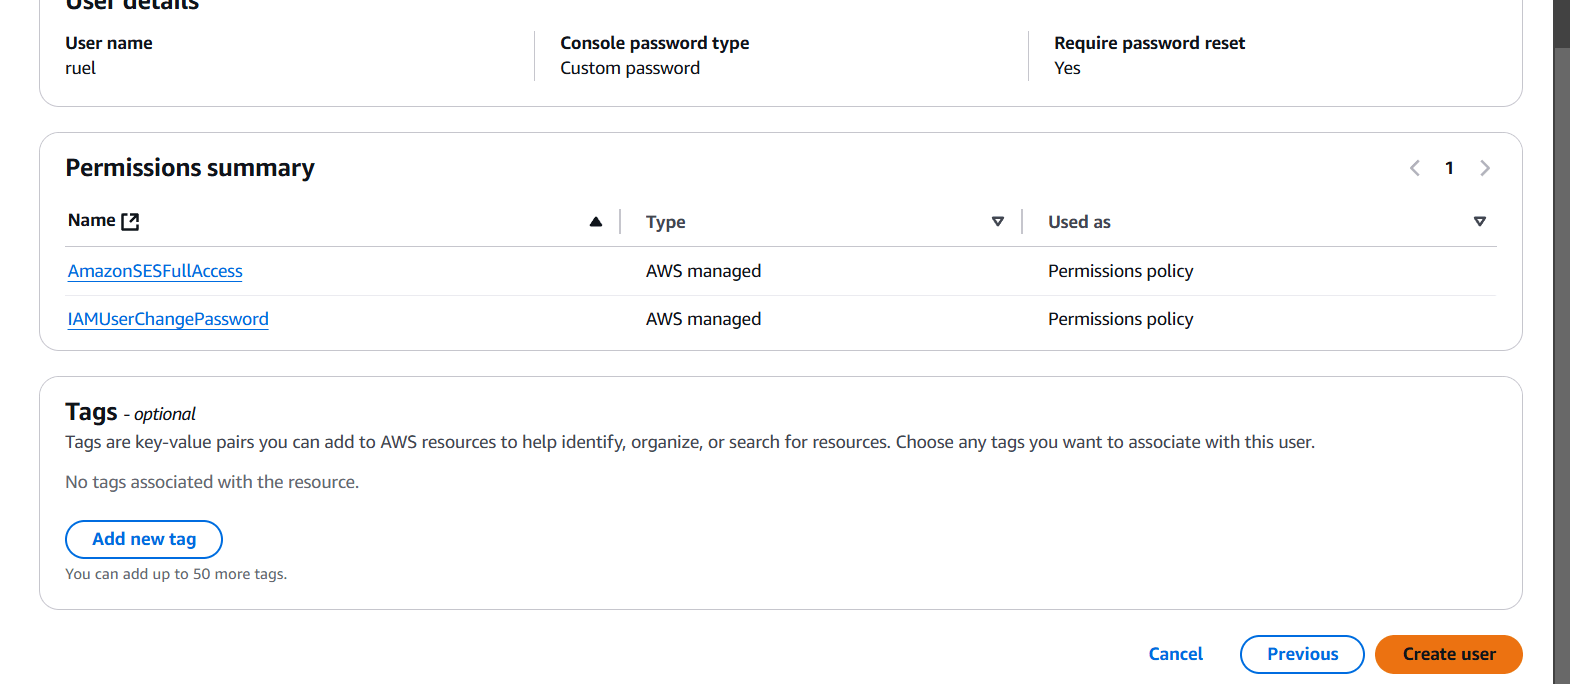
STEP 3: Click on create user.
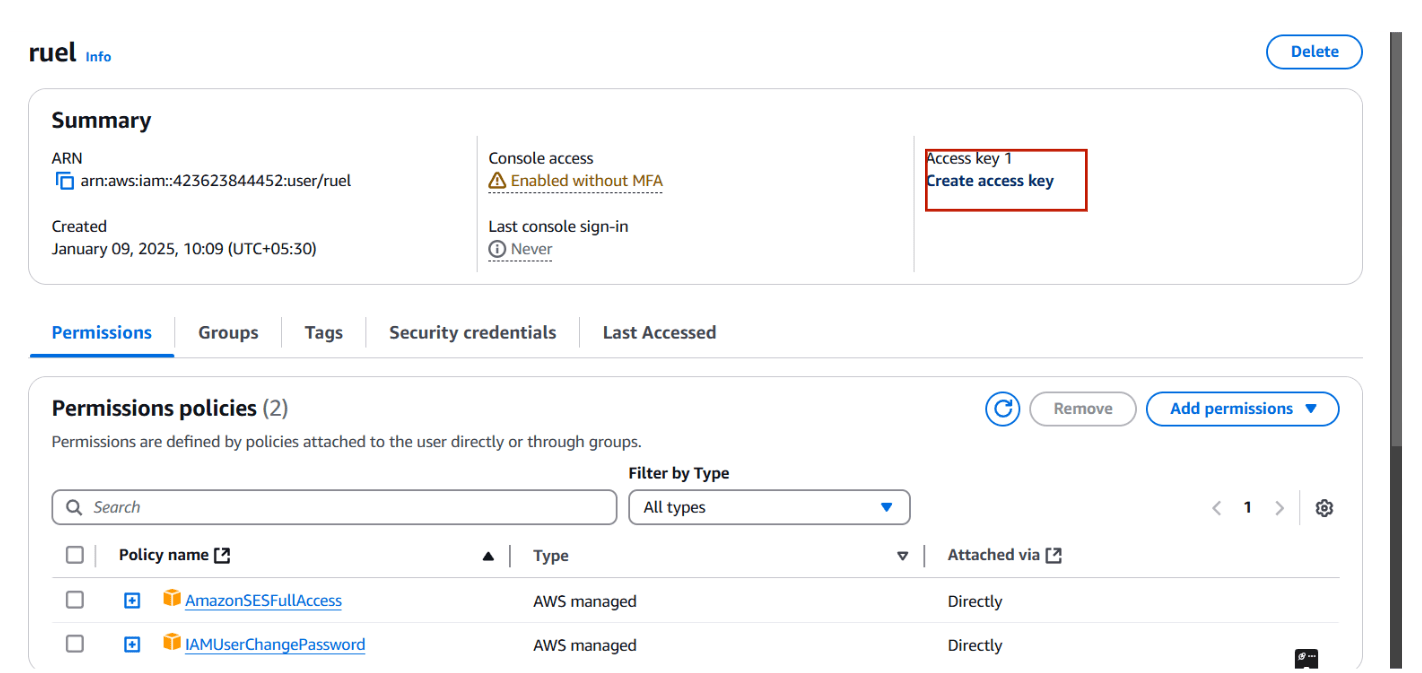
STEP 4: Select your user and create access key.
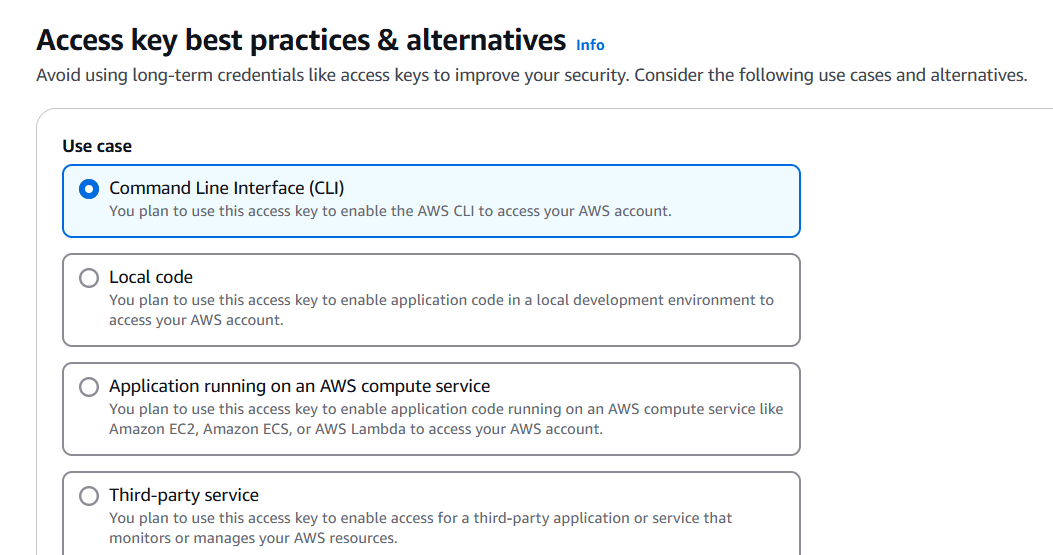
- Select CLI and click next.
- Create a user.
- You will get accesskey and secret key.
- Download.csv file

Step 5: Next create terraform.tfvars file, Save it
region = "us-east-1"
access_key = "<YOUR_ACCESS_KEY>"
secret_key = "<YOUR_SECRET_KEY>"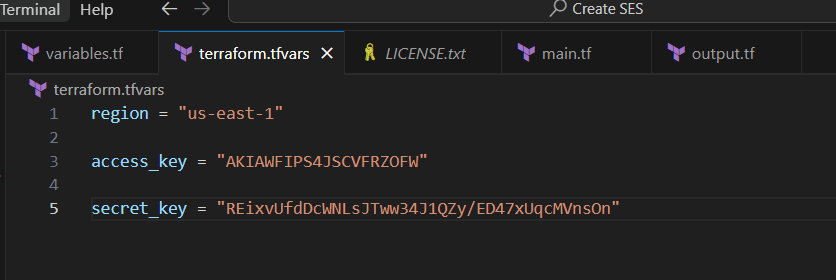
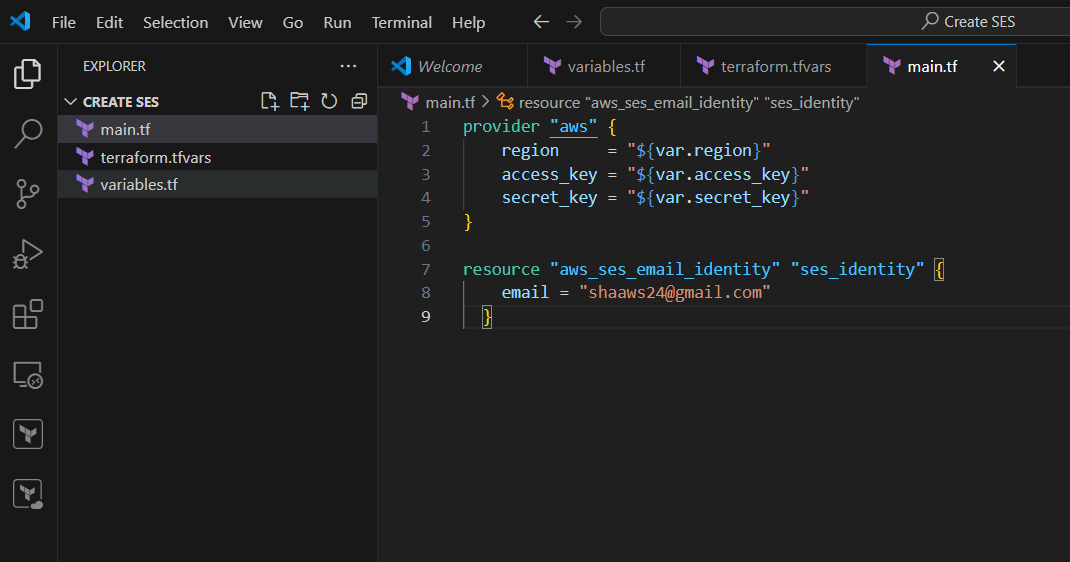
Step 6: Create main.tf email = “your mail”
- Save the file.
resource "aws_ses_email_identity" "ses_identity" {
    email = "Enter you Email"
  }
STEP 7: Create output.tf file, Enter the following lines and save it.
output "Identity_arn" {
    value = aws_ses_email_identity.ses_identity.arn
    description = "Identity created successfully"
}
TASK 3: Apply the terraform script.
STEP 1: Enter the terraform init command.
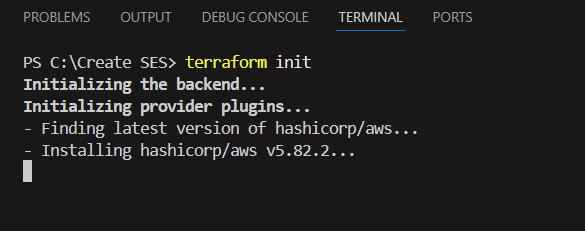
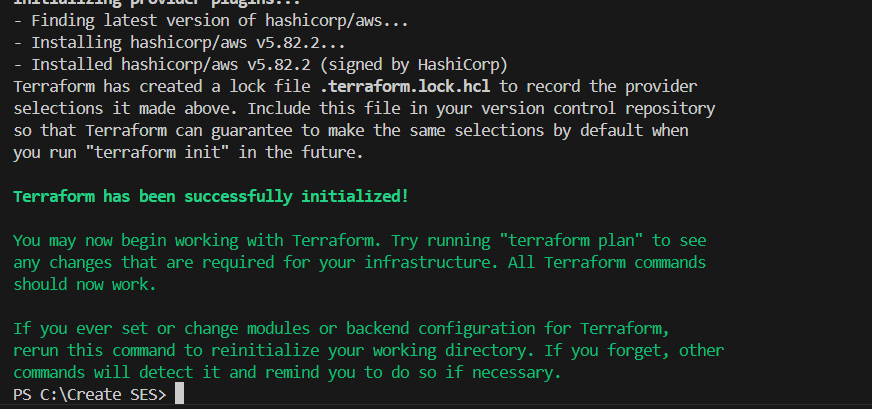
STEP 2: Enter terraform plan.

STEP 3: Next, enter terraform apply.

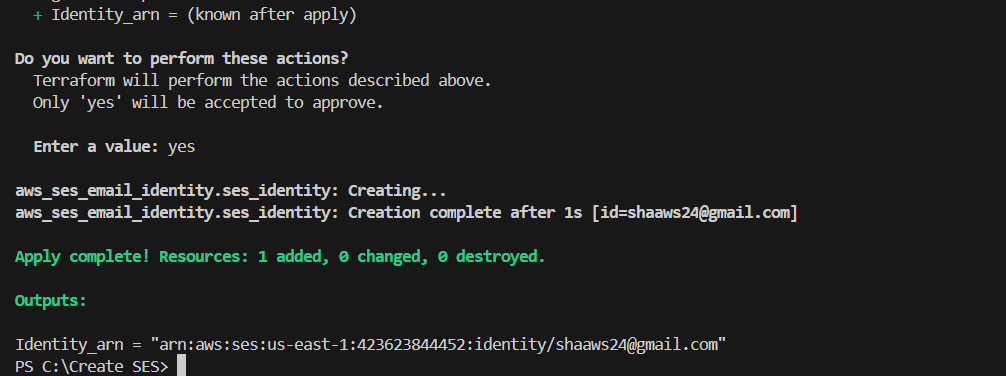
TASK 4: Verify the Email Notification.
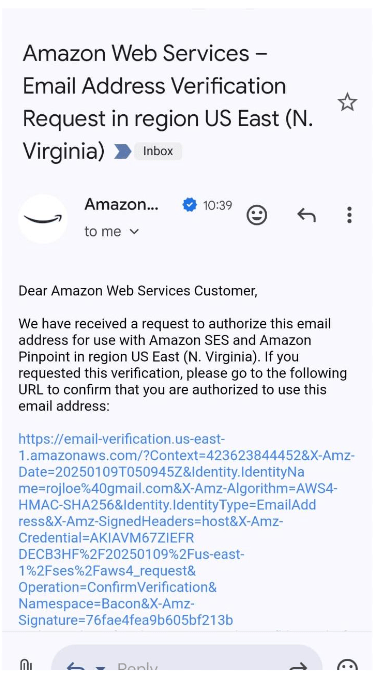
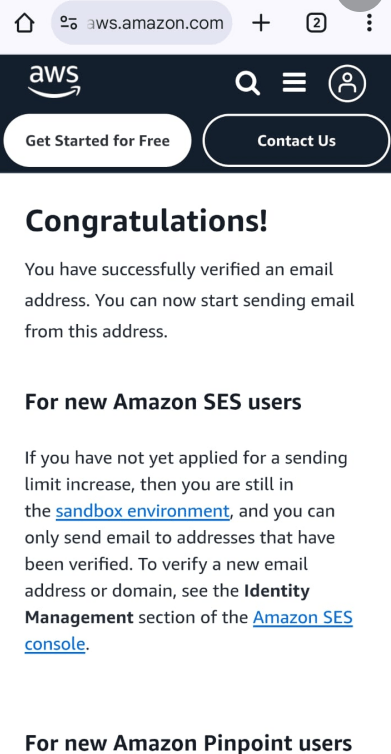
STEP 1: Now, You will go to check your mail.
- Mail notification from AWS.

STEP 2: If you delete Enter the terraform destroy.


Conclusion.
In this tutorial, we’ve successfully walked through the process of setting up an SES email service using Terraform. By leveraging Terraform’s infrastructure-as-code capabilities, we’ve not only automated the provisioning of the necessary AWS resources but also ensured that the process is repeatable and scalable. Whether you’re sending transactional emails, notifications, or newsletters, using SES with Terraform makes managing your email infrastructure seamless and efficient.
With this setup, you’re now ready to integrate SES with your applications and start sending email notifications. Remember, Terraform gives you the flexibility to manage your infrastructure in a controlled, consistent way—an essential practice for building robust cloud architectures.
Feel free to explore more AWS services and Terraform modules to further optimize and scale your infrastructure. Happy coding!

Add a Comment