Introduction
Amazon RDS (Relational Database Service) is a managed database service provided by Amazon Web Services (AWS). It is a fully-managed database service that supports various popular relational database engines such as MySQL, PostgreSQL, Oracle, and SQL Server .
RDS offers features like automatic failover and multi-AZ (Availability Zone) deployments for high availability. RDS provides automated backups, allowing you to restore your database to a specific point in time. Simplified database administration via the AWS Management Console, CLI, or SDKs.
Reduces the operational overhead of database management. Offers flexibility in database choices. Provides built-in tools for monitoring, scaling, and securing your database.

Now , I will show how to Connecting AWS RDS to EC2.
Task 1 : Create an EC2 instance .
Step 1 : Navigate EC2 instance , and click on launch instance.
STEP 2 : Enter the instance name.
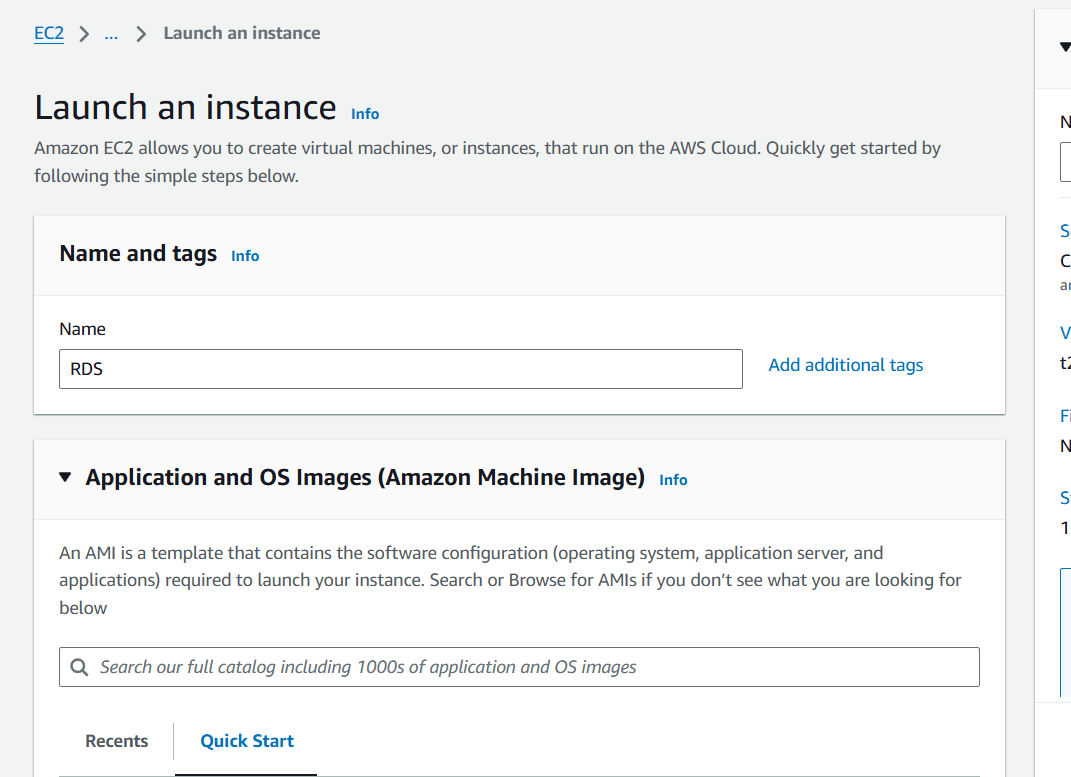
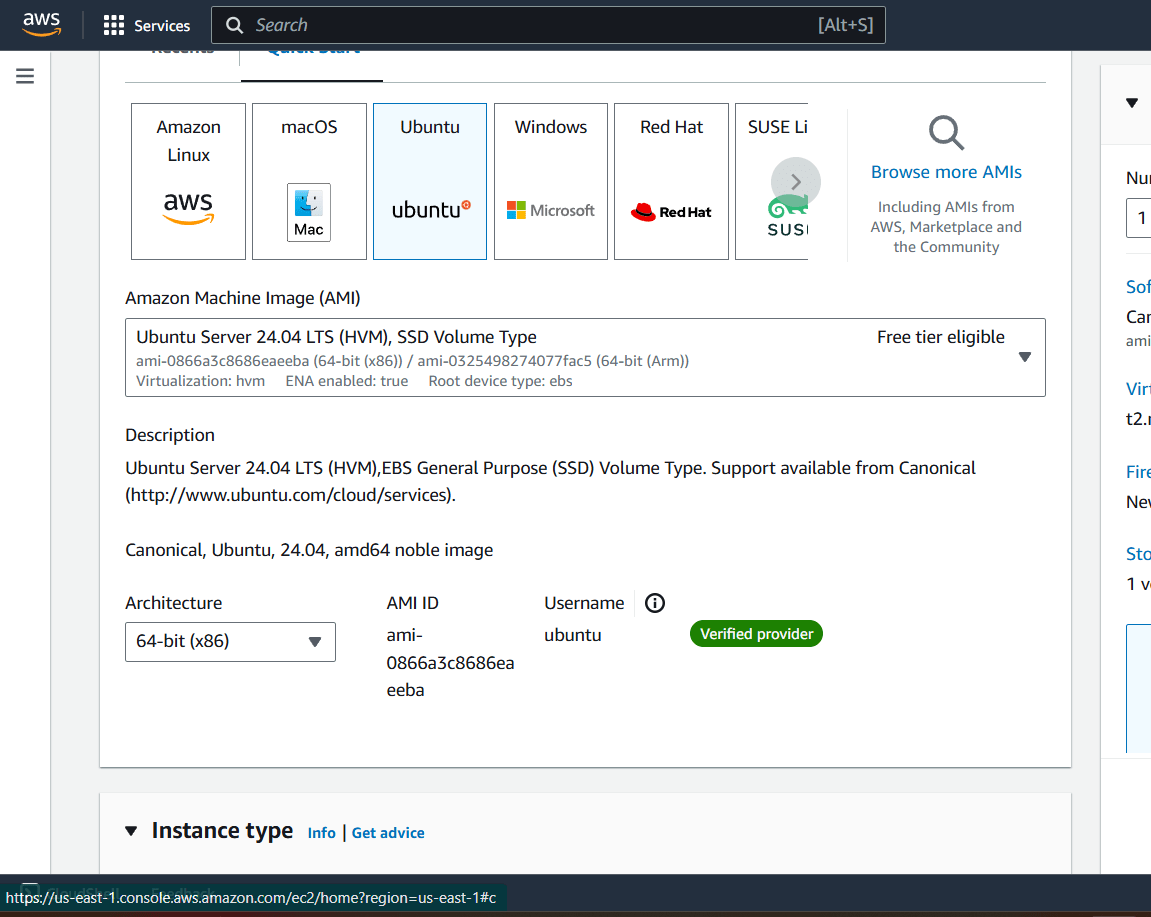
STEP 3 : Select the ubuntu (AMI).
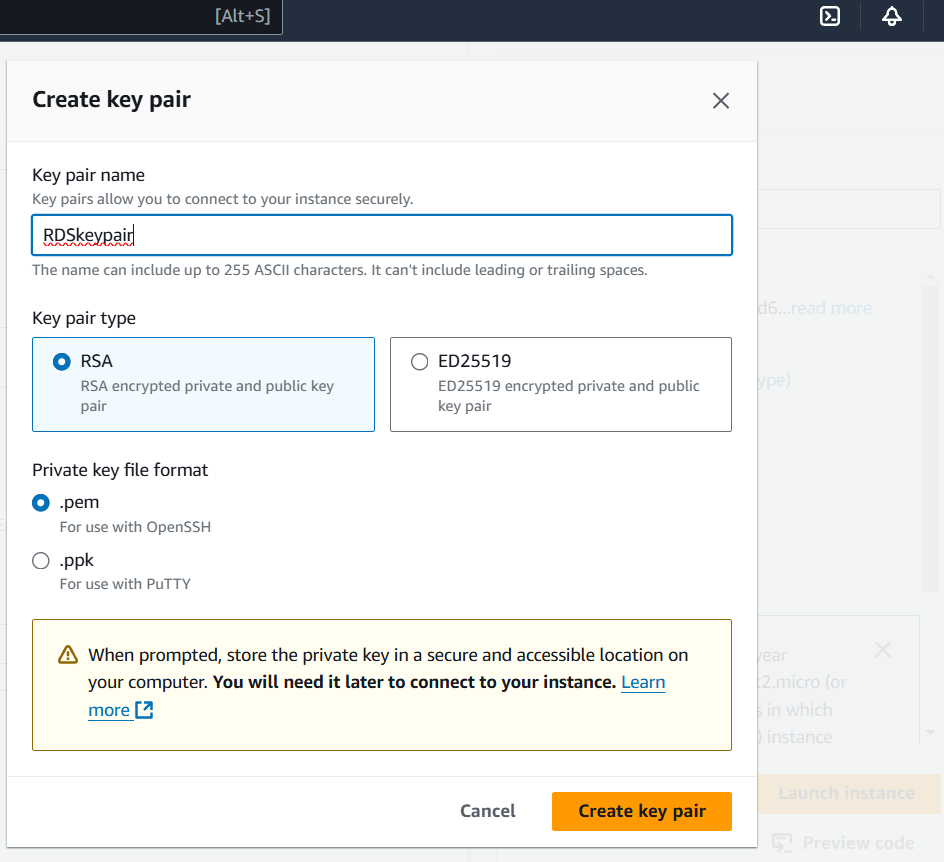
STEP 4 : Create the Keypair.
- Instance type : t2.micro.
- Click on launch instance.
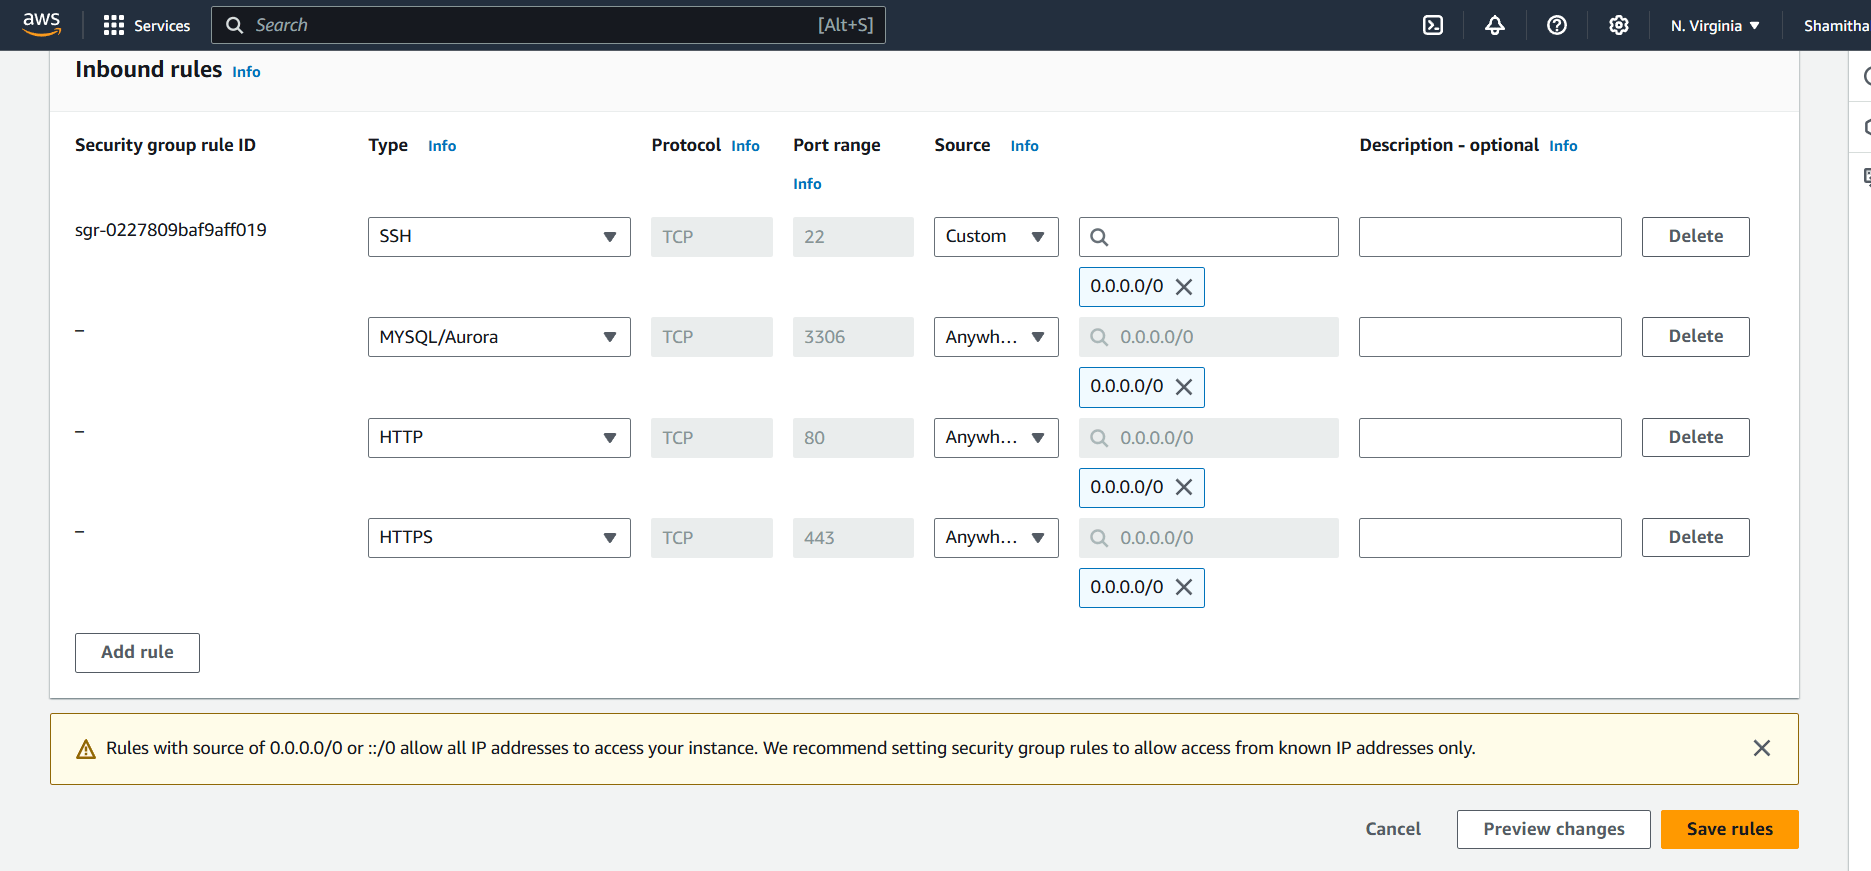
Step 5 : Configure security group rules to allow inbound traffic on the appropriate port for the type of database you are using (e.g. port 3306 for MySQL).
- click on security group and Edit inbound Rules.
Task 2 : Setting Up a Free Tier MySQL RDS Instance.
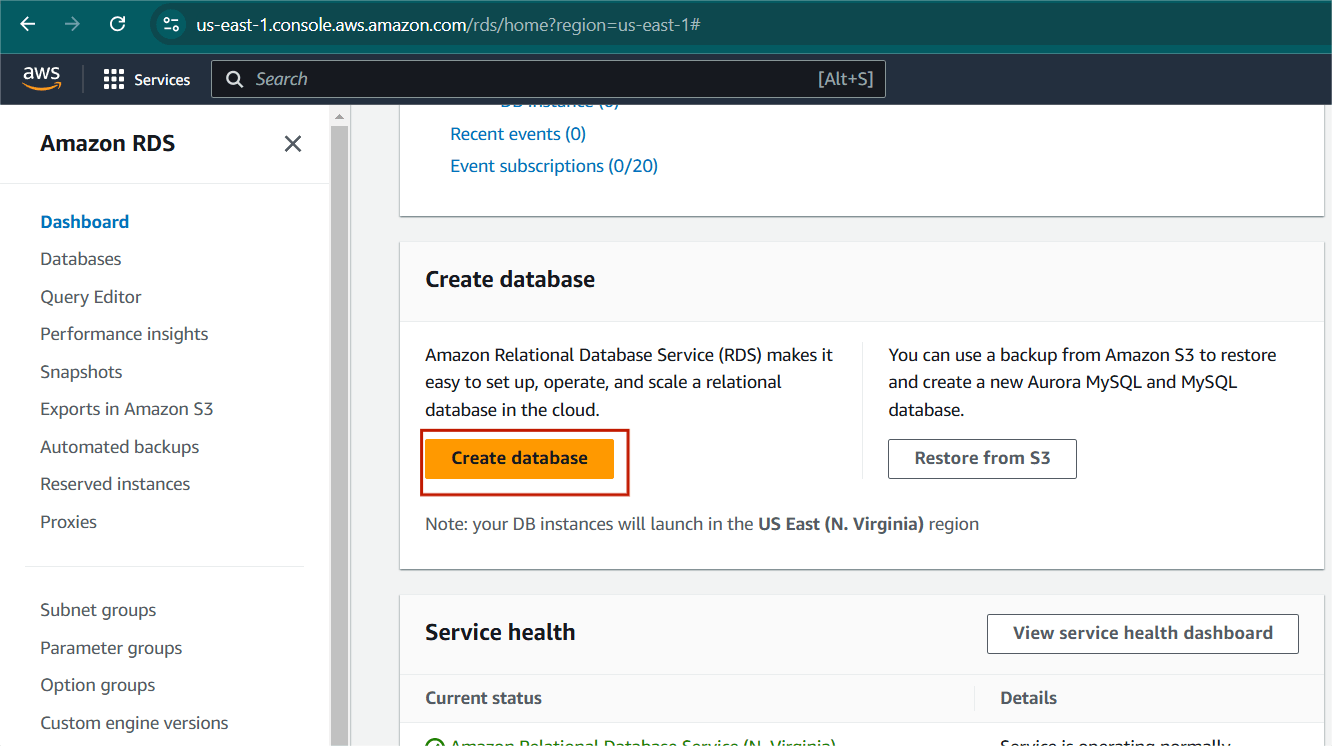
Step 1 : Navigate the Amazon RDS.
- Click on create Database.

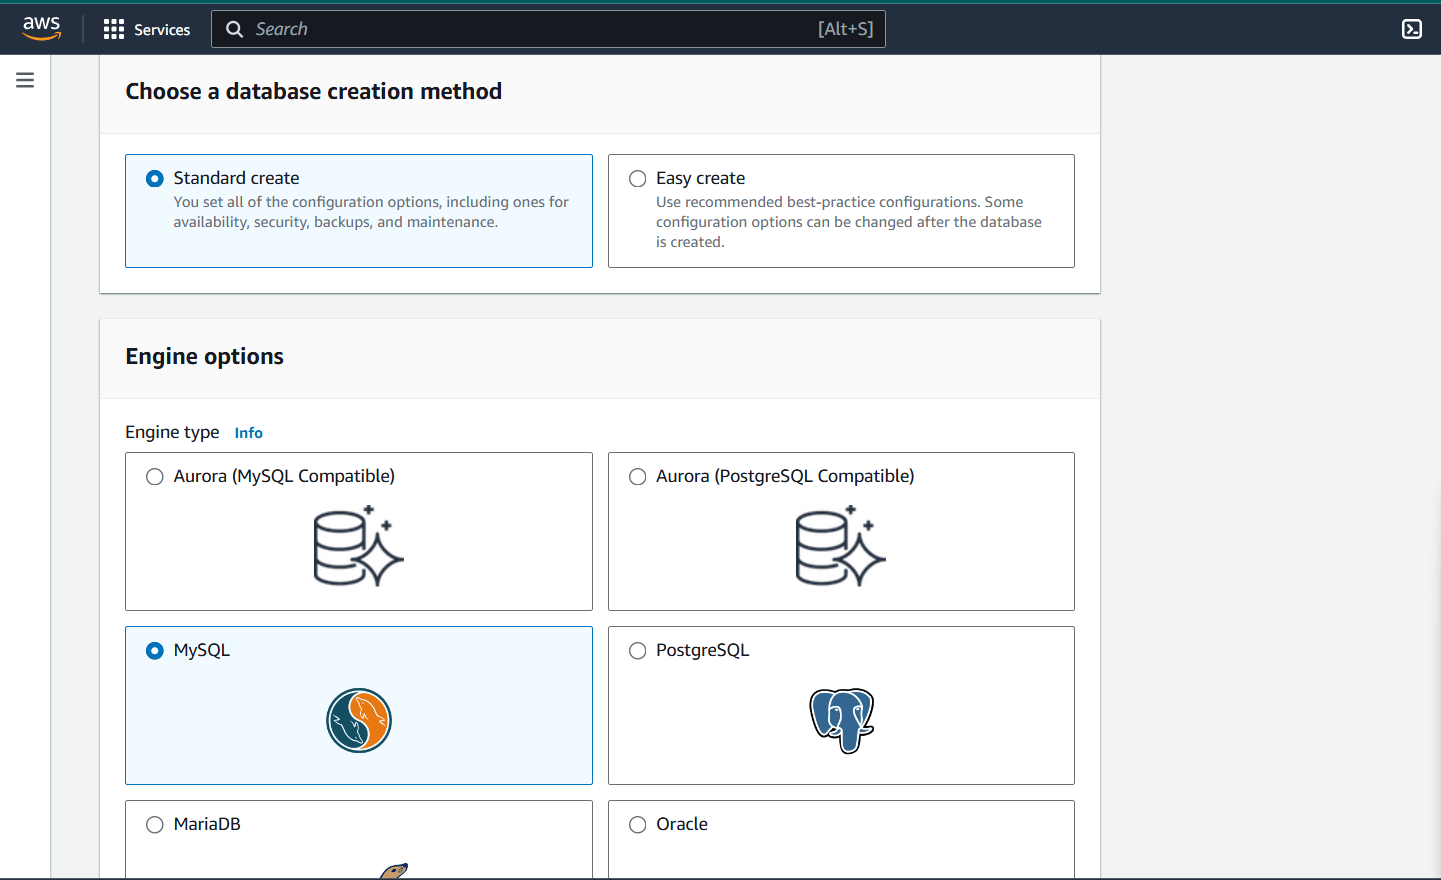
Step 2 : Select standard create.
- Engine option : MySQL.
Step 3 : Click on Free tire.

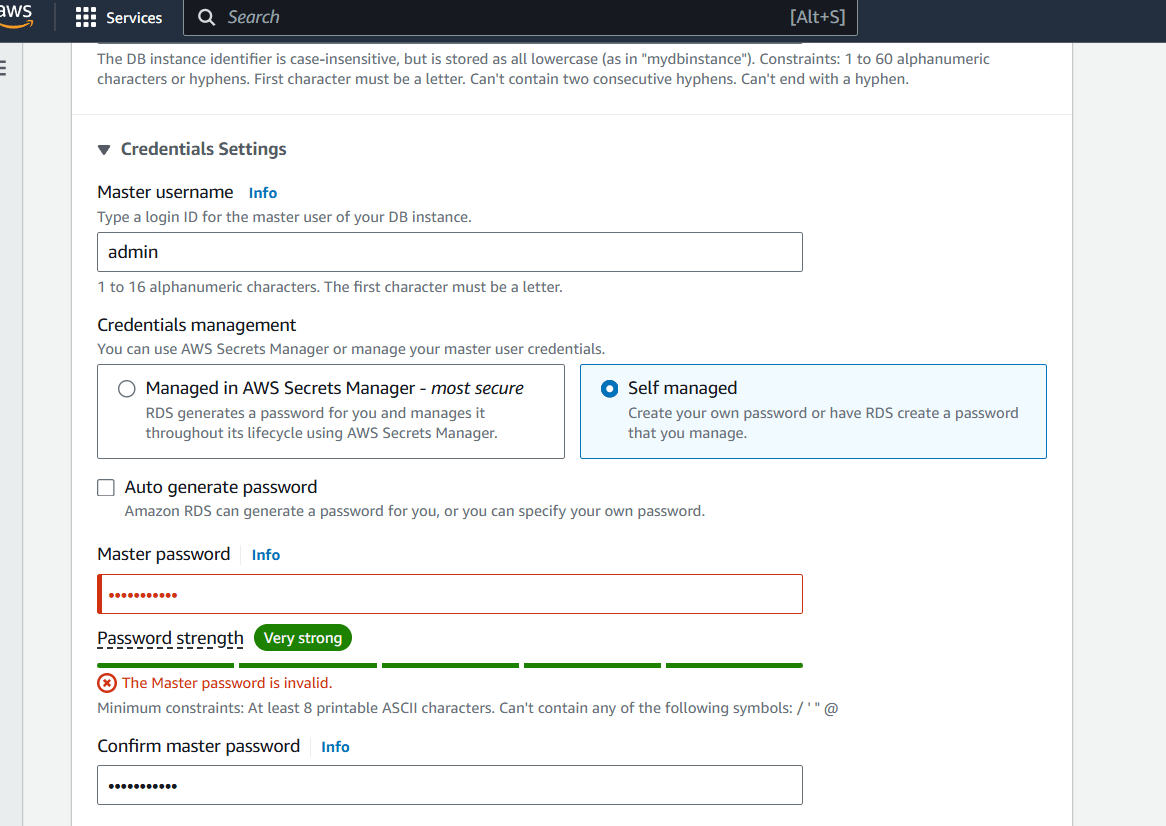
Step 4 : Set the Credentials settings.
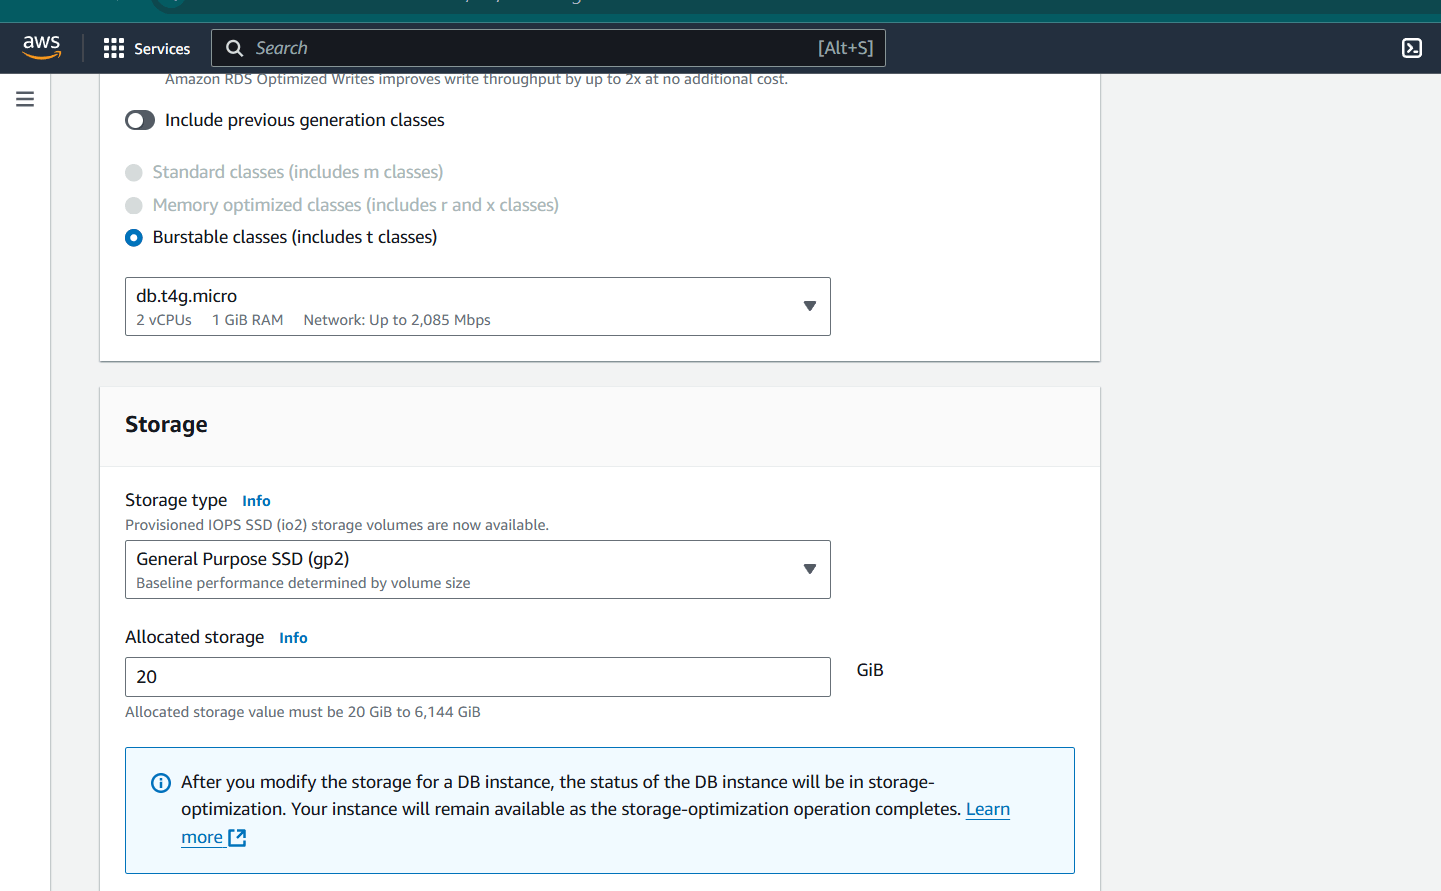
Step 5 : Select the DB size. Select the EC2 Compute connect as we are going to access our database from EC2.
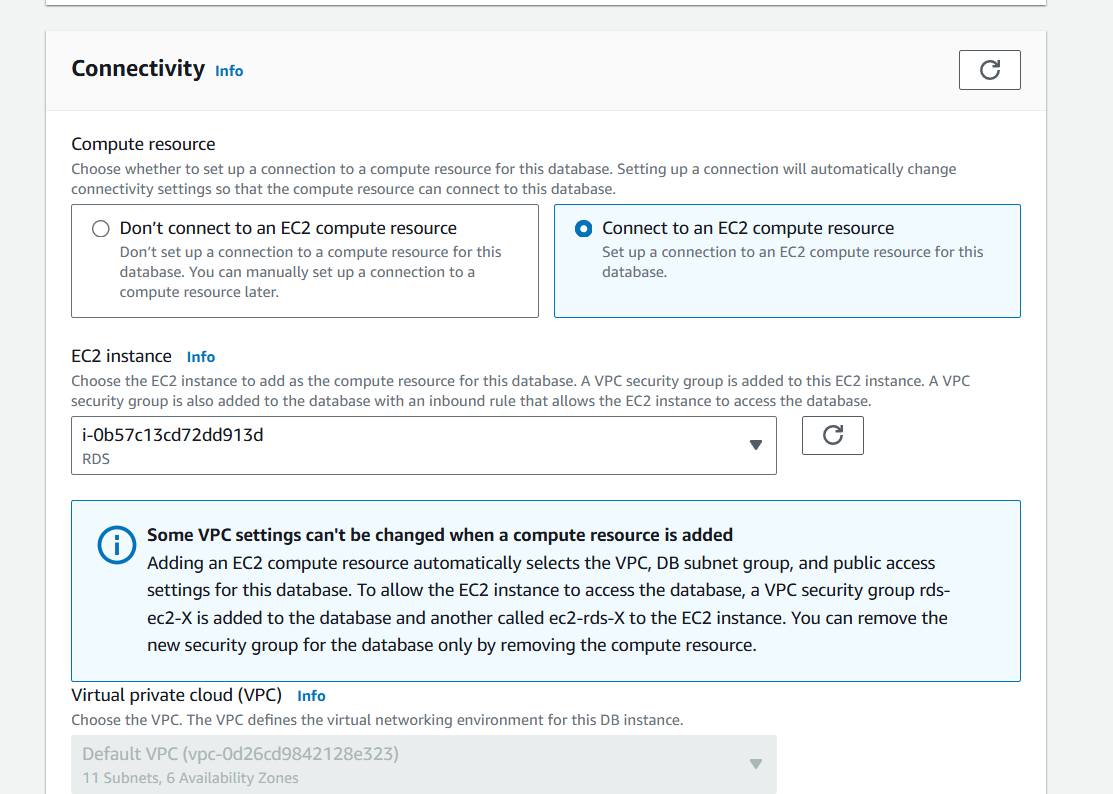
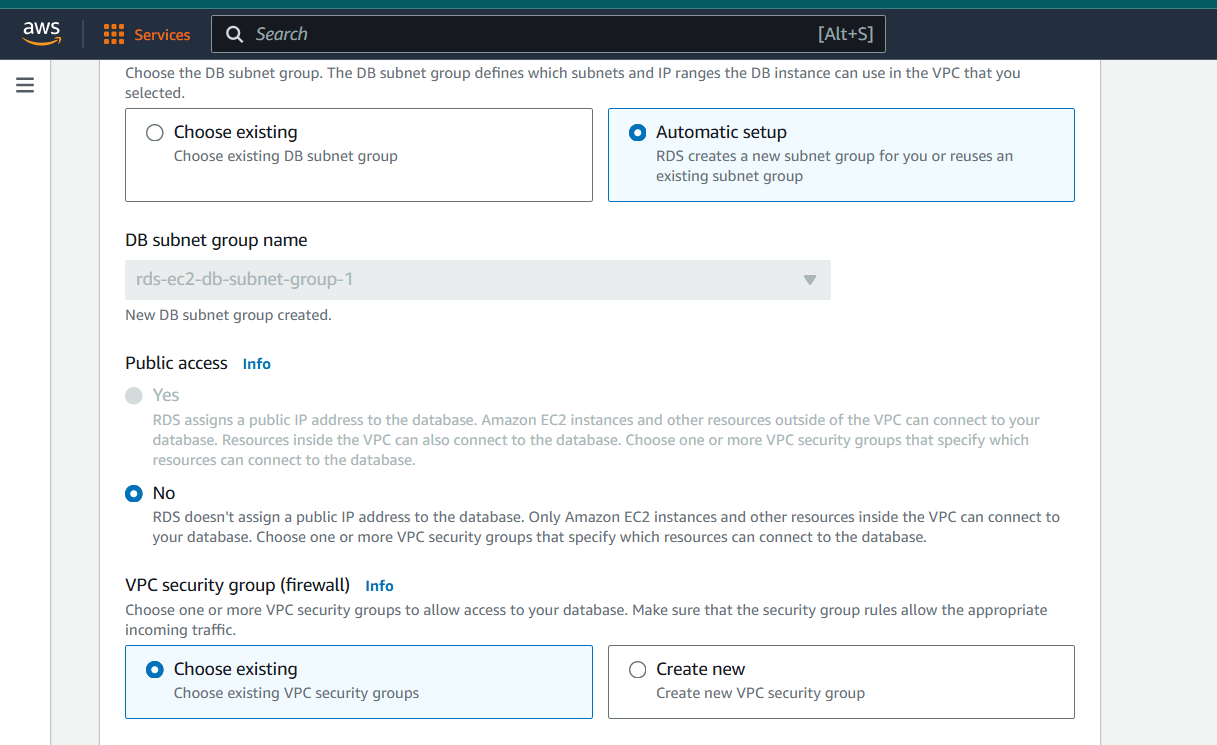
Step 6 : Select the Password authentication to access the database.
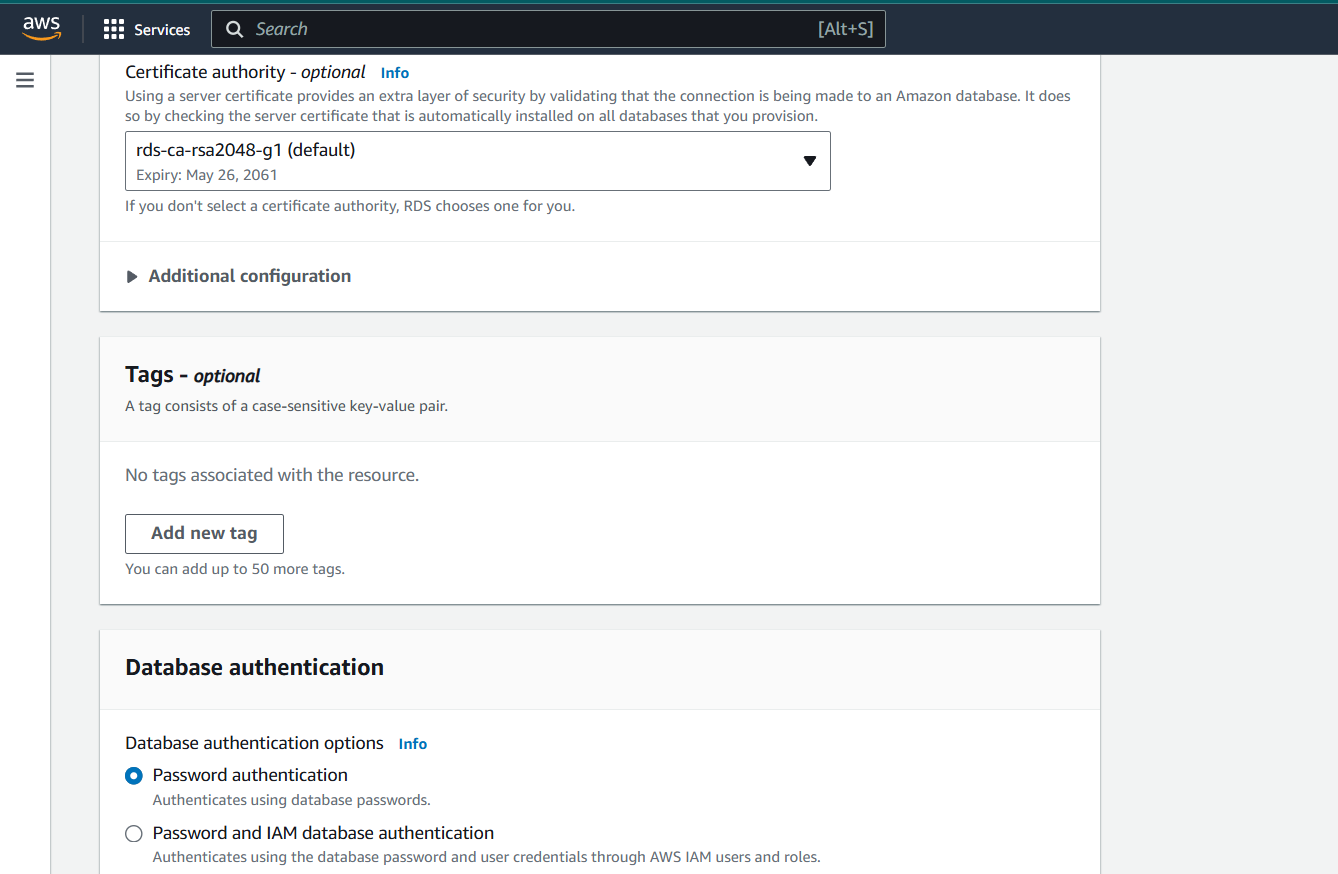
Step 7 : Then next, Click on Create database.
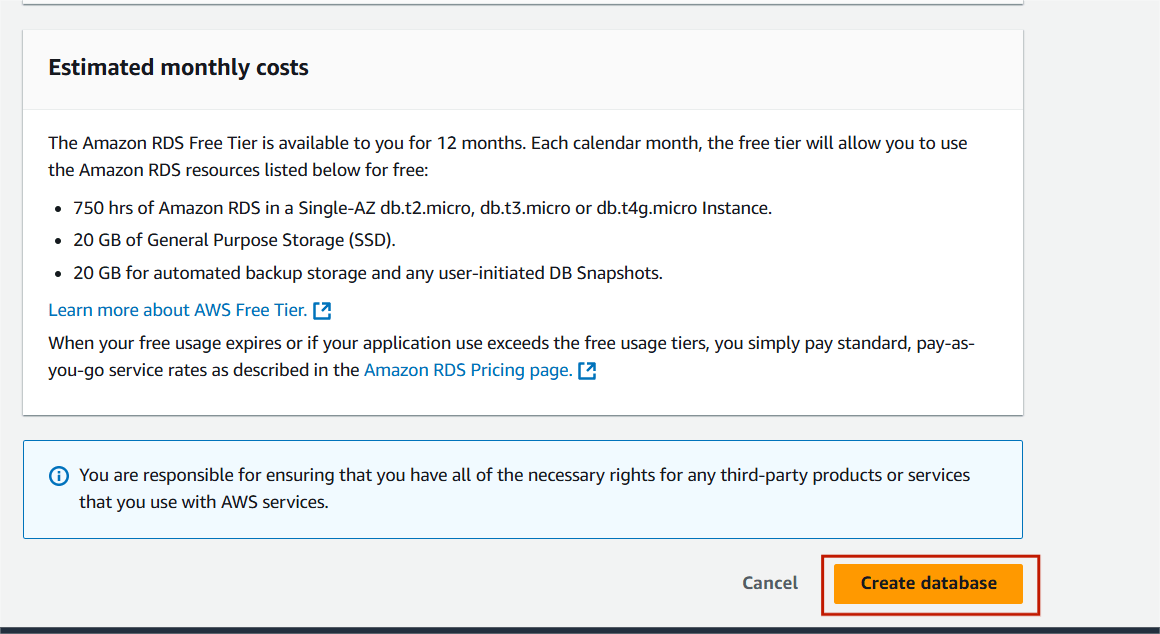
Step 8 : Your new database is Created.
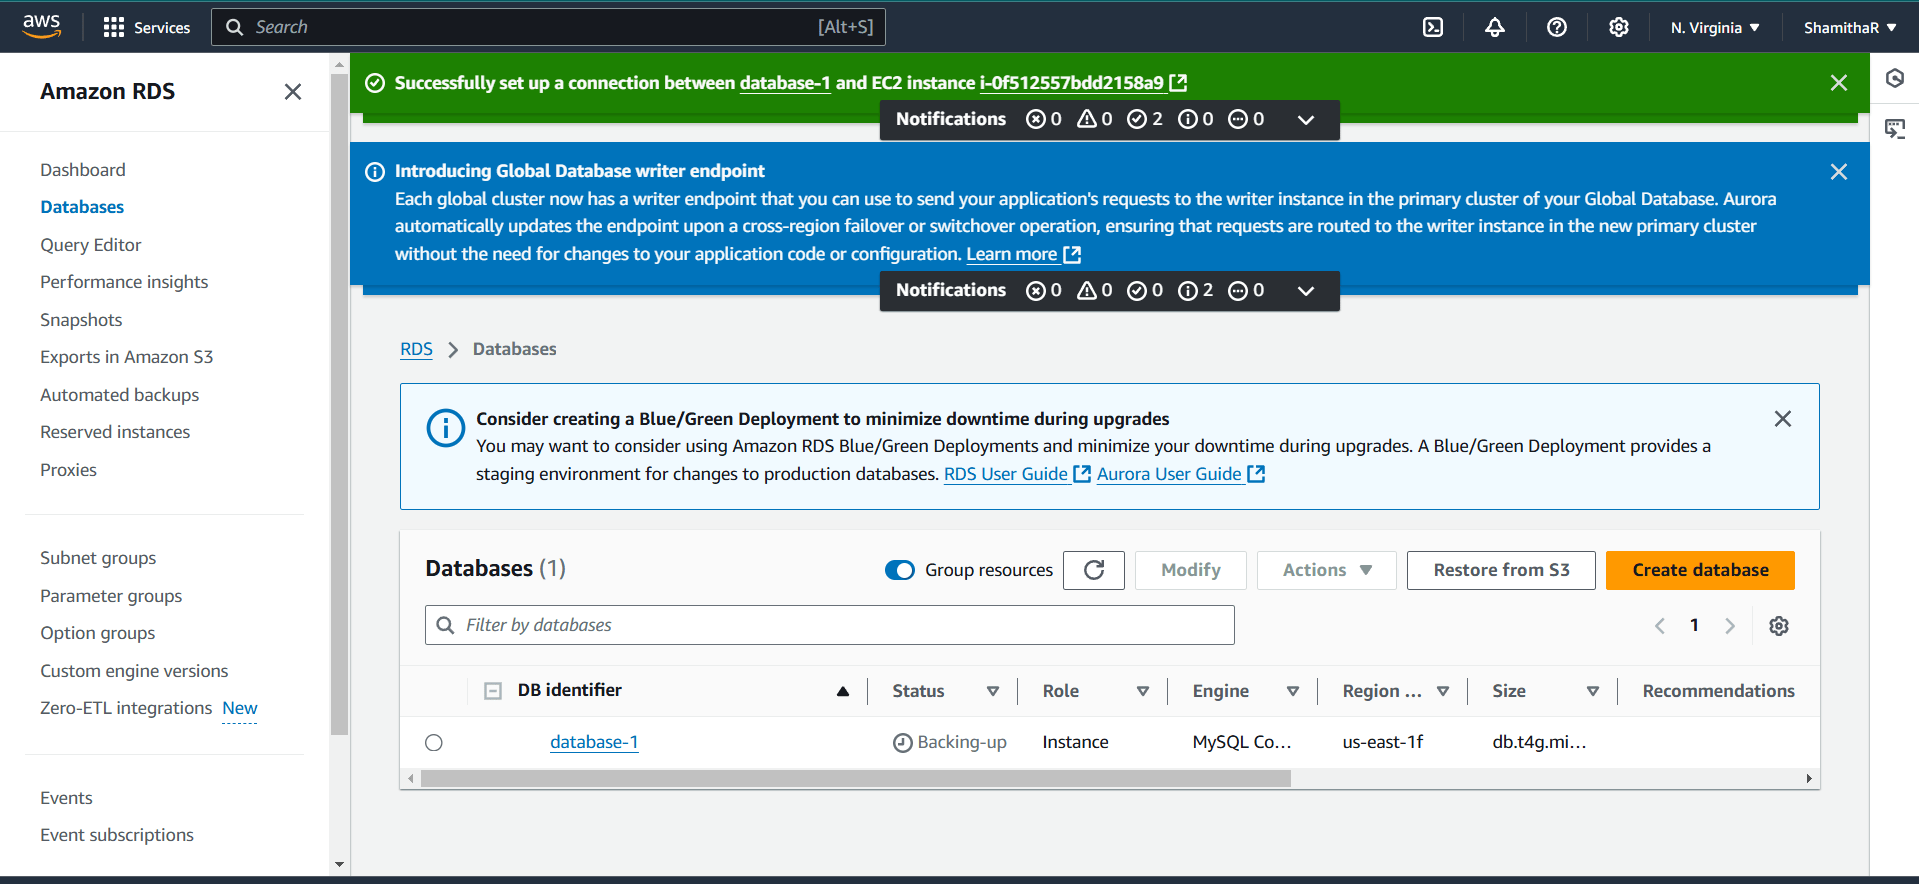
Task 3 : Setting Up an IAM Role with RDS Access.
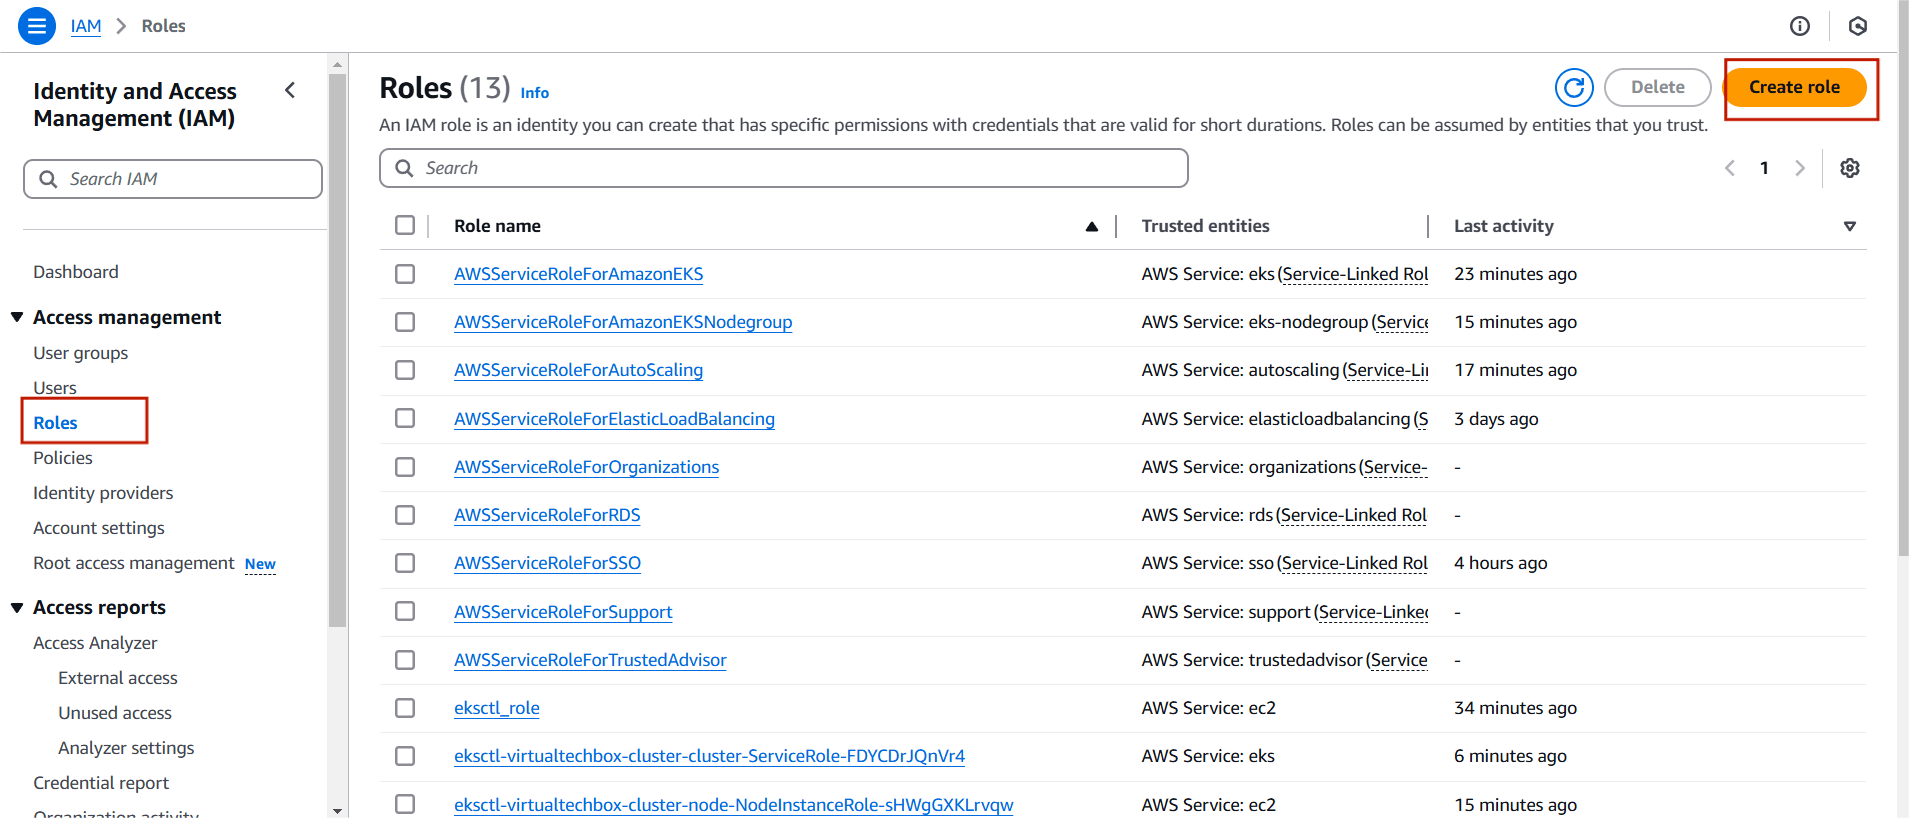
Step 1 : Navigate the IAM and Select the Roles.
- Click on create role.

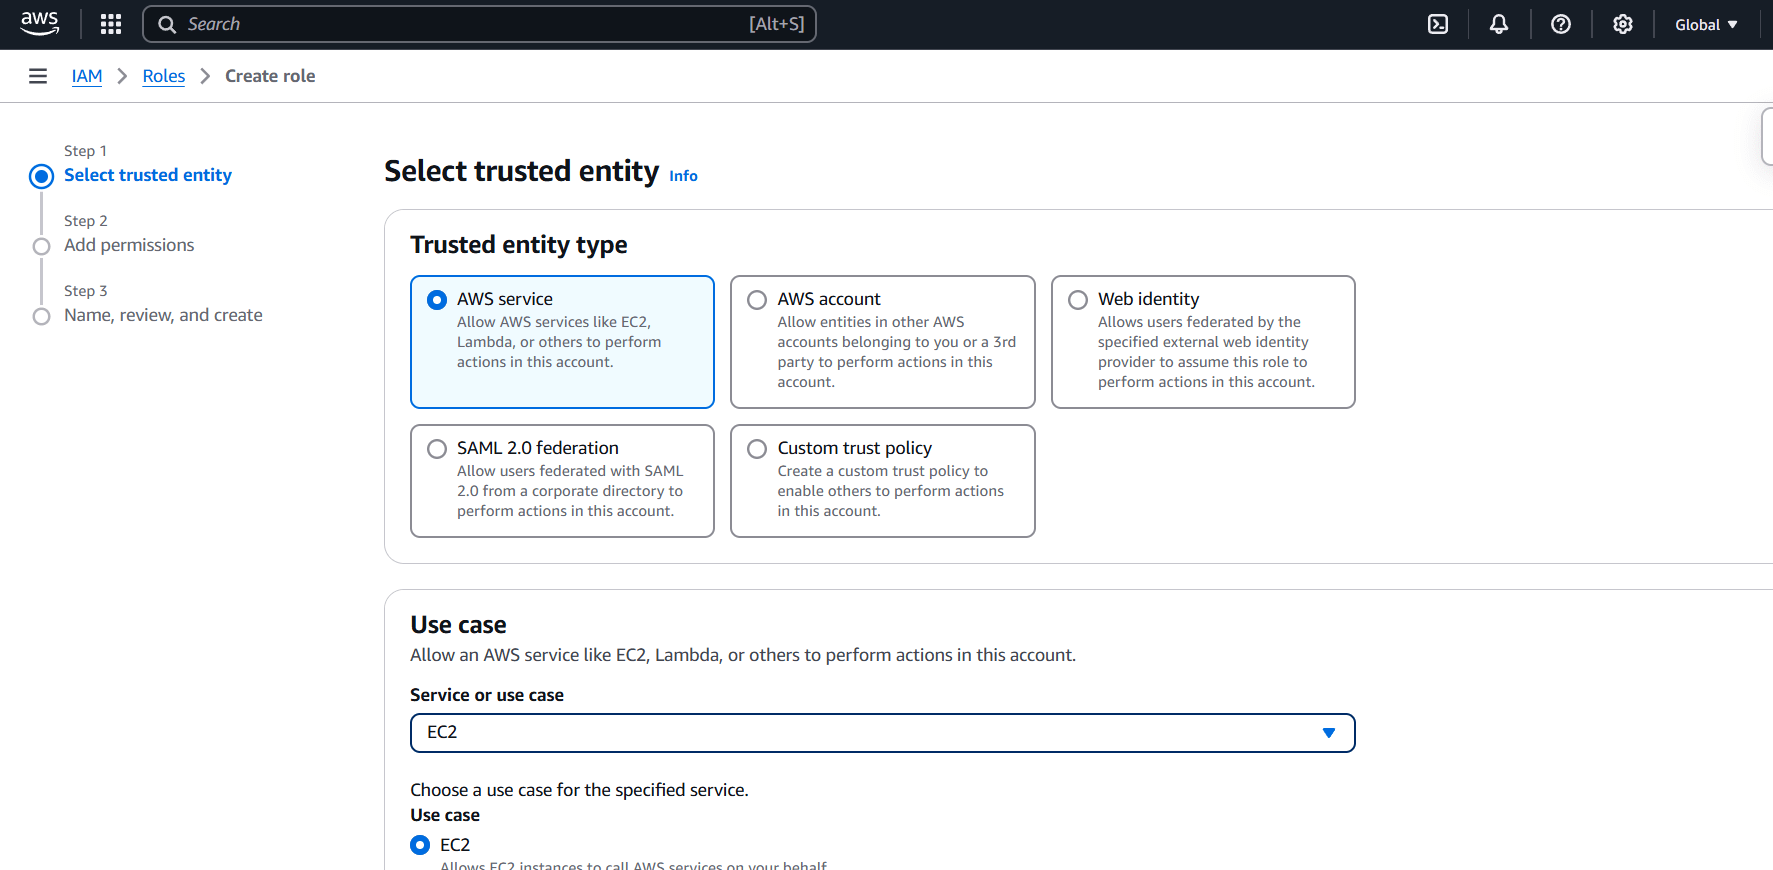
Step 2 : Select the AWS service.
- Use Case : EC2.
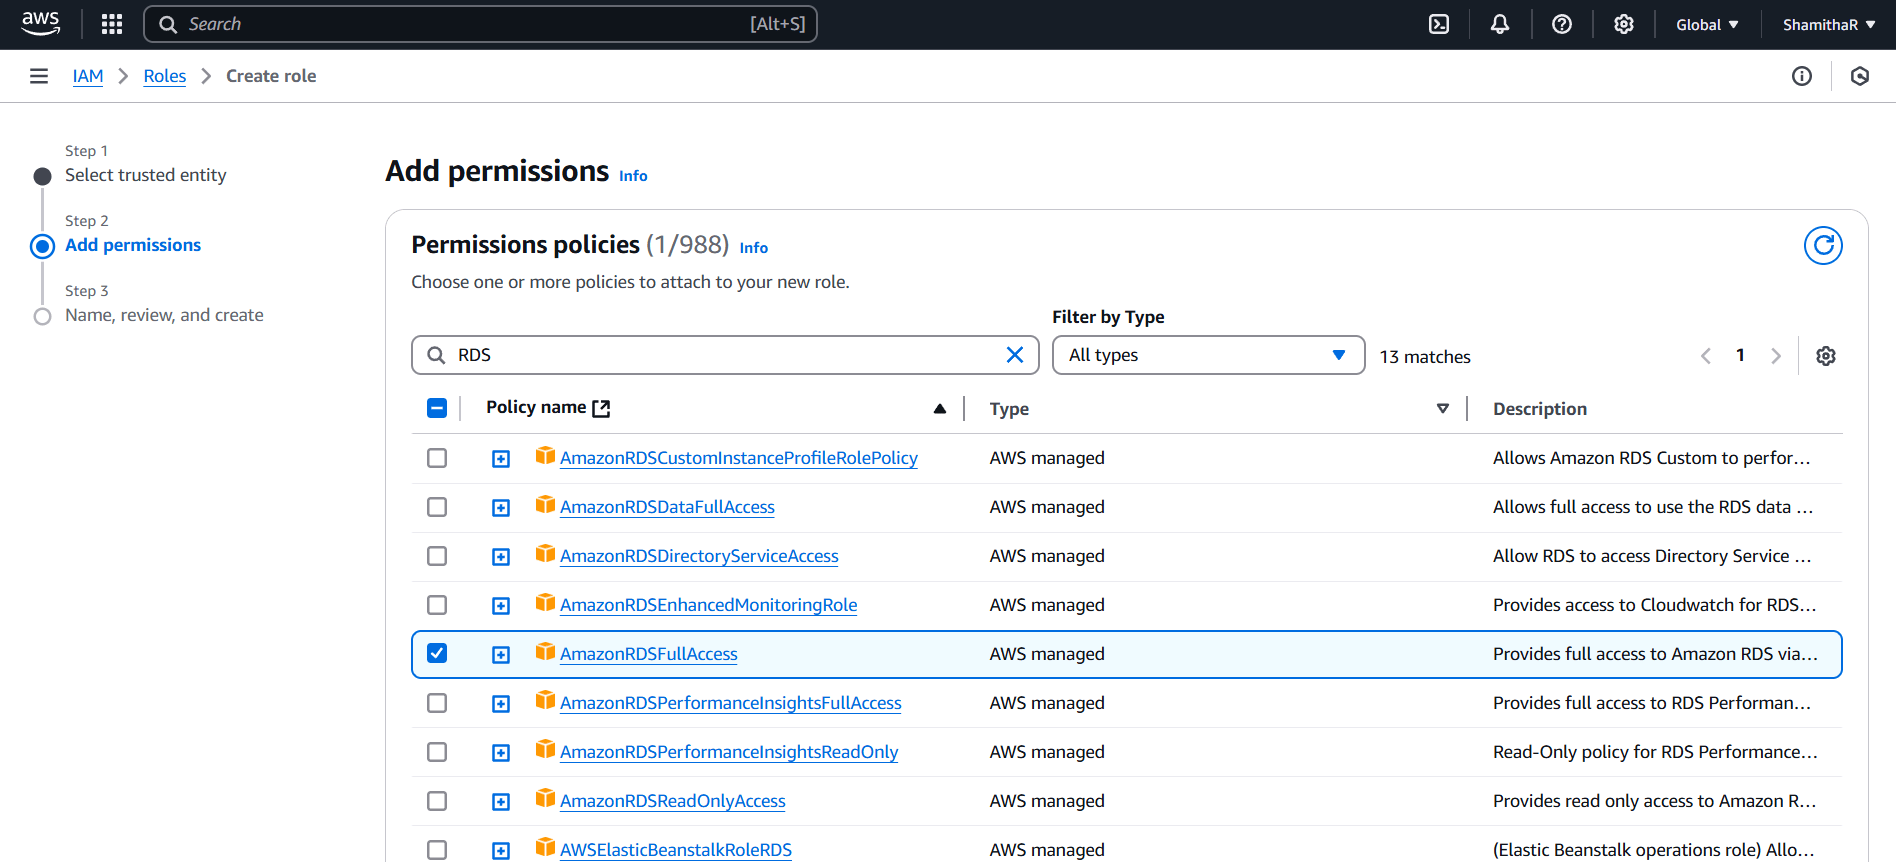
Step 3 : Attach the “AmazonRDSFullAccess” policy.
- Then next , Click create button.
Step 4 : Enter the Role name and Click create role.
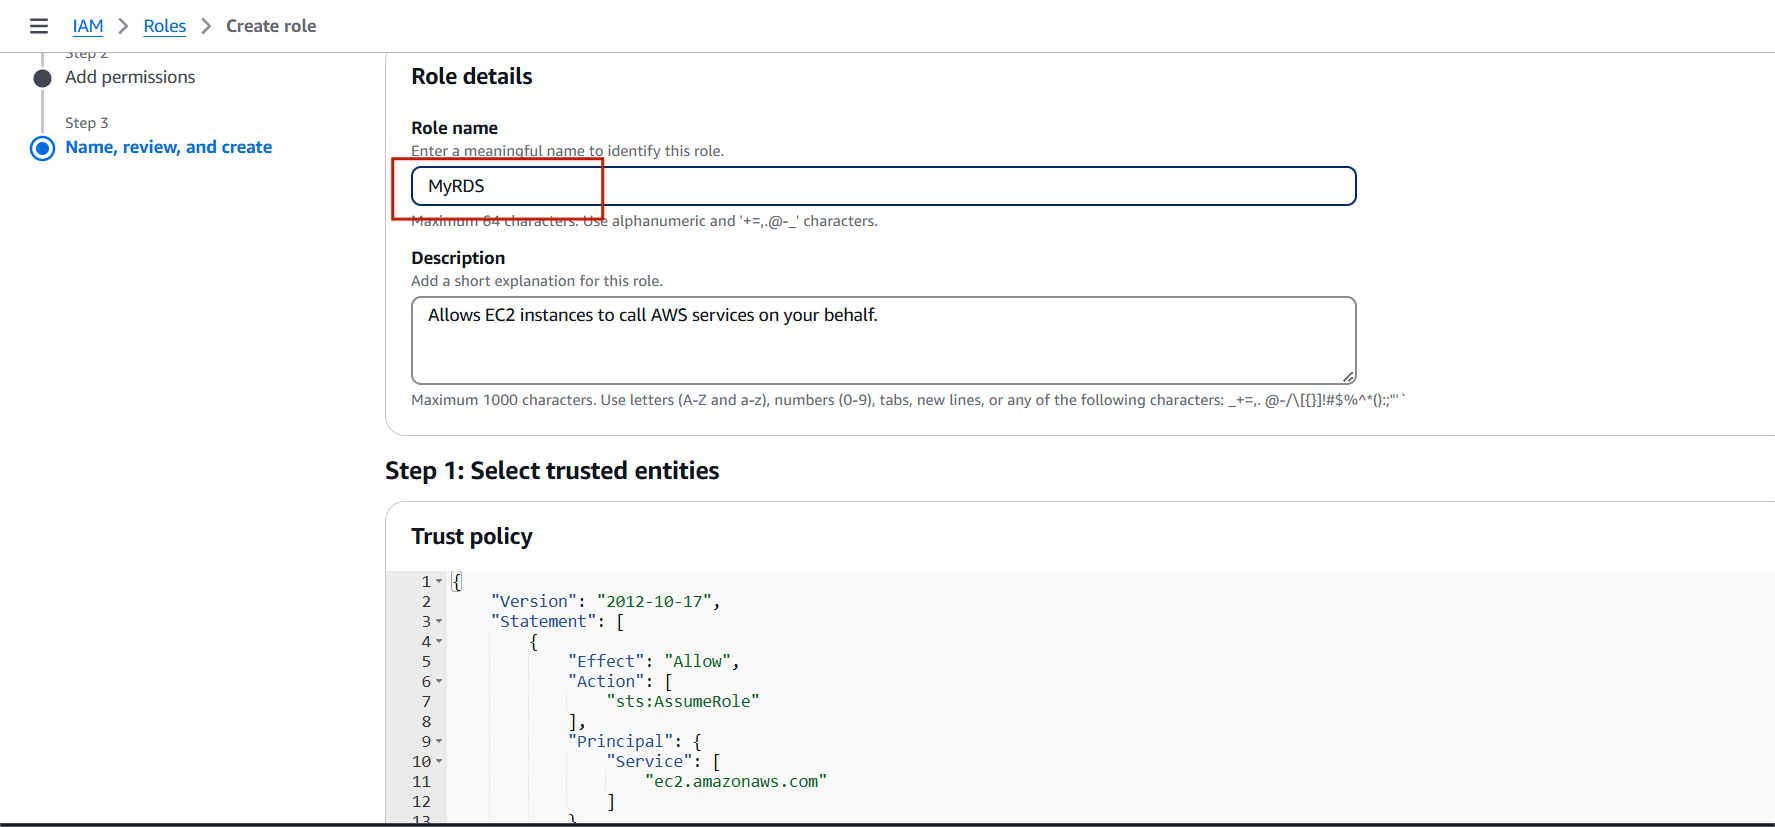
Task 4 : How to Assign an IAM Role to EC2 for RDS Access.
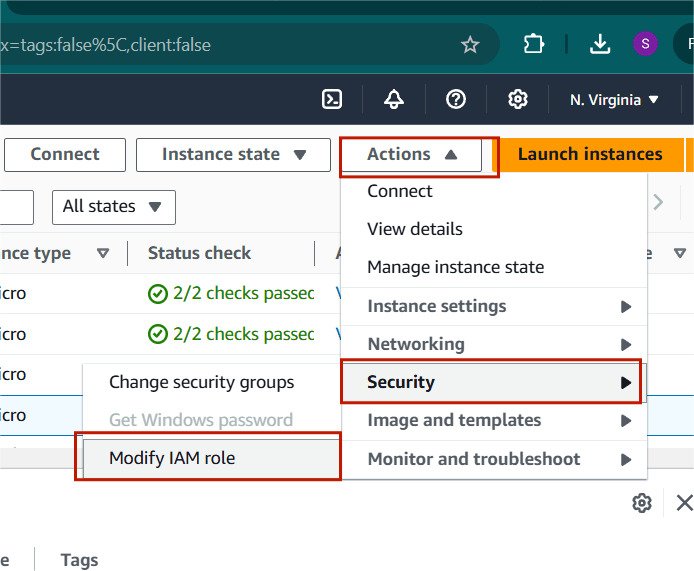
Step 1 : Select the instance and Click on Action.
- Select the security and Click on Modify IAM role.
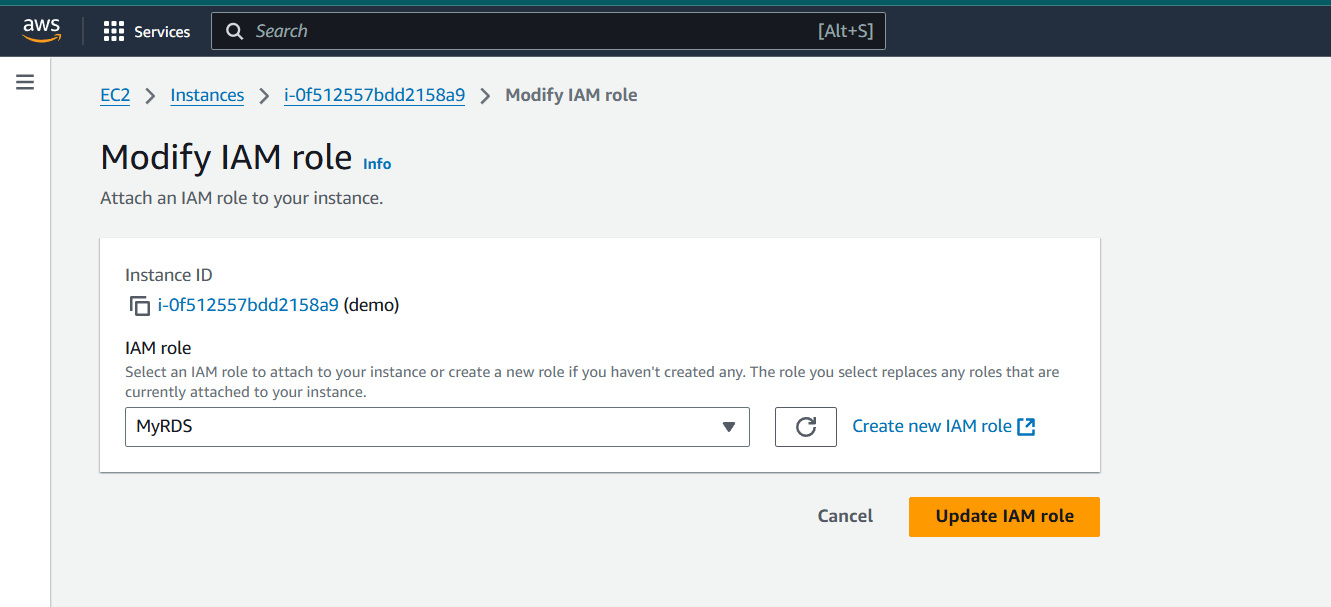
Step 2 : Select your DB.
- Click “Update IAM role”
Task 5 : Connect your EC2 instance using a MySQL client.
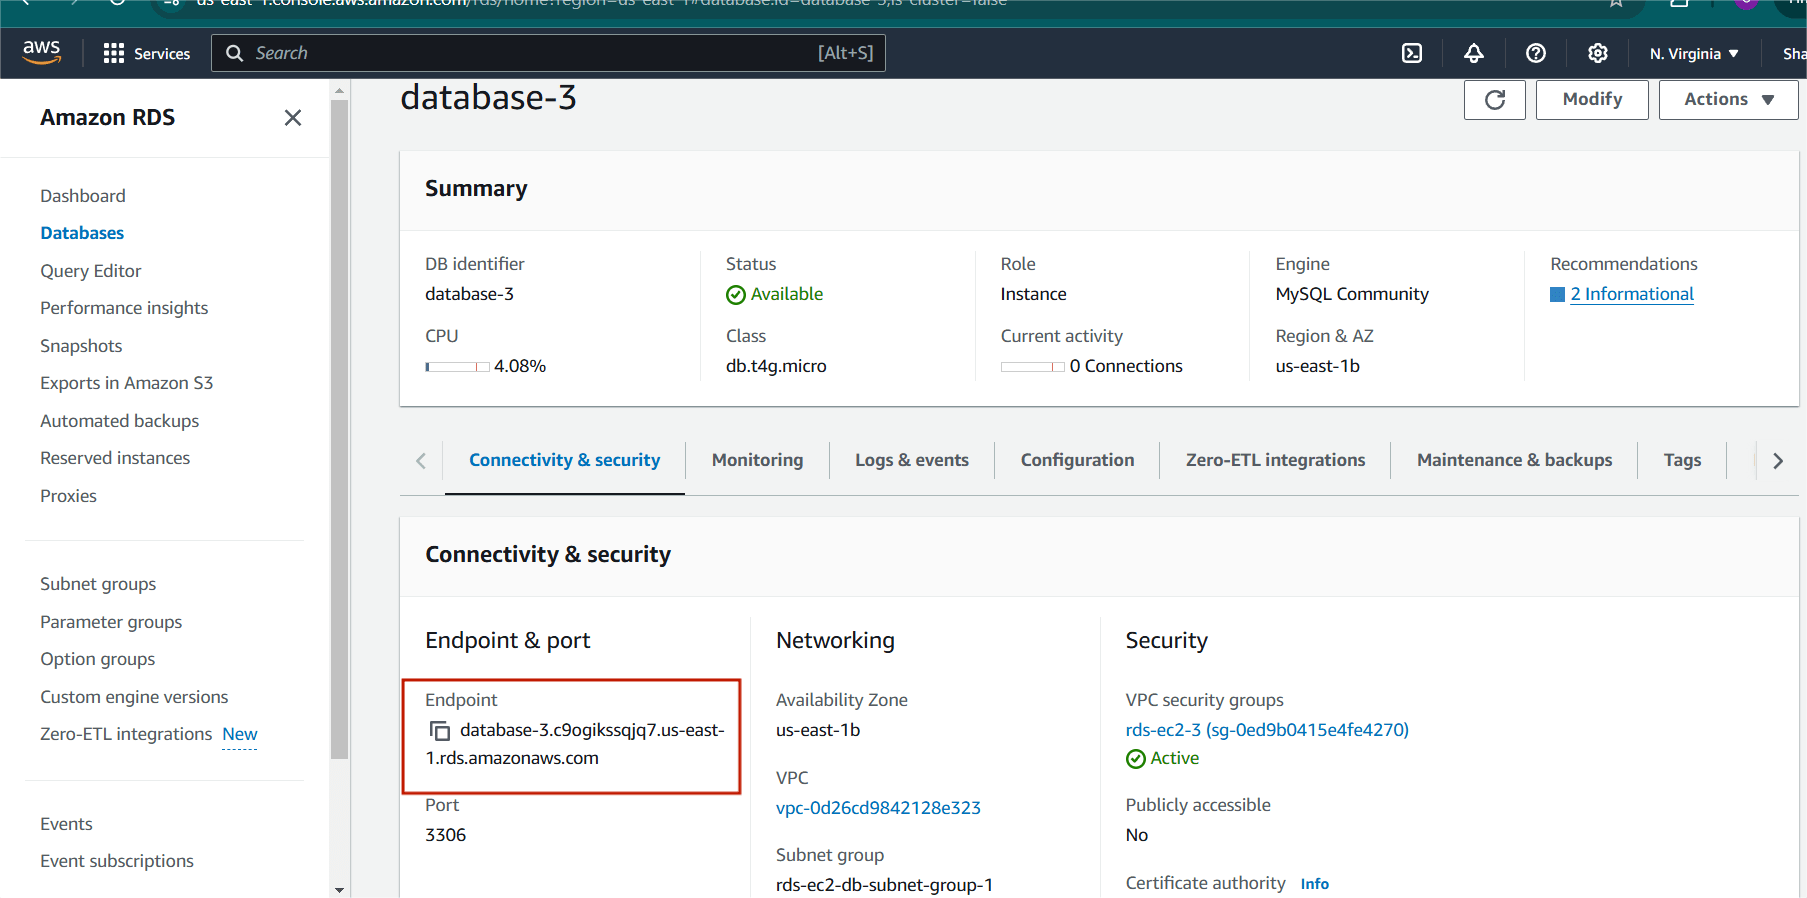
Step 1 : Go to the RDS console.
- Select your instance .
- Click “Configuration” and note the endpoint address.
Step 2 : Accessing EC2 Instances with SSH.
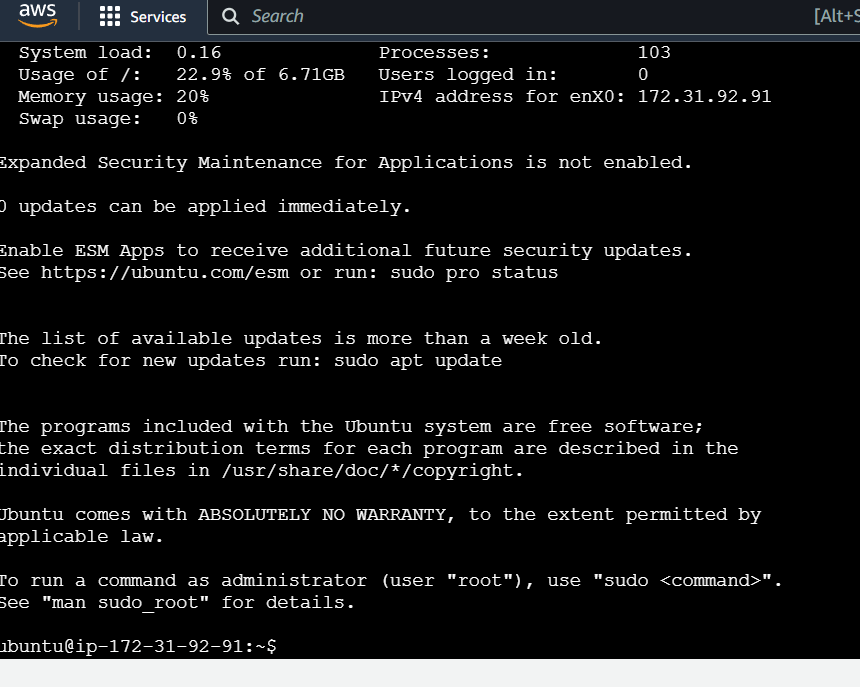
Step 2 : update your machine.
sudo apt update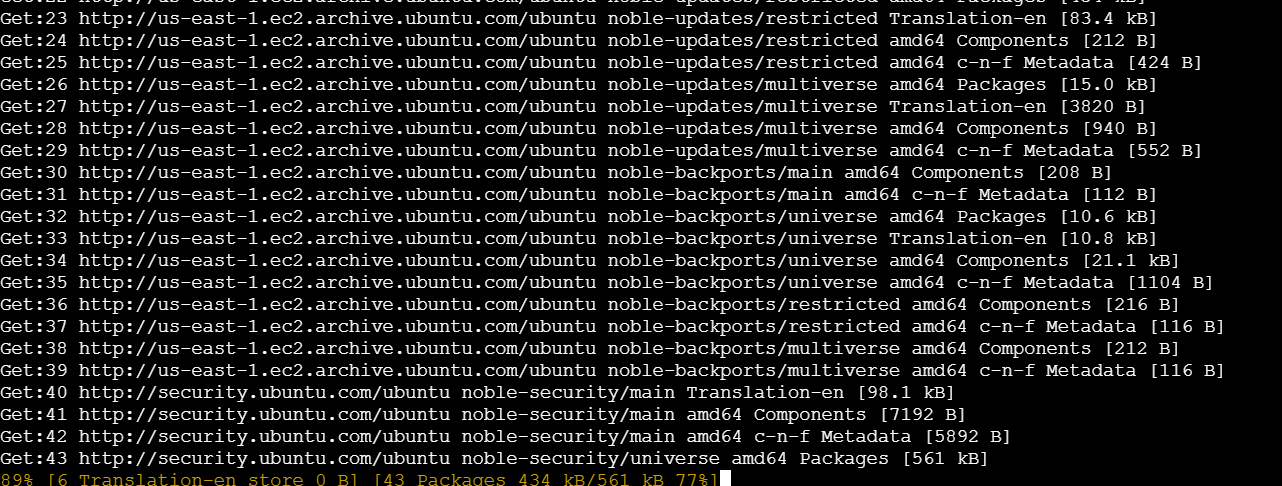
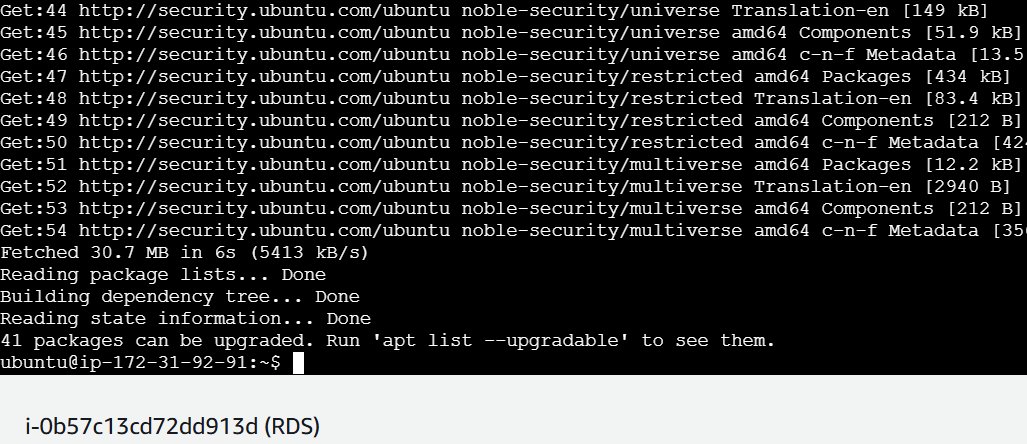
sudo apt upgrade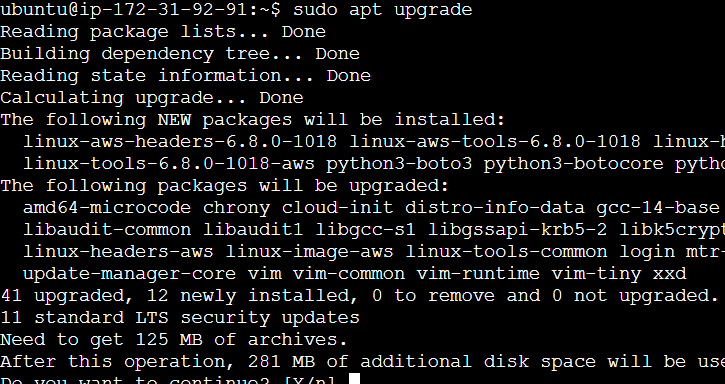
Step 3 : Install mysql-client.
sudo apt-get install mysql-client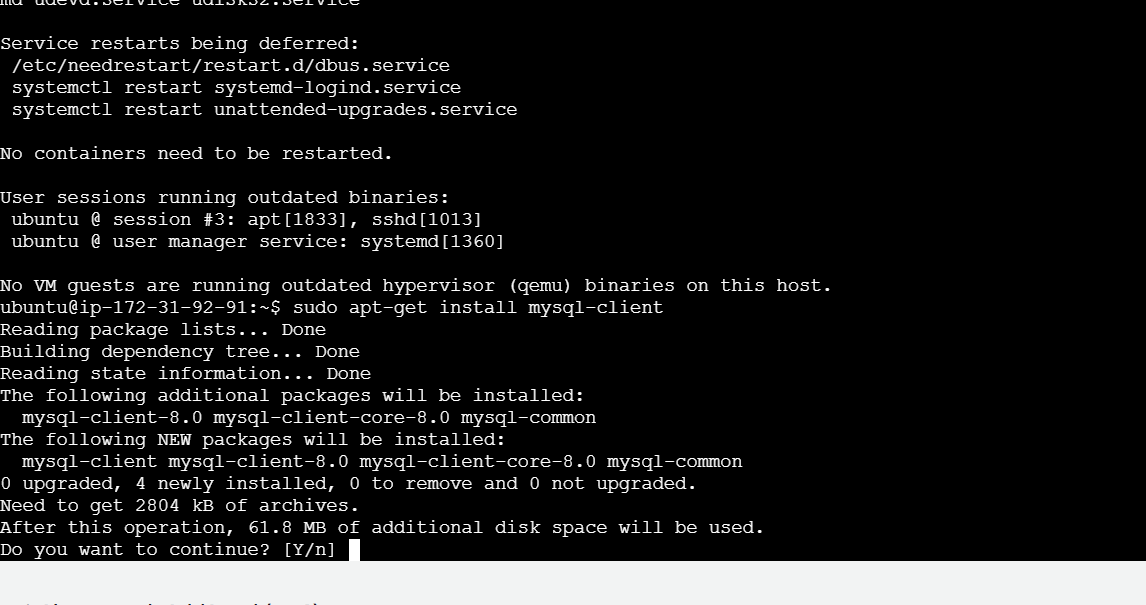
Step 4 : Connect to RDS Using MySQL Client with Endpoint, Username, and Password.
- Enter the password when prompted and press enter.
- You should now be connected to the MySQL database on the RDS instance.
mysql --versionmysql -h <endpoint address> -P <port.no> -u <username> -p

Conclusion
You Successfully Connecting RDS to EC2 . AWS RDS makes it easy to manage your database and keep it up to date with the most delinquent security patches and software updates. RDS offers tools like performance insights and provisioned IOPS (Input/Output Operations Per Second) for high-performance workloads.
Add a Comment