An Introduction to Jenkins:
Jenkins is a powerful open-source automation tool that enables developers and DevOps teams to build, test, and deploy code efficiently. It supports continuous integration (CI) and continuous delivery (CD) practices, allowing teams to automate various stages of their software development lifecycle.
Build in Jenkins:
In Jenkins, a build refers to the execution of a job. The build process often includes tasks such as fetching code from a repository, running tests, compiling code, and creating artifacts that can be deployed to production or other environments. Each build is tracked and logged, allowing for detailed monitoring and troubleshooting.

Upstream Projects in Jenkins:
Upstream Projects are jobs or projects that serve as triggers for other jobs (called Downstream Projects). It allow you to create a dependency chain. For example, if Project A is an upstream project for Project B, completing a build for Project A can trigger Project B to start automatically.
Downstream Projects in Jenkins:
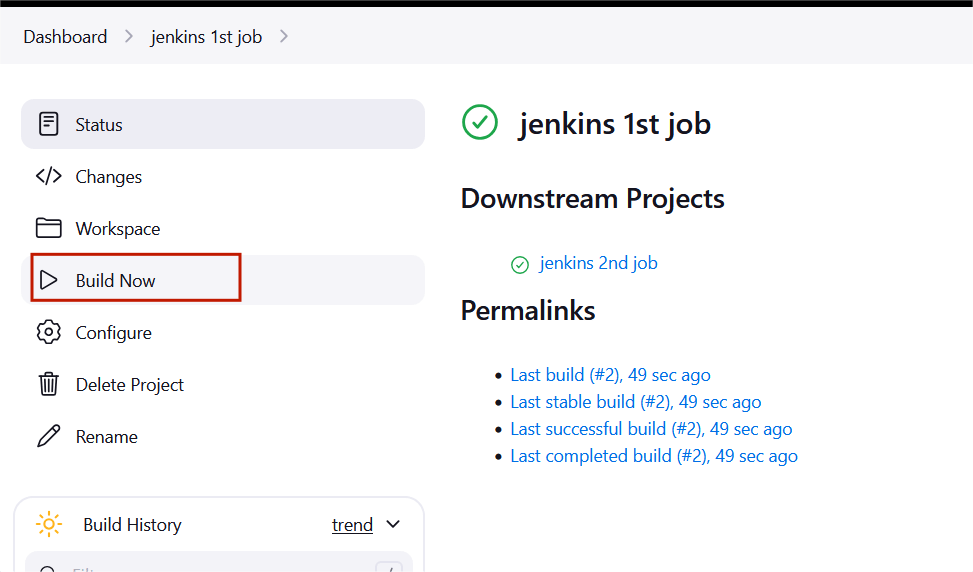
Downstream Projects are jobs or projects that are triggered automatically after an Upstream Project completes successfully. It allow for the chaining of jobs, where the execution of one job (the upstream) automatically triggers subsequent jobs (the downstream).
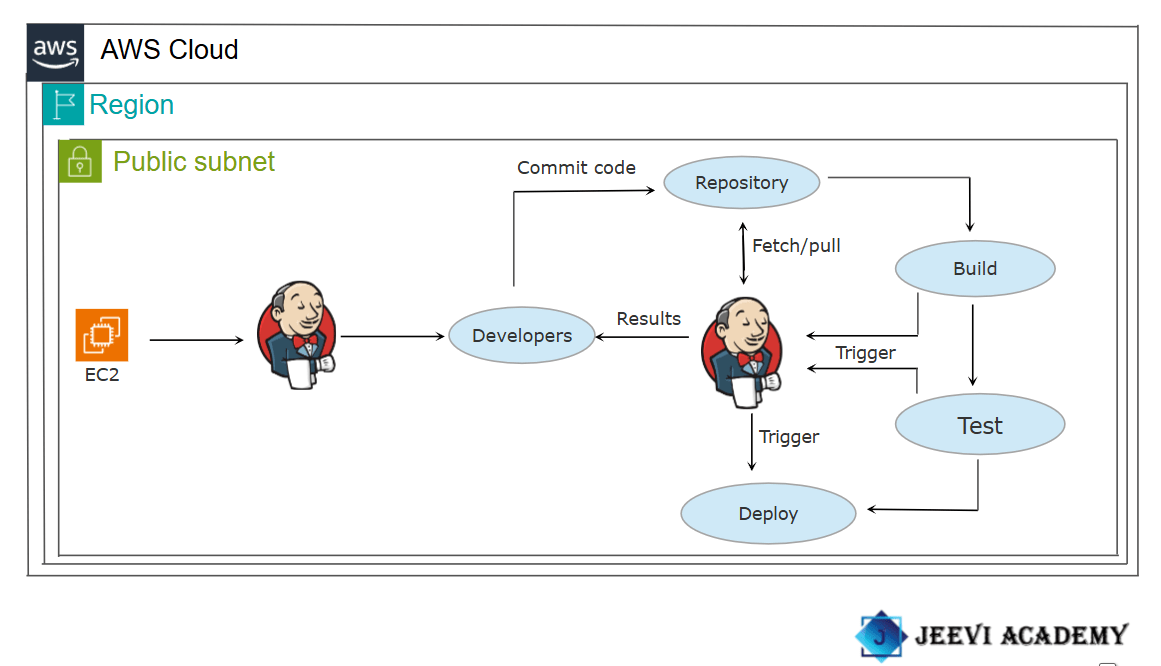
In this guide, I will demonstrate how to set up and run build jobs in Jenkins.
STEP1:Select the instance and Copy the public IP of your instance listed in the details.

STEP2:Enter the browser http://<your-ec2-instance-public-ip>:8080.
STEP3:You see this following page.
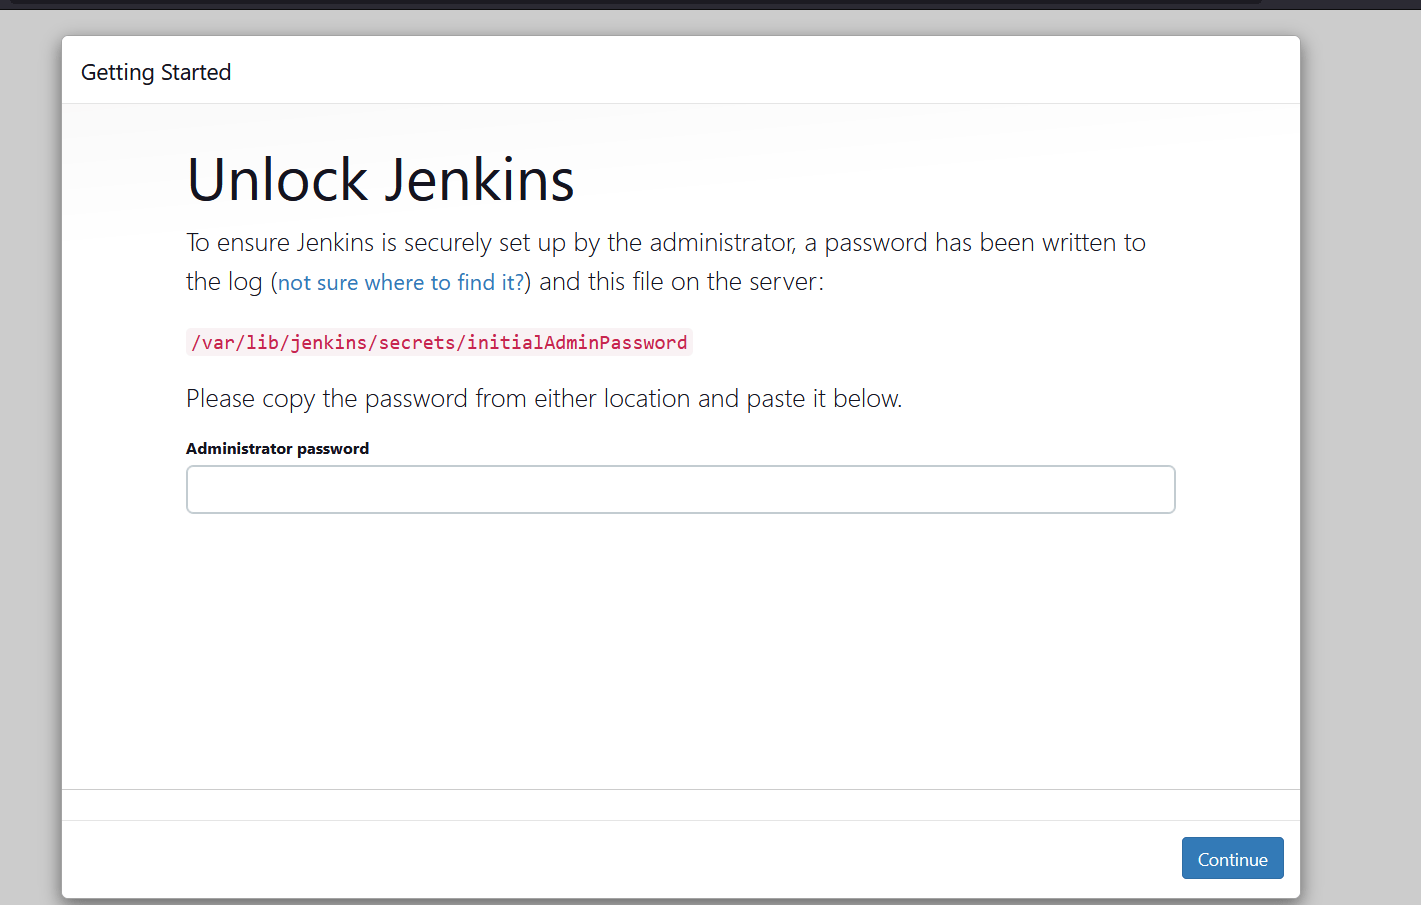
STEP4:On the initial setup page, enter the administrator password.
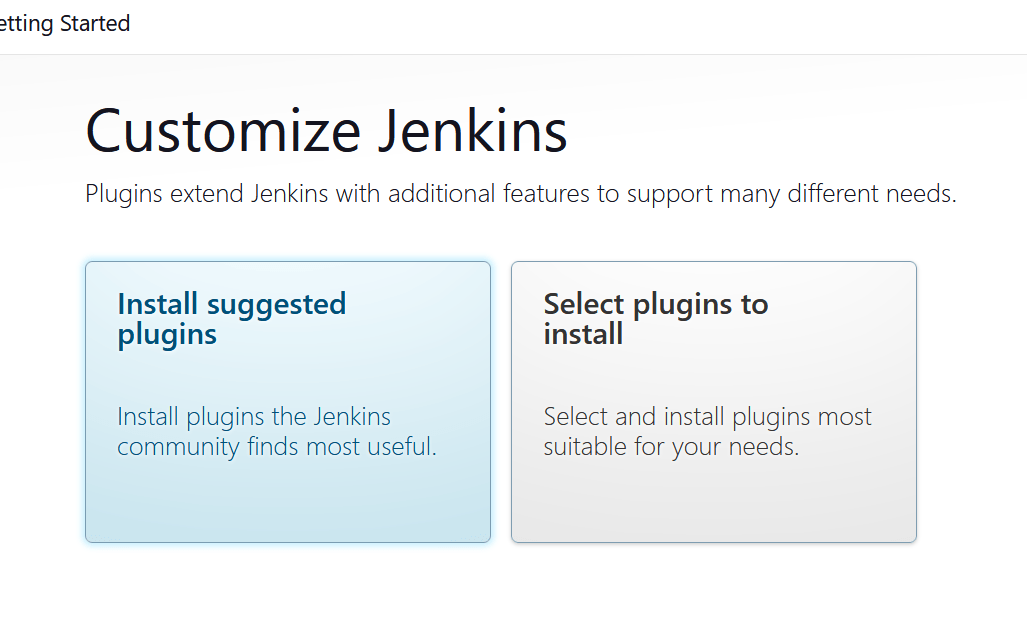
STEP5:Select the install suggested plugins.
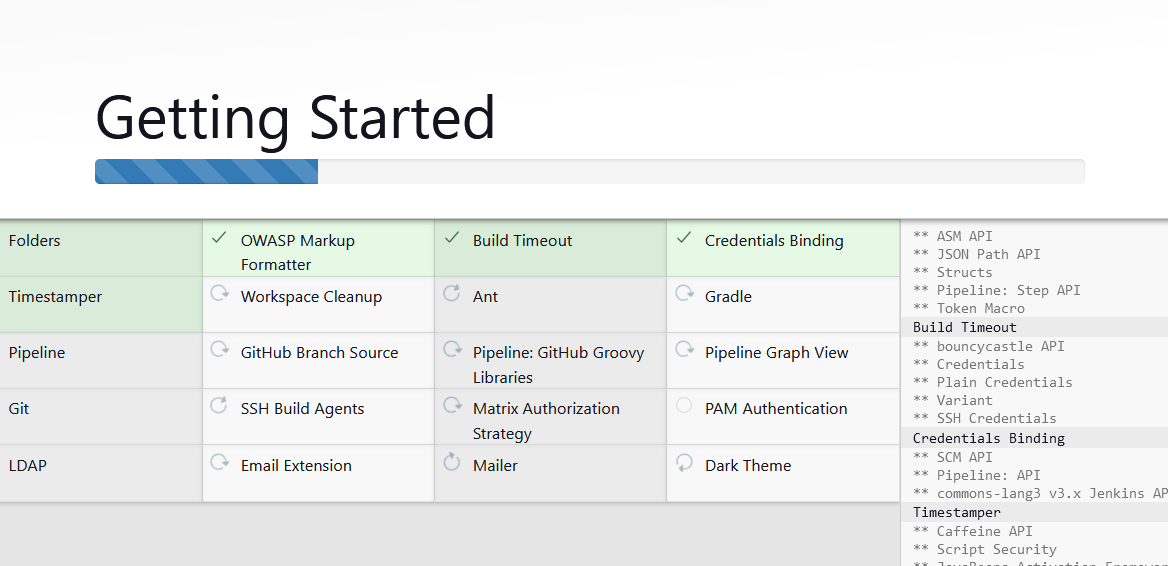
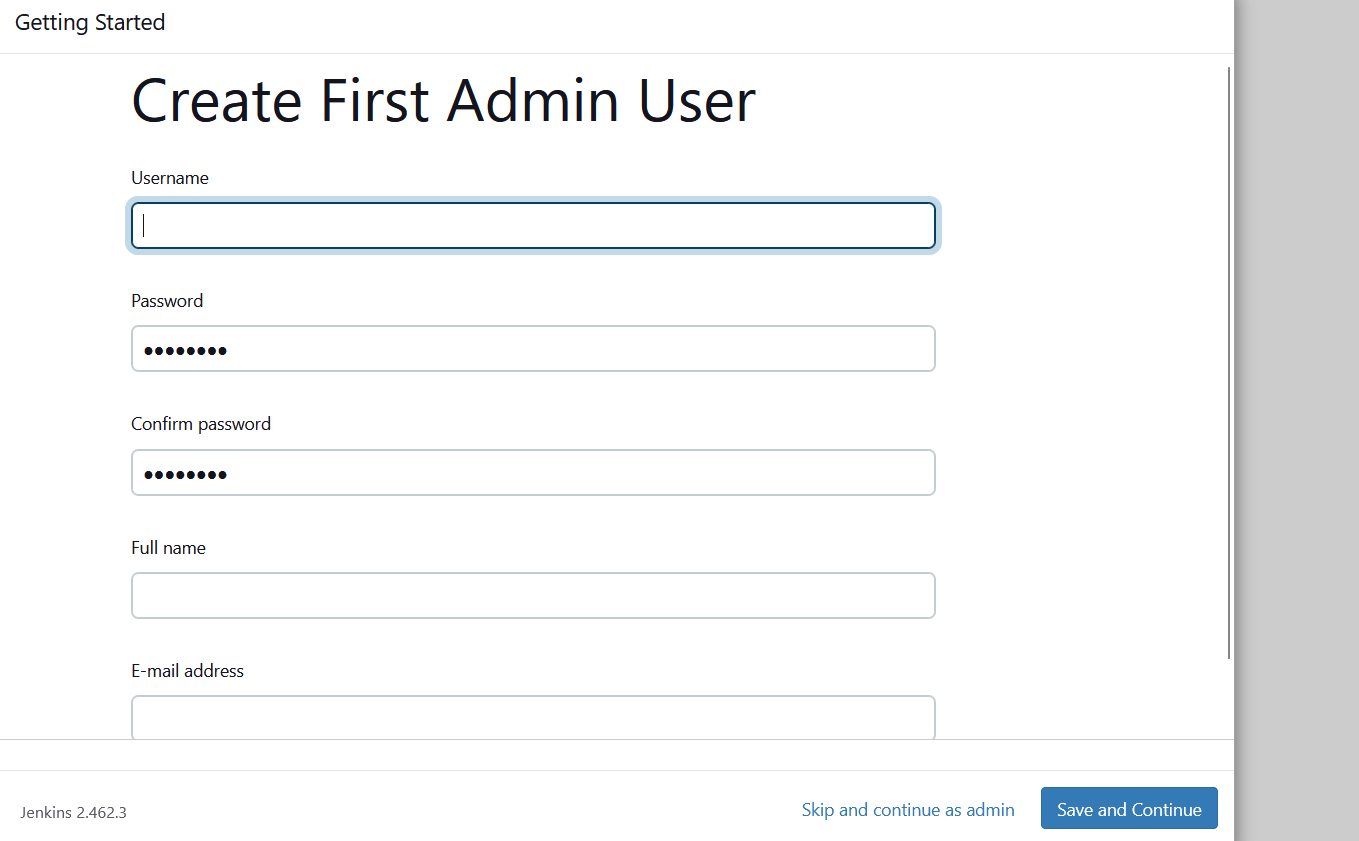
STEP6:Create the first admin user and click the save and continue.
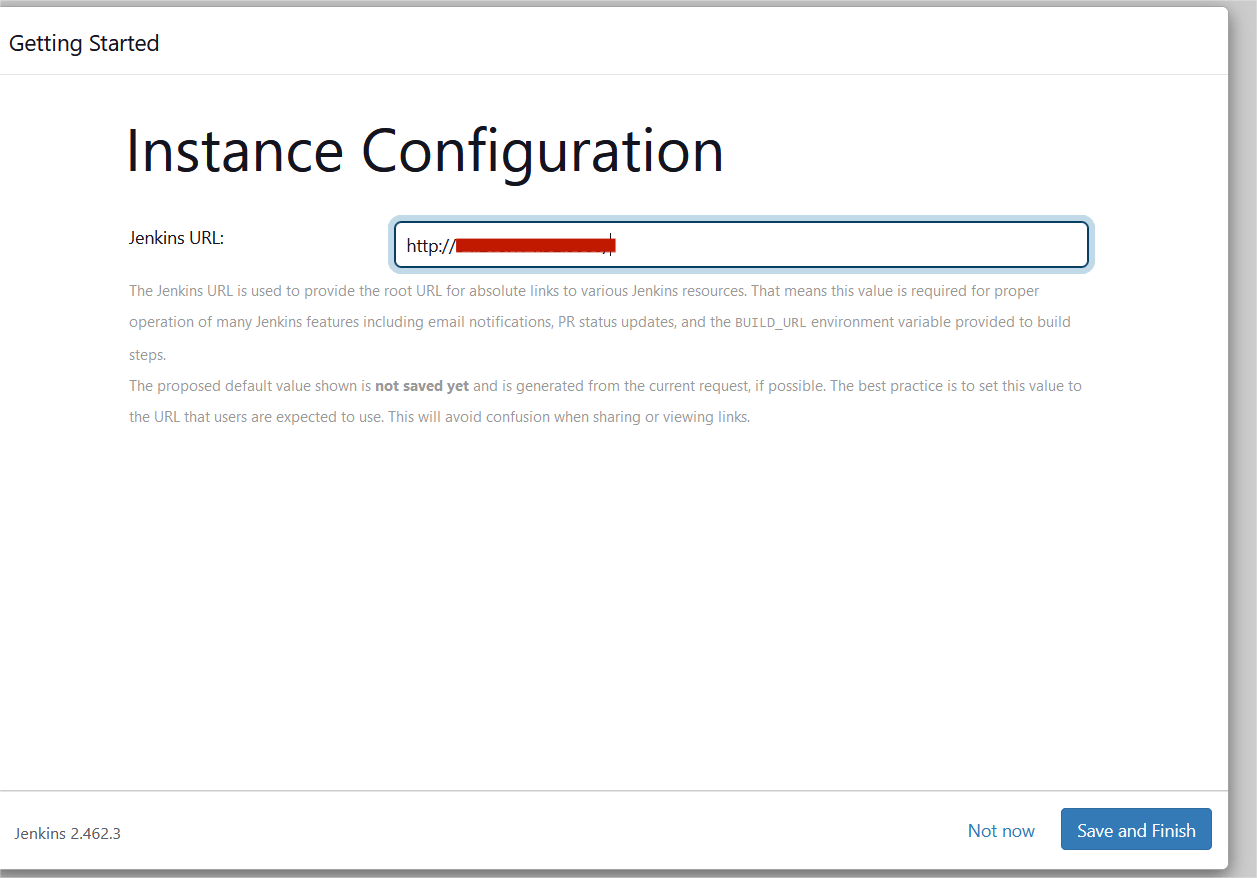
STEP7:Click save and finish.
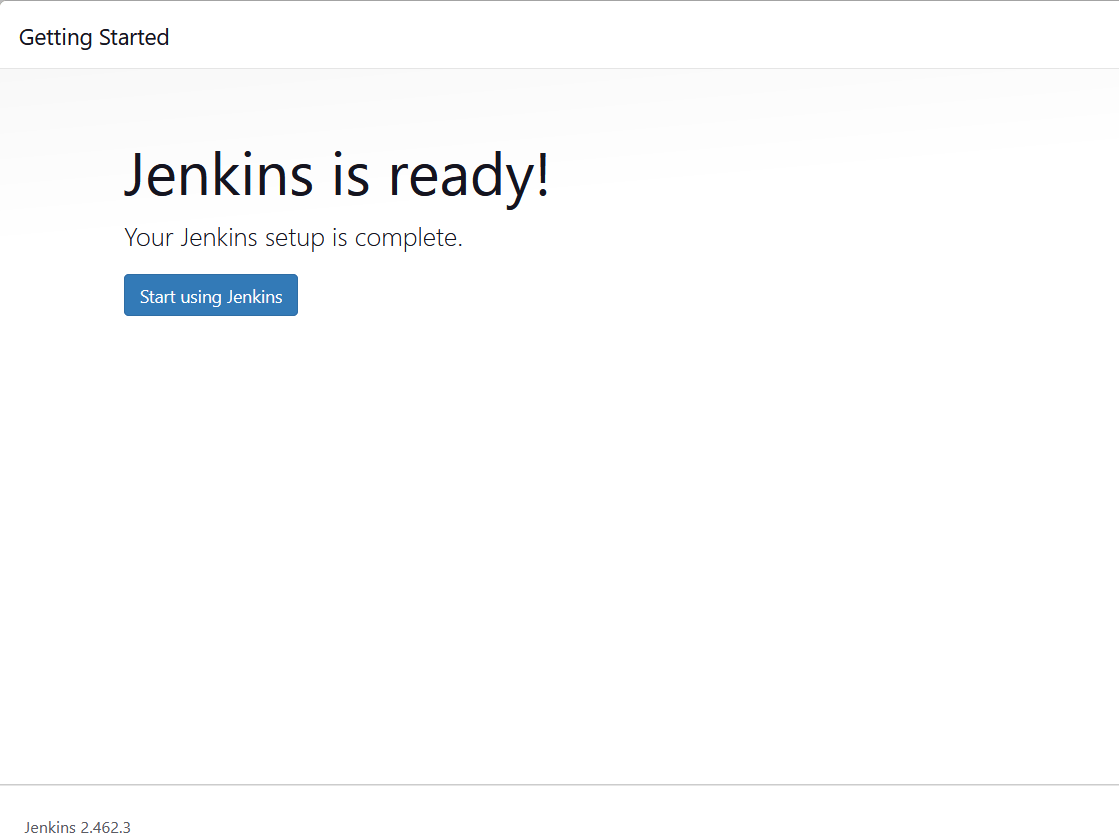
STEP8:Click start using jenkins.
STEP9:You will see the jenkins dashboard page and select the create a job.
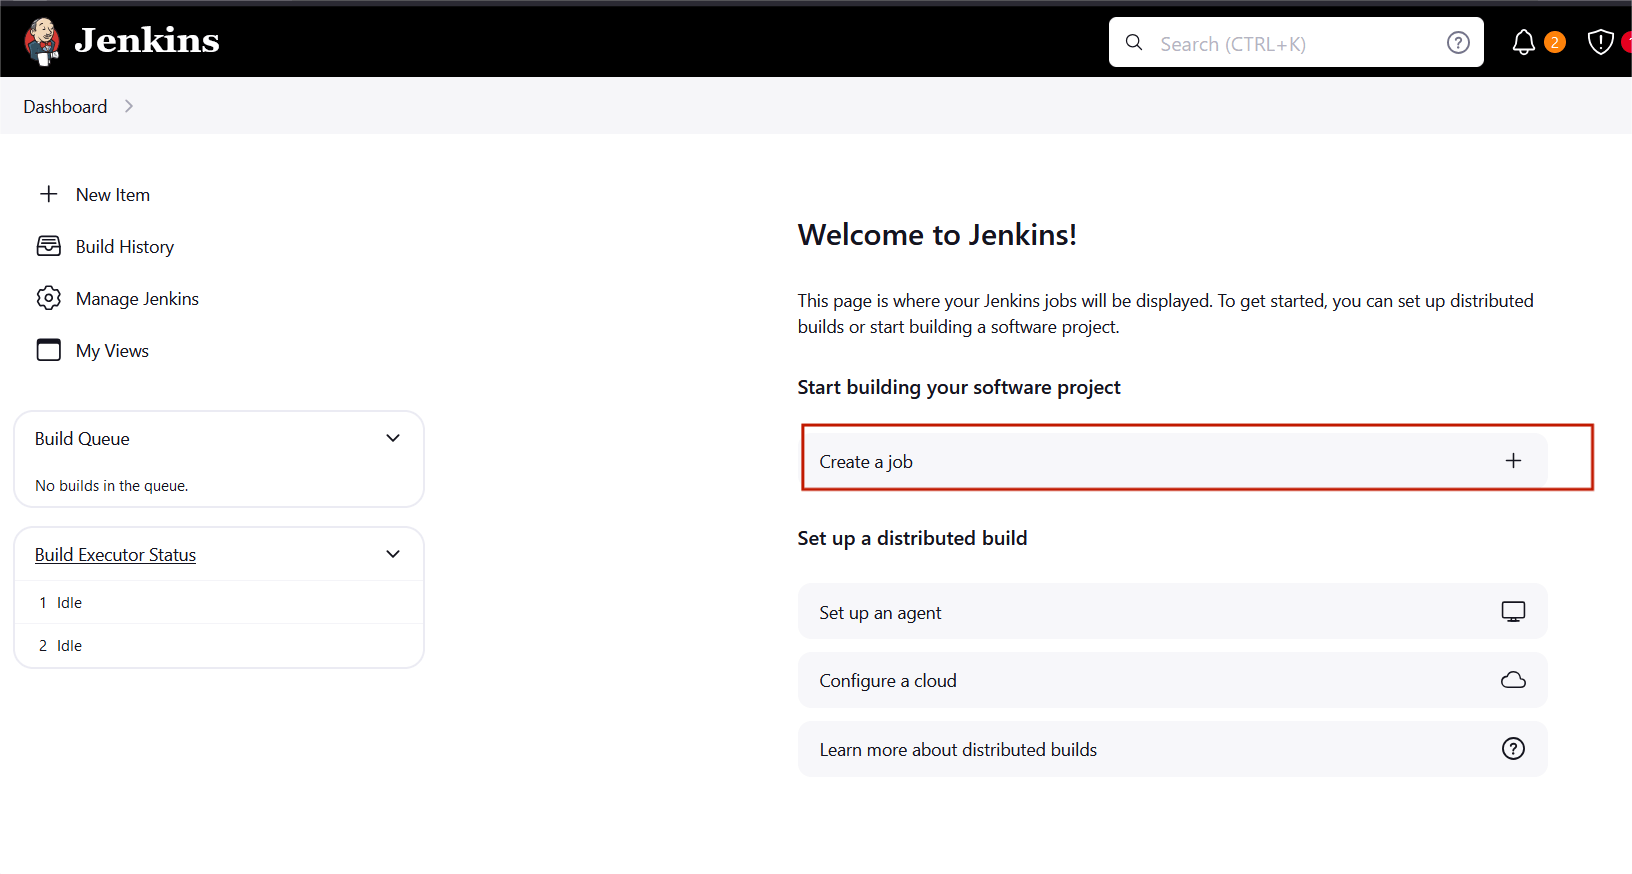
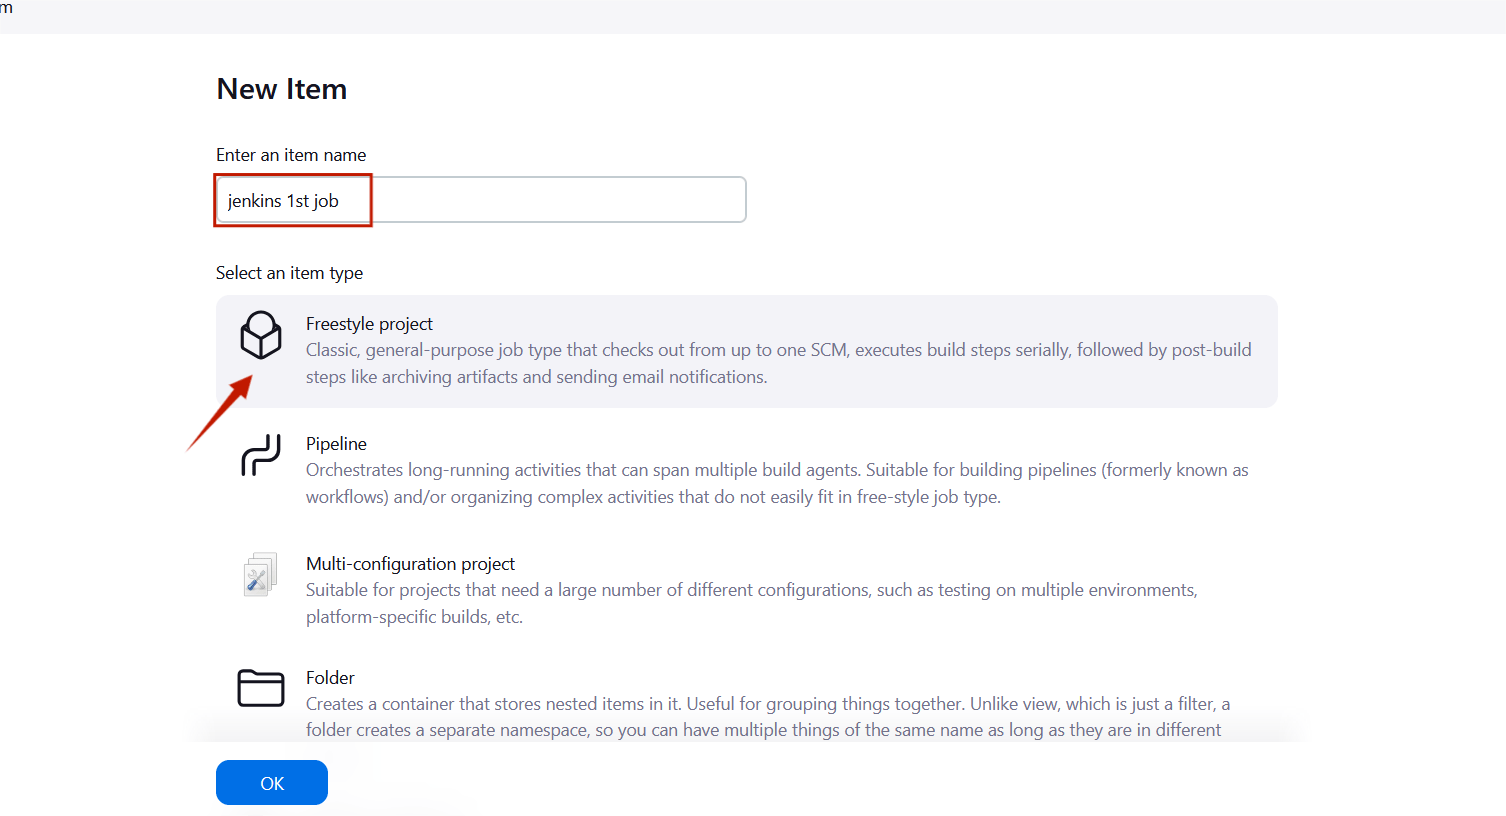
STEP10:Enter the item name , select the Freestyle project and click the ok button.
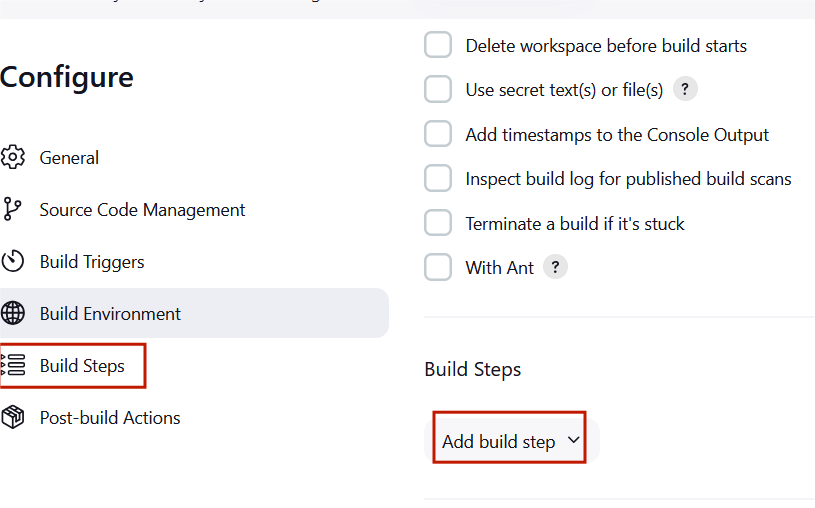
STEP11:Scroll down to the Build steps section, click on “Add build step”, and choose “Execute shell”.
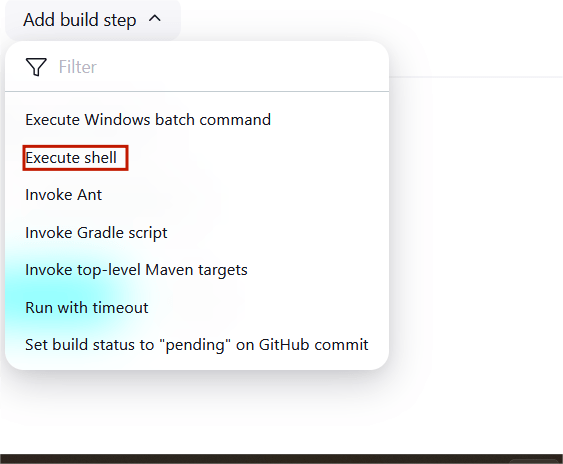
STEP12:Type the following commands in the shell, and then select Save to apply your changes.
echo “Hello” >> Message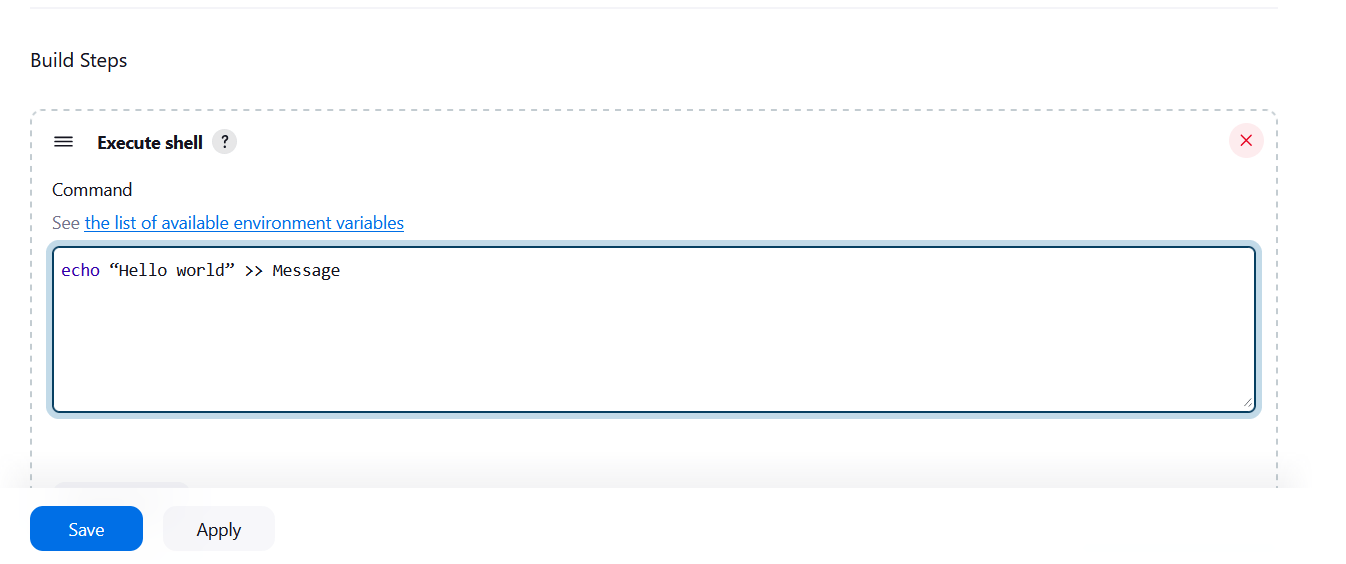
STEP13:Your first job is now created and visible on the dashboard.
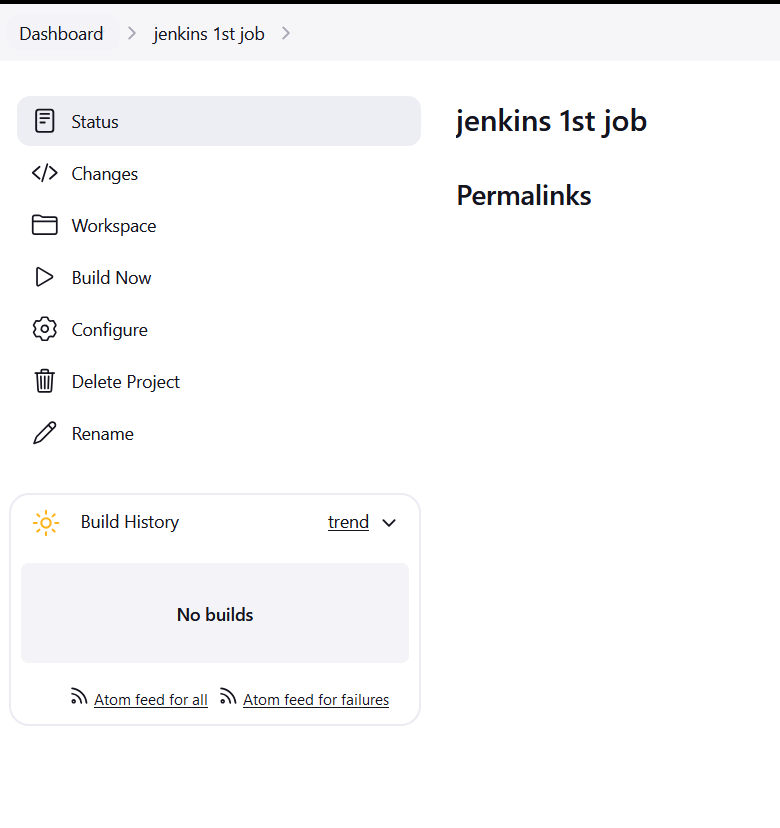
STEP14:Then next you navigate to EC2 instance and then click on Connect.

STEP15 : Run the following commands in the terminal.
cd /var/lib/jenkinslscd workspacels

STEP16:Don’t close the EC2 terminal and now go back to the Jenkins dashboard.
STEP17:“Jenkins 1st job“, click on “Build Now“.
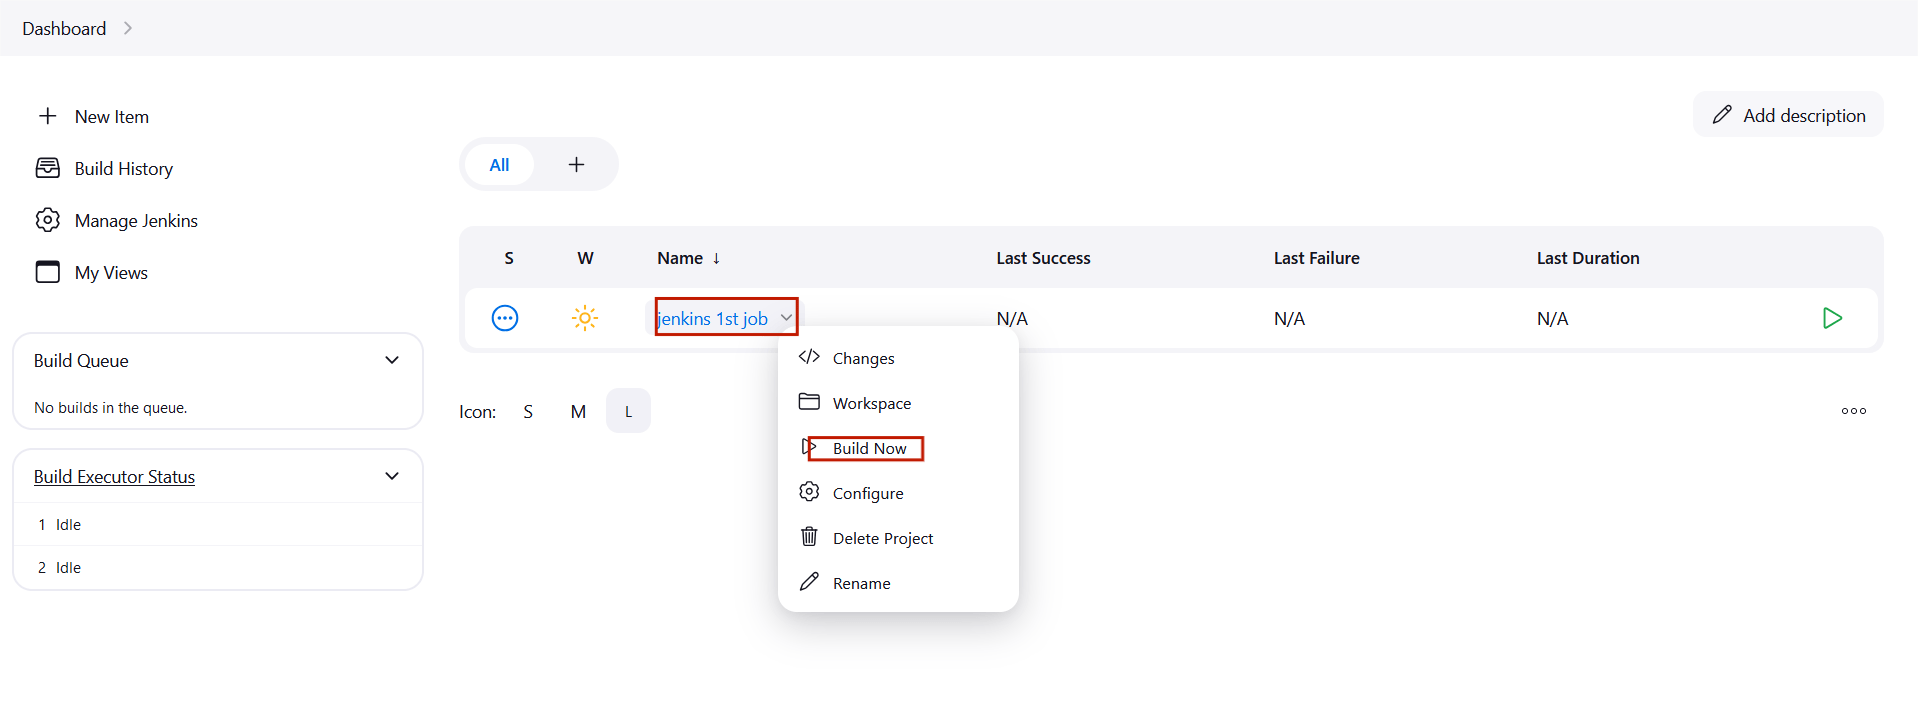
STEP18:After the build is completed, go to the EC2 terminal again and run the following commands .
lscd 'Jenkins first job'lscat Message

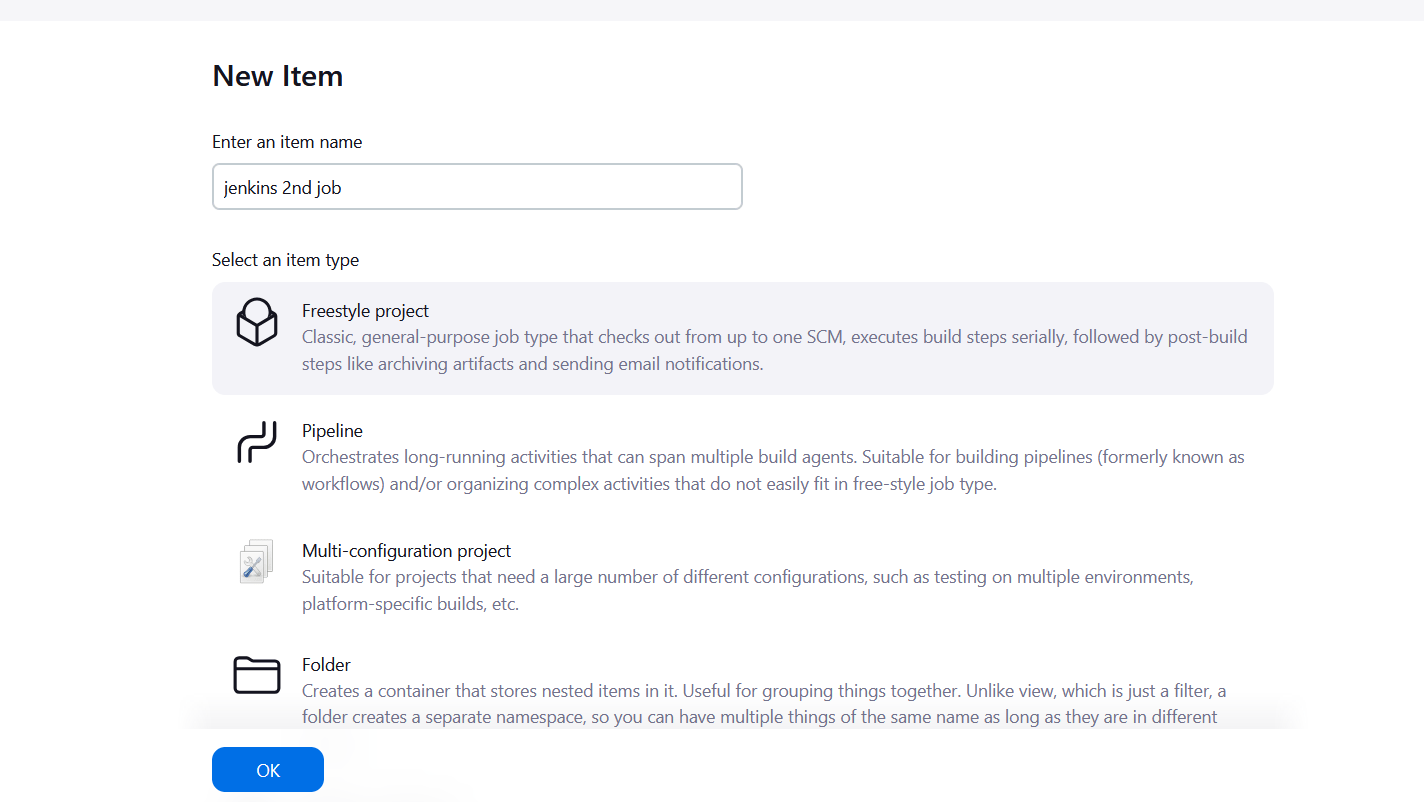
STEP19:Click on “New Item” On the left side panel of the Jenkins dashboard and select the new item.
STEP20:Enter the item name and click the freestyle project.
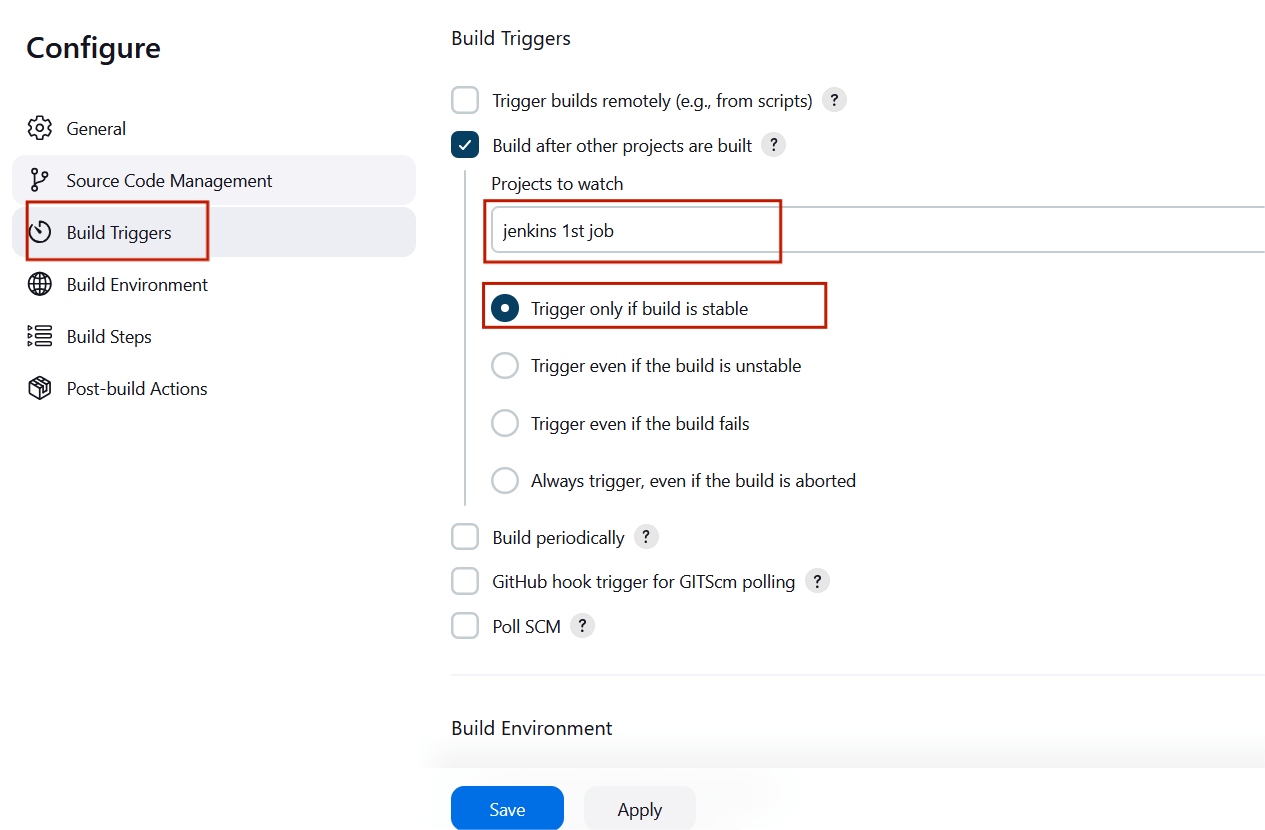
STEP21:choose build triggers from the left side panel and click “Build after other projects are built”.
STEP22:Choose jenkins1st job and click the “Trigger only if build is stable” .
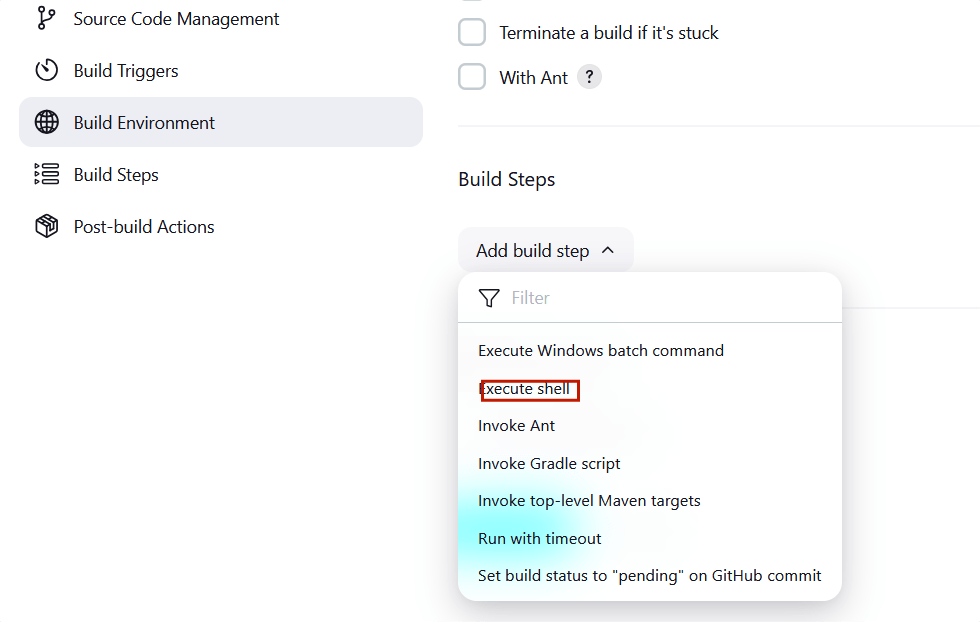
STEP22:Scroll down and expand the build steps tab , Select the execute shell.
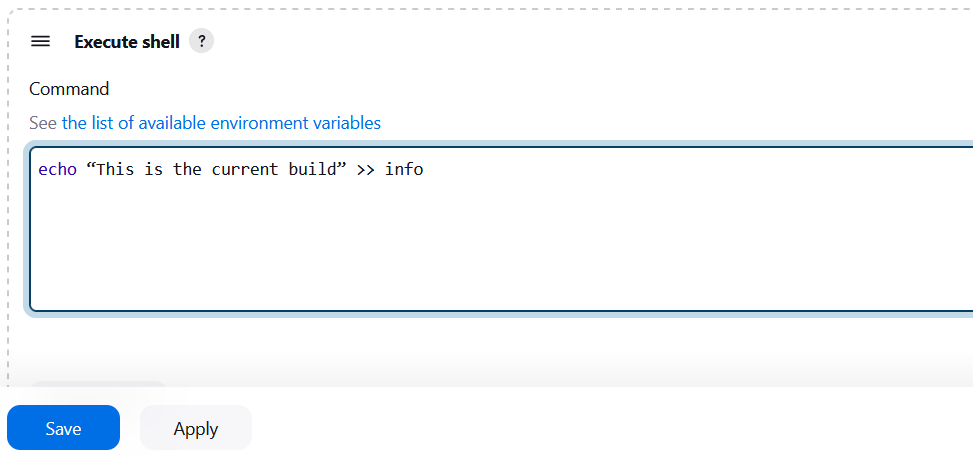
STEP23:Type the following command and Click the save button.
echo “This is the current build” >> info
STEP24: Go to dashboard and click on build now for “Jenkins 1st Job”.
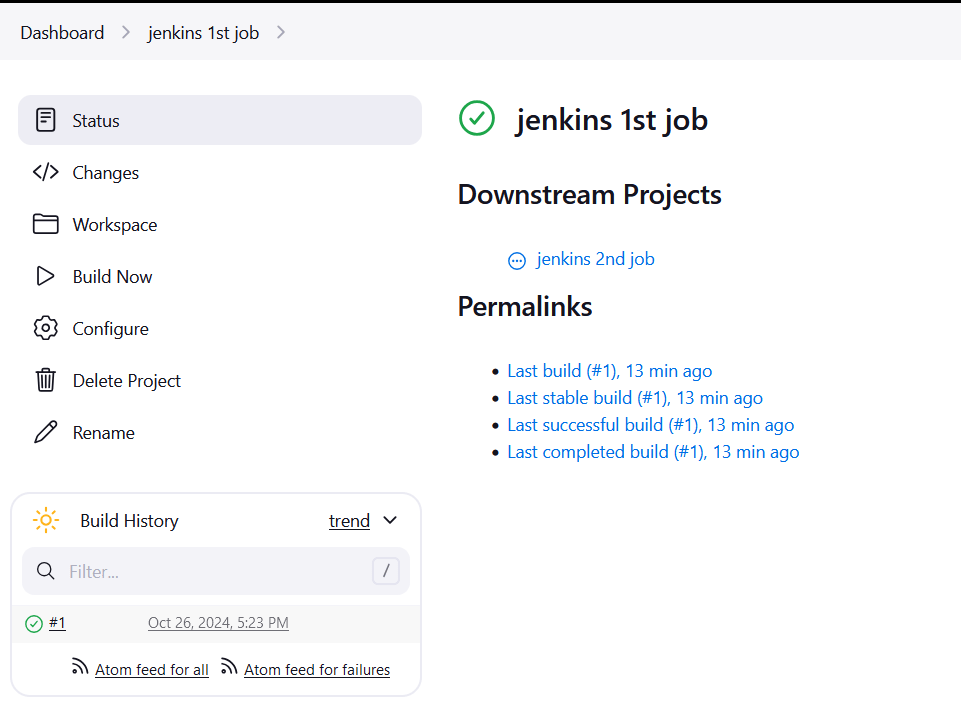
STEP25:After the build is successful for ‘Jenkins 1st job’ refresh the page, you will see that the Jenkins 2nd job build will be automatically built.
STEP26:Go to EC2 terminal and enter the following commands.
cd /var/lib/jenkinslscd workspacels
cd 'Jenkins second job'
ls
cat info

You will see that the info file contains the message that we had put in the execute shell.

CONCLUSION
A “build” represents a sequence of steps or processes defined in a Jenkins job, such as compiling code, running tests, or deploying applications. Jenkins triggers these builds based on predefined conditions, like a code commit or a scheduled time, ensuring that changes are consistently tested and integrated.
Add a Comment