INTRODUCTION
Amazon Simple Email Service (Amazon SES) is a scalable, cost-effective, and flexible cloud-based email service designed for businesses to send bulk and transactional emails. Its provides feedback loops, sending analytics, and built-in content filtering to enhance deliverability. SES supports multiple configurations for dedicated IPs, IP warm-up, and domain authentication, ensuring reliable deliverability.

DIAGRAM:
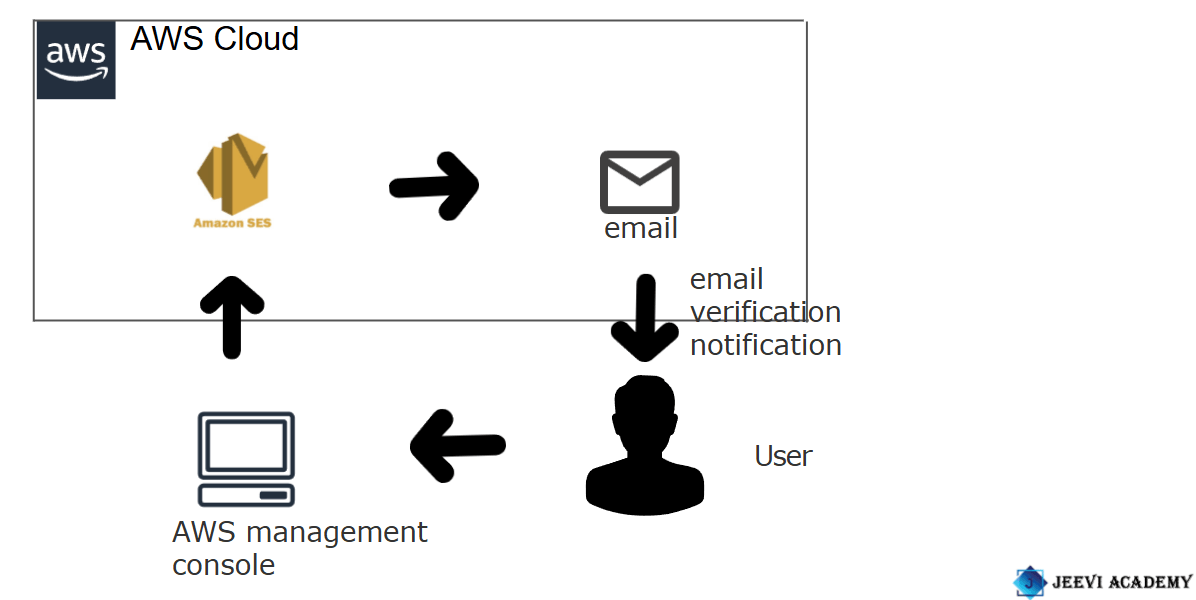
Here, I’ll show you how to get started with Amazon SES step-by-step.
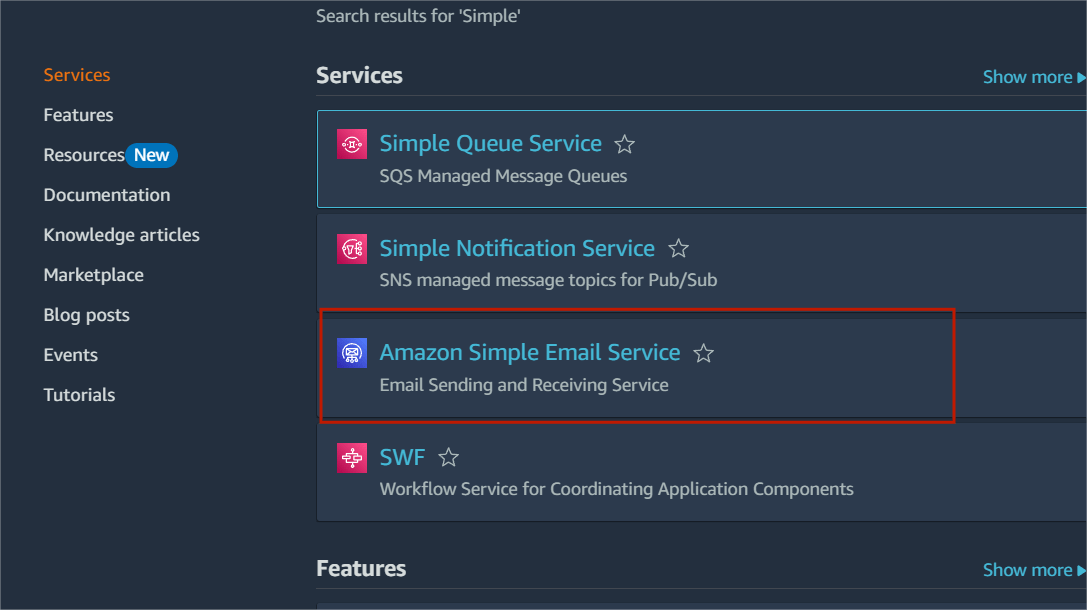
STEP1:Navigate the Amazon SES.
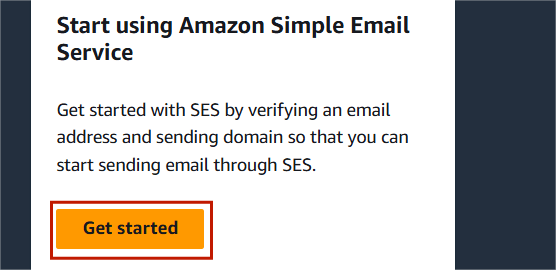
STEP2:Click on get started.
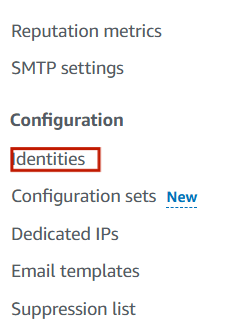
STEP3:Select the “Identities” on the left side panel.
STEP4:Click on create identities.
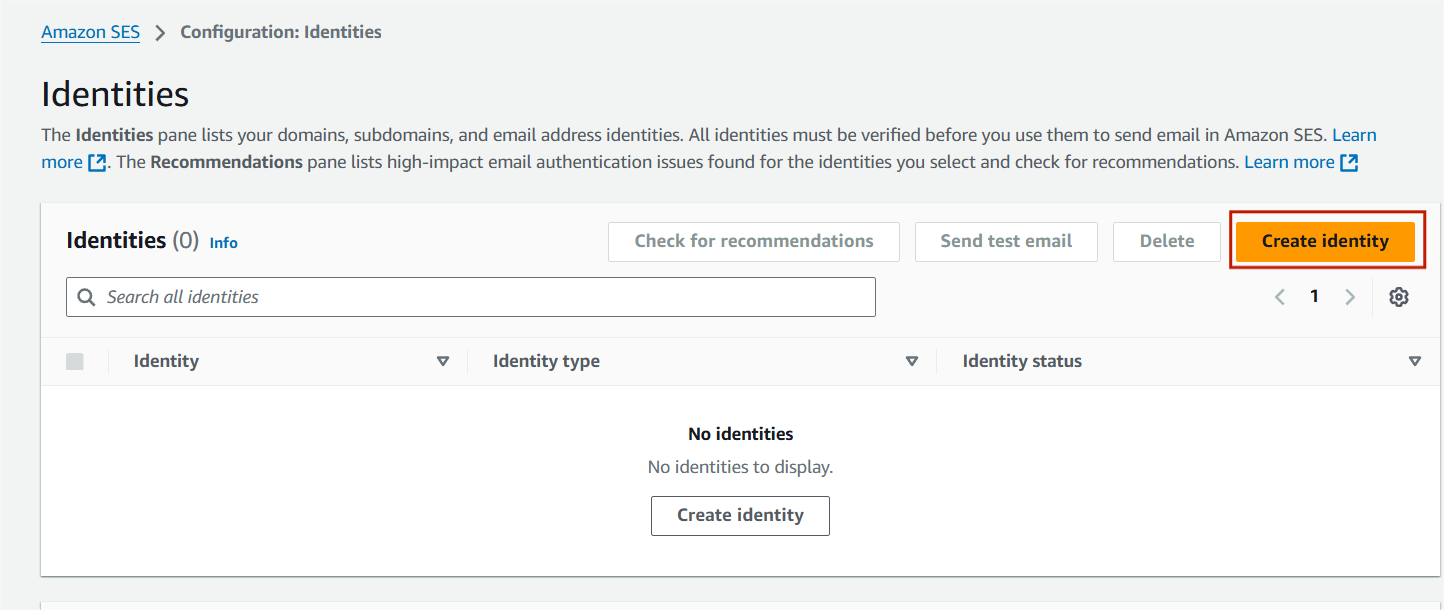
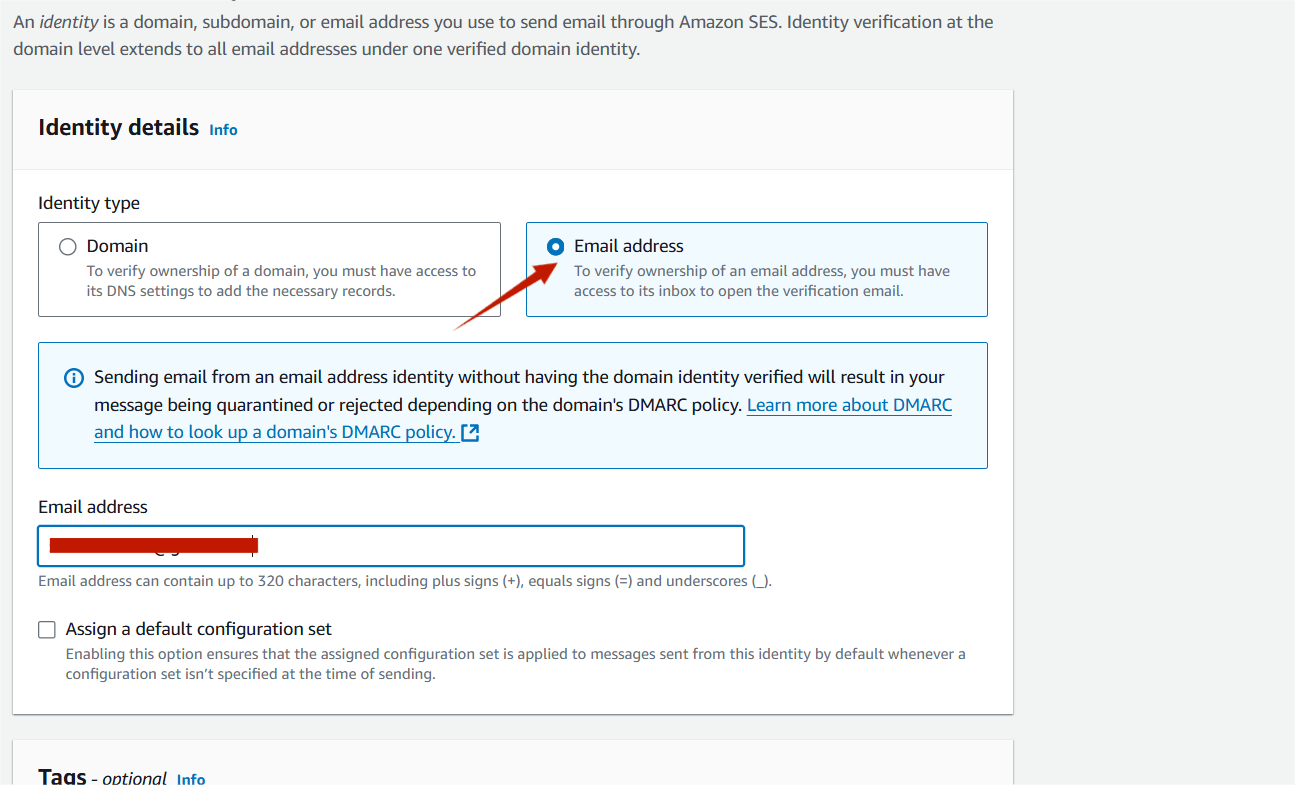
STEP5:Select email address and enter your email address.
STEP6:Next, click create identities.
STEP7:Now you will be able to see that the Identity Status on the Email will be Verification Pending.

STEP8:AWS will send a confirmation email to the email .
STEP9:Check your mailbox, and you’ll find an email from Amazon Web Services.
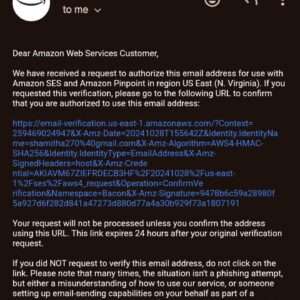
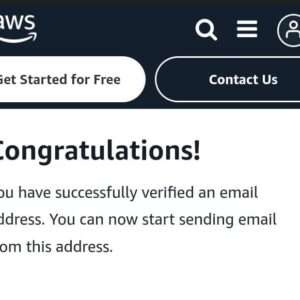
STEP10:After clicking the link, you’ll be directed to the success page.
STEP11:Go to the SES Email Addresses page, refresh it, and check that the Verification Status shows as Active.
STEP12:Then click the send test email.

Step13:Select formatted and click the custom.
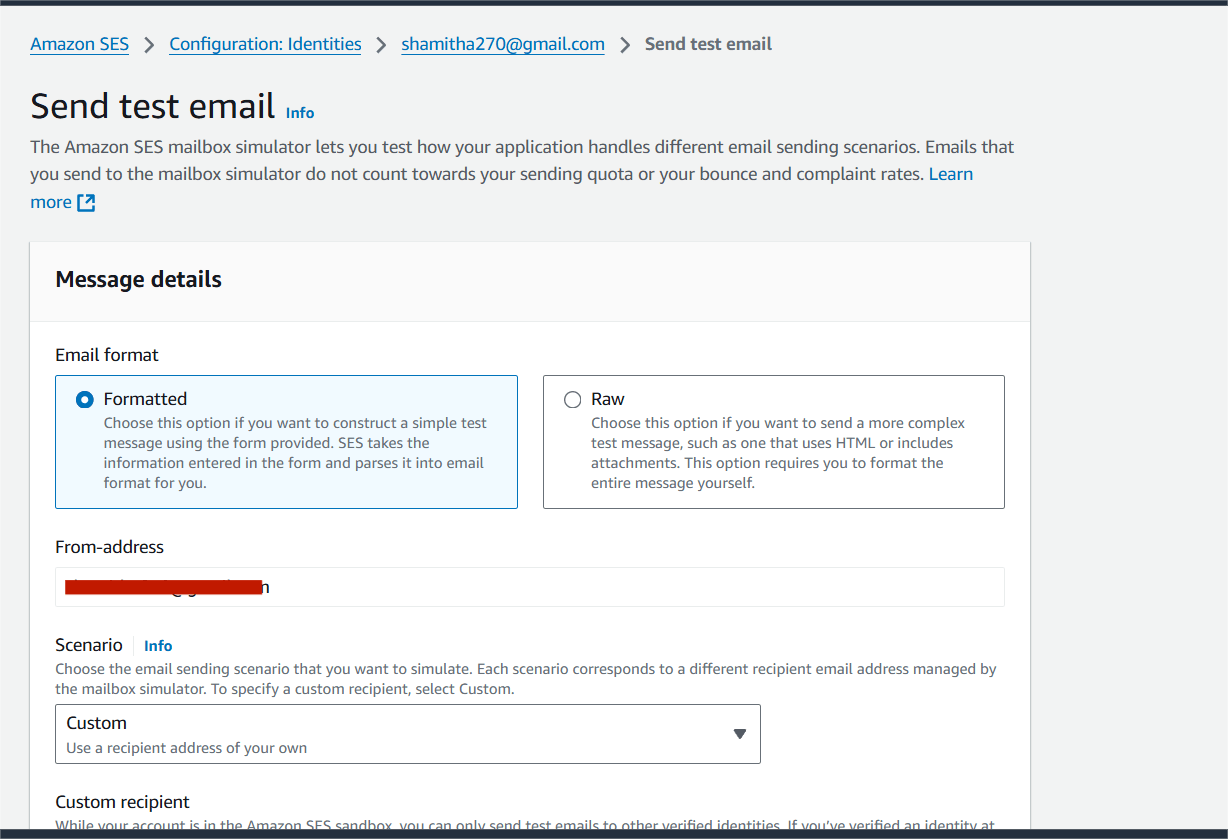
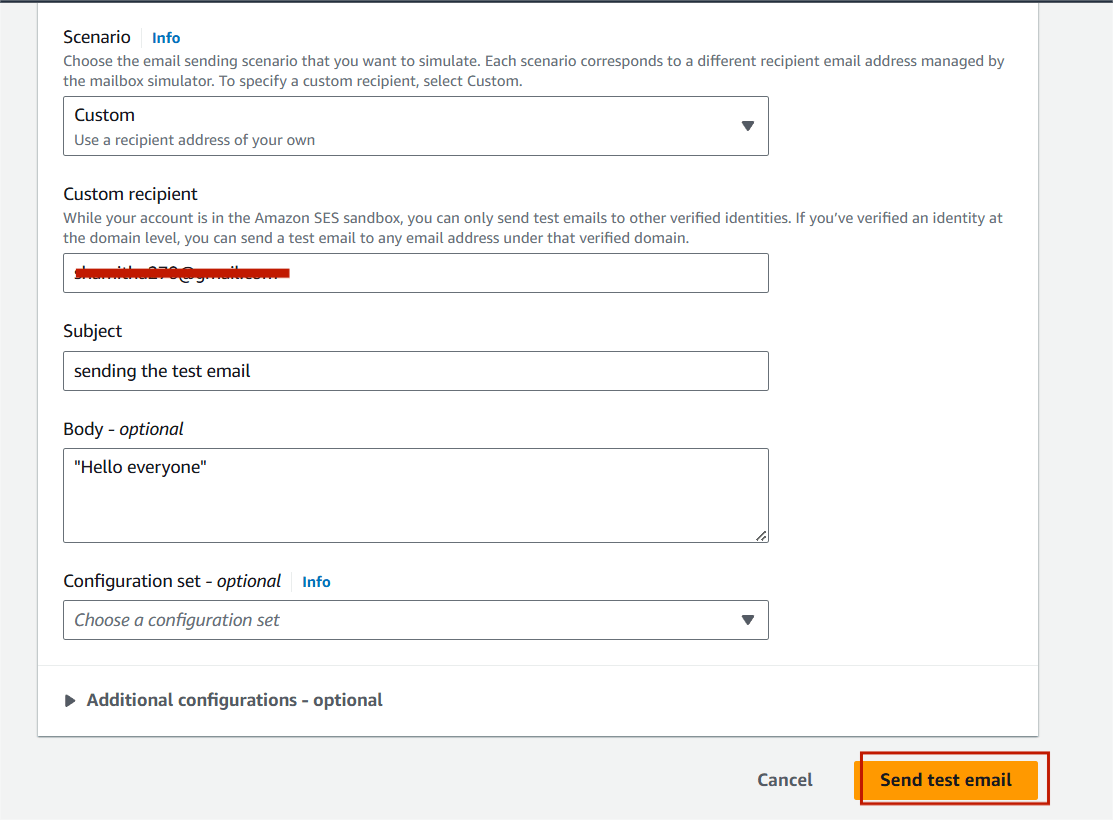
STEP14:Enter the custom recipient (email address).
Subject :Sending the test email.
Body: “Hello everyone”
STEP15:Click on end test email.
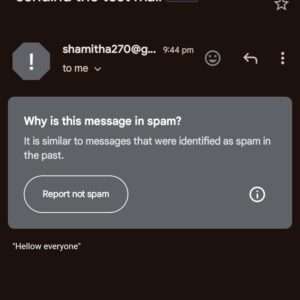
STEP16:Check your inbox for the verification email. If you don’t see it there, please check your spam folder.

CONCLUSION
Amazon Simple Email Service (SES) is a cloud-based email sending and receiving service provided by Amazon Web Services (AWS). It is designed to help businesses and developers manage their email communications at scale. Its integration with other AWS services makes it a powerful choice for businesses needing secure and flexible email solutions.
Add a Comment