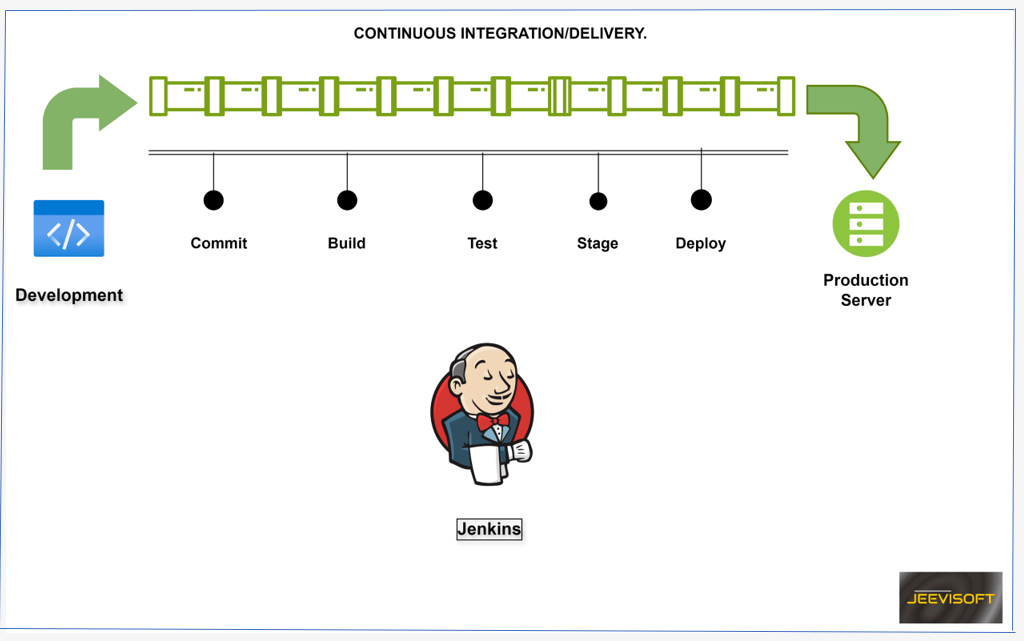
Jenkins is an extensible automation server widely used in the software development lifecycle. It supports continuous integration and delivery by automating the processes of building, testing, and deploying applications through a robust plugin system.
Jenkins can run on various operating systems, including windows, macOS and Linux.
Continuous Integration: Automatically building and testing code changes to ensure they integrate smoothly.
Continuous Delivery: Automating the deployment of applications to various environments, including development, testing, and production.

How Jenkins works

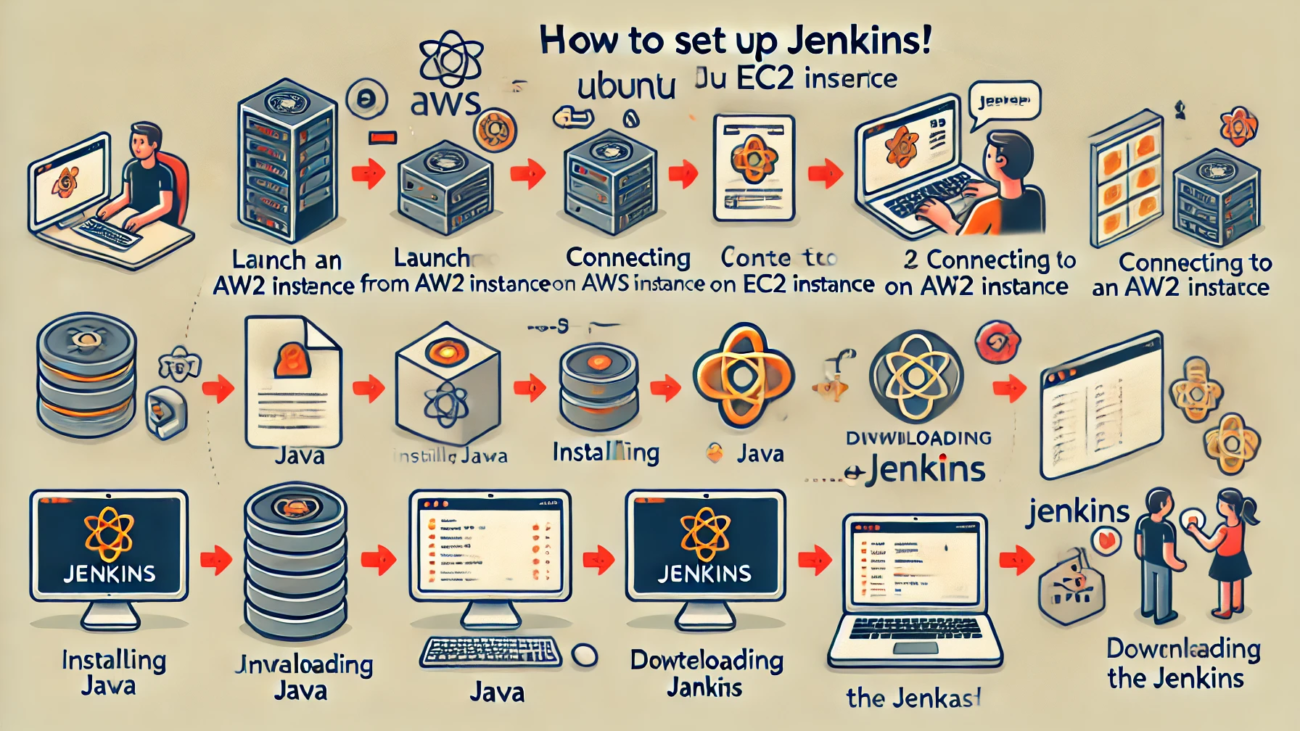
In this guide, you will learn how to install Jenkins on ubuntu in AWS ec2 instance. Ready to roll? let’s do this!
STEP1: Create the instance.
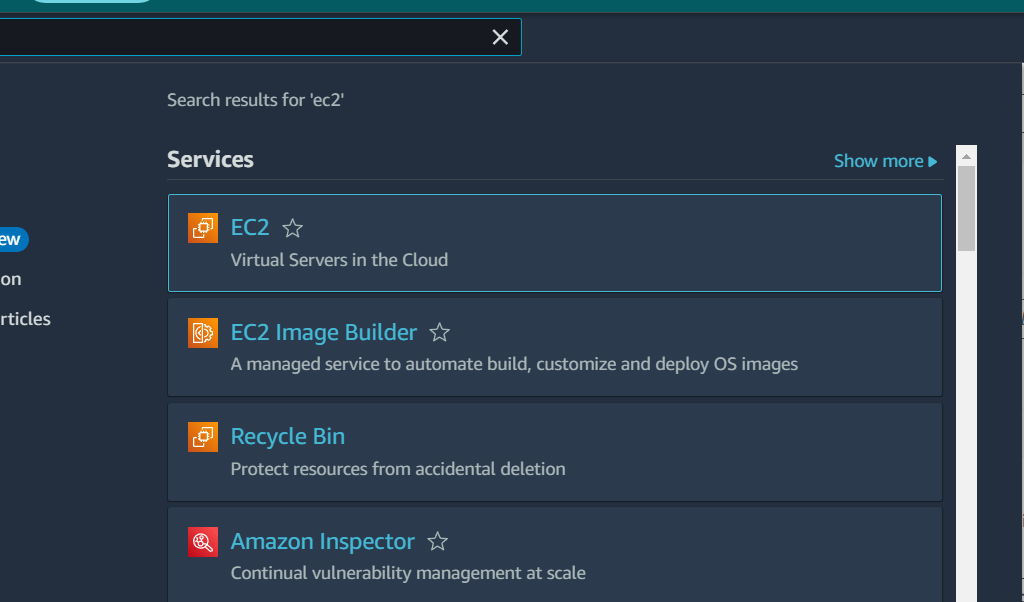
In the AWS management console, Find the EC2 service and then click on launch instance.


You create the name and choose on Amazon Machine Image (AMI) is ubuntu.

Then you will be directed to this page, this is where the service will be running on, select the t2.micro which contains the Free tier eligible tag.

Create a new key pair (or use an existing one if you already have one), enter a name, and click download key pair. Then click Launch Instance and wait for the instance to go to running state.


STEP2: Installing Jenkins
You select the instance and click the connect option, and then next you click the connect.

You should see the following page.

And then next, you will update the instance.
sudo apt update

Java needs to be installed and configured on the server on which you want to configure Jenkins. OpenJDK is preferred with Jenkins, but you can also use any other version of Java.
Enter the comment below.
sudo apt install openjdk-8-jdk -y

To install Jenkins on to your operating system, follow the latest documentation provided by Jenkins. (Use this link https://pkg.jenkins.io select the Debian-stable you’ll get the URL for Jenkins package).
Now, you enter the comment step-by-step.
sudo wget -O /usr/share/keyrings/jenkins-keyring.asc \
    https://pkg.jenkins.io/debian-stable/jenkins.io-2023.key


Add a Jenkins apt repository entry,
  sudo apt-get update
  sudo apt-get install fontconfig openjdk-17-jre
  sudo apt-get install Jenkins


To check if the java version is installed, use the command.

Using the systemctl start command start the Jenkin service, and then use the systemctl enable command .
Sudo systemctl start Jenkins
Sudo systemctl enable Jenkins
Sudo systemctl status jenkins

Once you reached the end, you will see the Jenkins running page.

STEP3: Setting up Jenkins.
To set up your installation, visit Jenkins on its default port, 8080 , using your instance IP address.

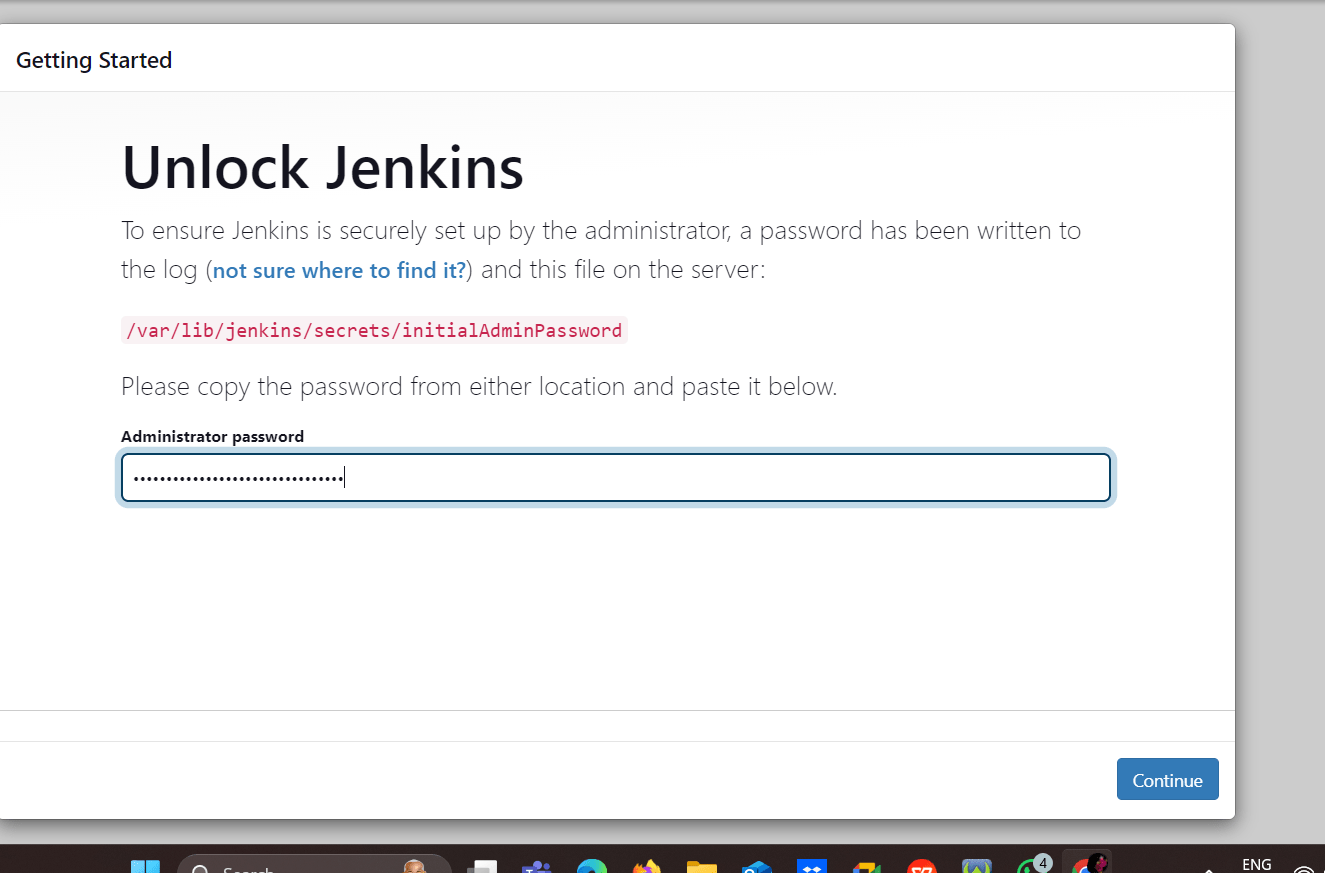
You see the following page, now you will go to the terminal, enter the sudo cat command to display the password.


Copy the 32-character alphanumeric password from the terminal and paste it into the Administrator password field, then click Continue.

Next you click the install suggested plugins.


Create an admin user. Make sure you remember the username and password.

Click save and finish.

Next, click start using Jenkins.

You visit the main Jenkins dashboard.


CONCLUSION
Finally you install the Jenkins on ubuntu machine. Jenkins is free to use and has a large community of contributors who continuously improve the software. However, to maximize its benefits, teams should prioritize proper configuration, maintain a clean and organized Jenkins environment, and invest in training to ensure effective usage. As the software landscape evolves, Jenkins continues to adapt, remaining a key player in DevOps practices and agile methodologies.

Add a Comment